• Skip to primary navigation
  • Skip to main content
  • Skip to primary sidebar

Penny Travels

Travelling the world, near and far, one step at a time.

  • Home
  • Travel Destinations
  • Transport
  • Tourist Brown Signs
  • Tube Stop Baby Challenge
  • About Penny
  • Privacy Policy and Disclosure

Transport

Basel Badischer Bahnhof

August 27, 2026 by Penny Leave a Comment

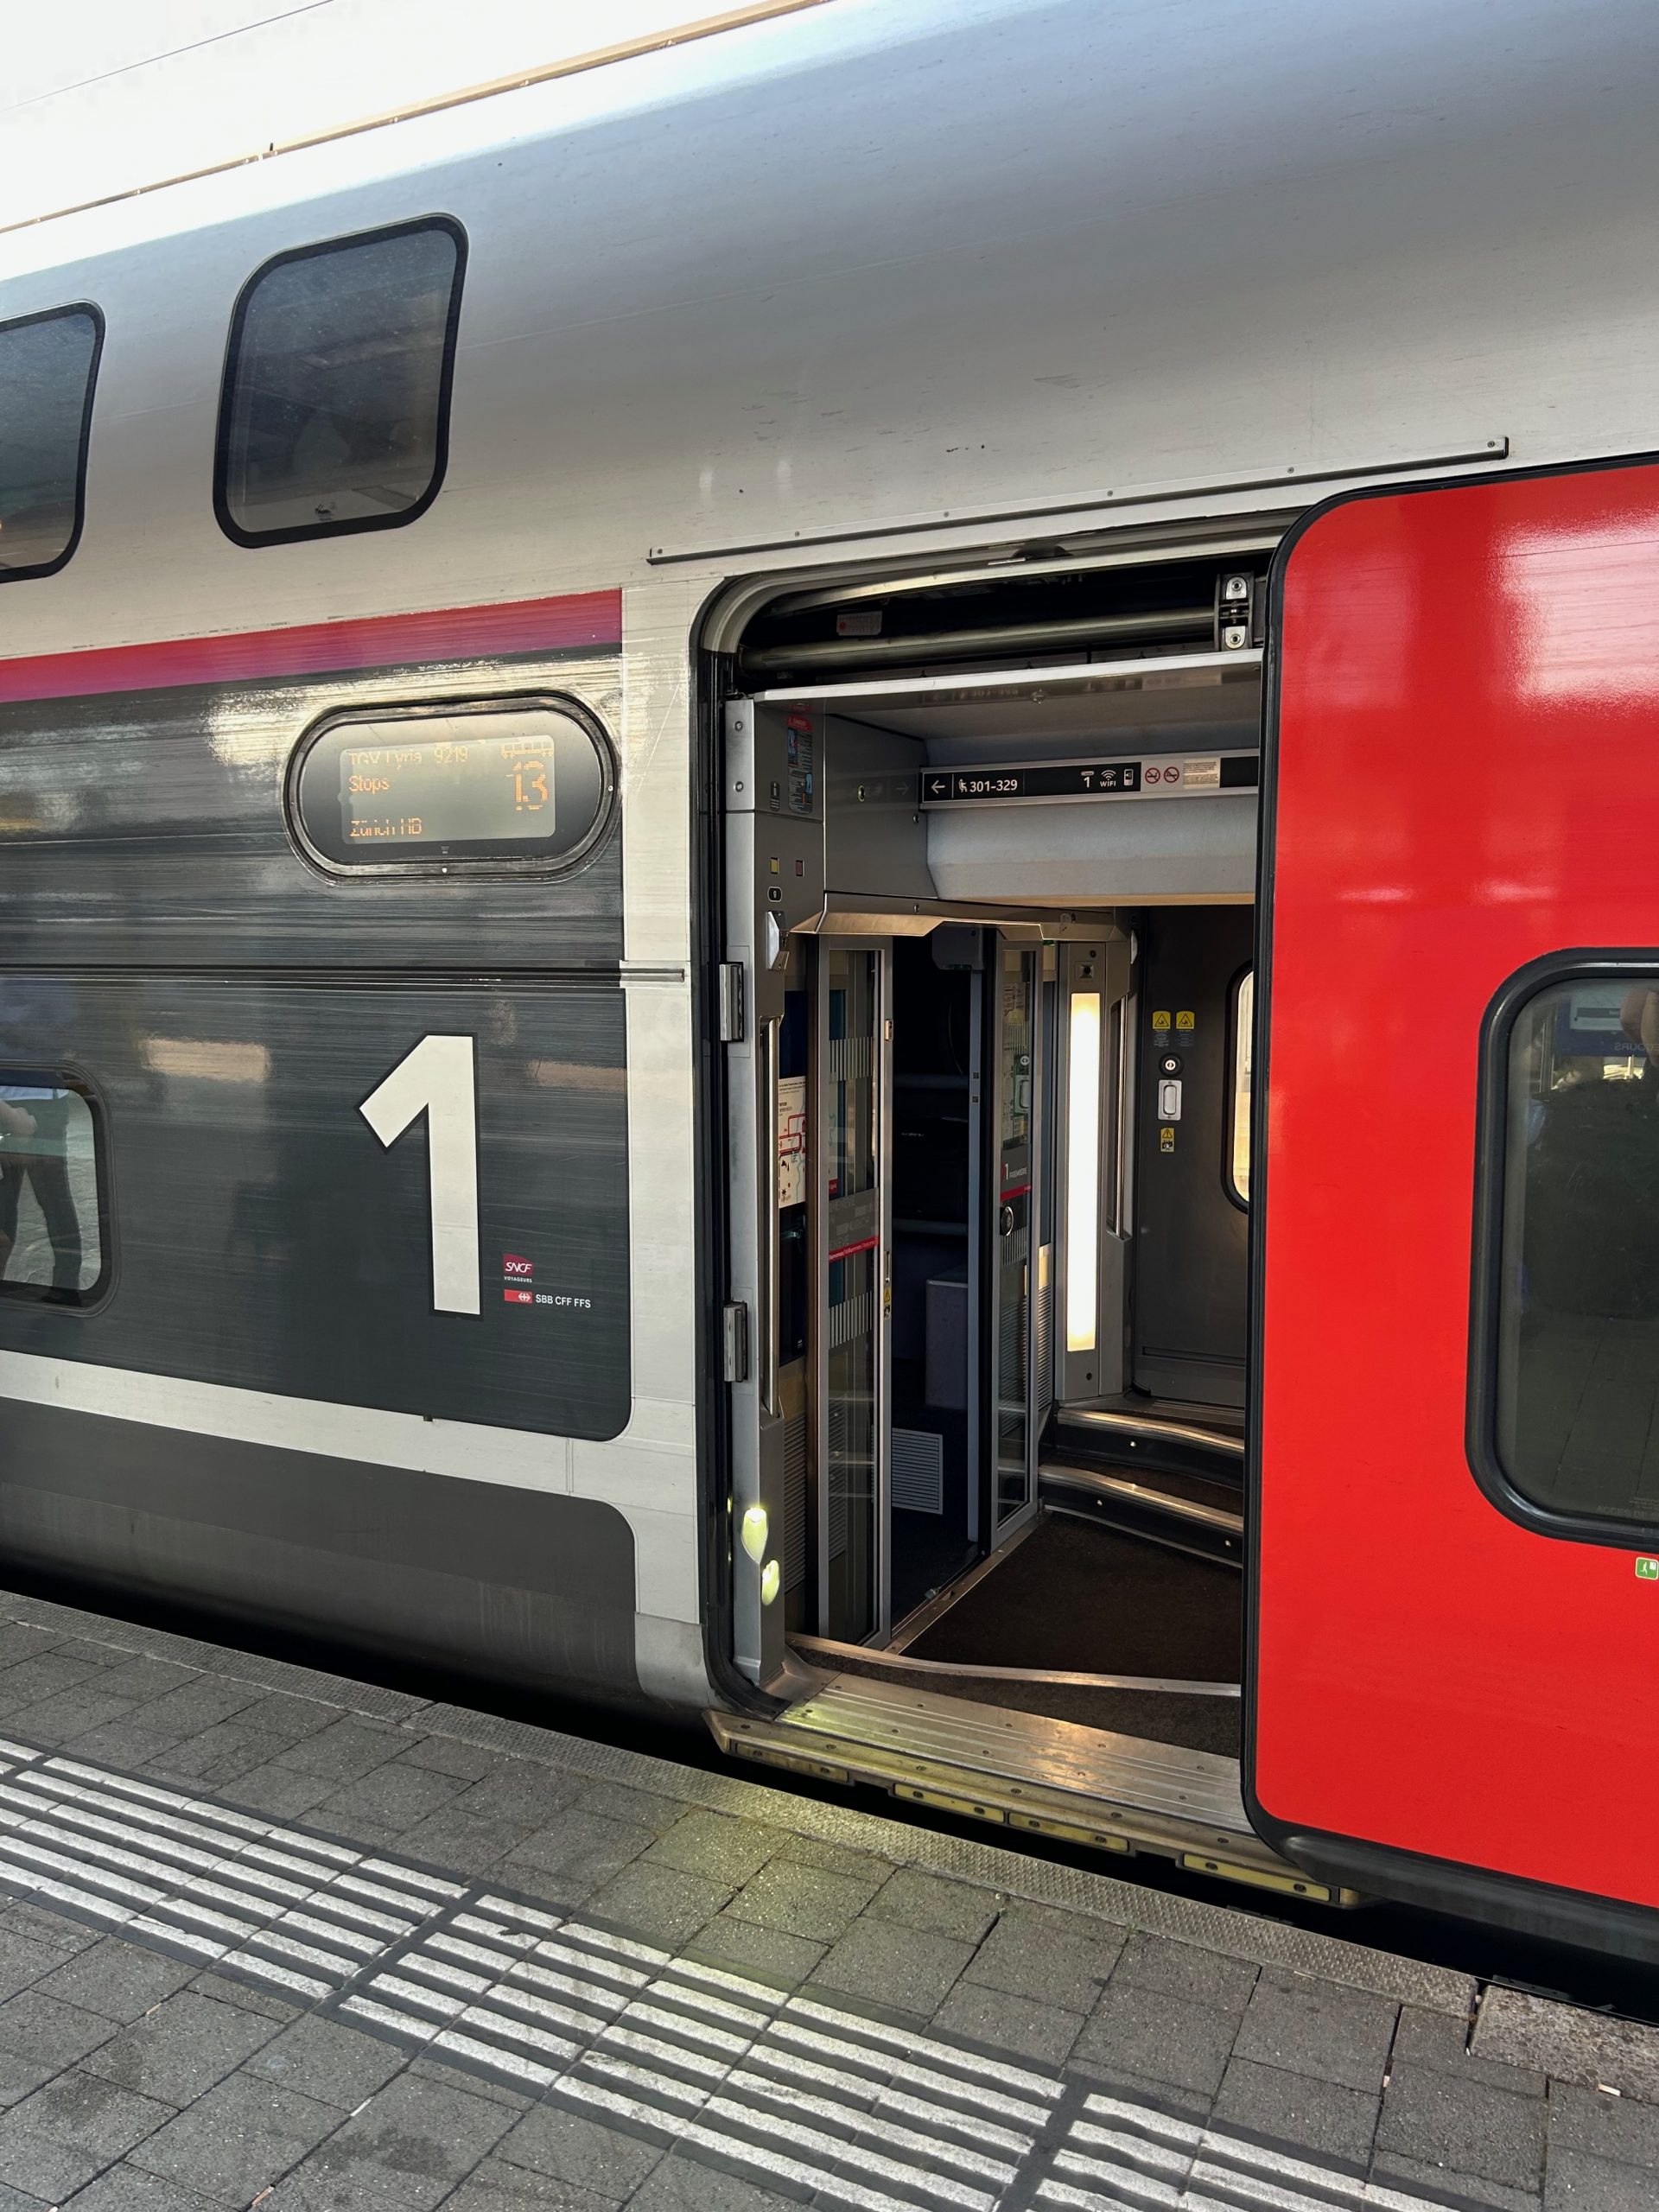
One of my favourite parts of travelling round Europe by train was seeing the different stations and rolling stock used. Now I’ll admit that I’m no expert on either subject, but I know what I like, and one of the first examples of that on our trip was Basel Badischer Bahnhof, the DeutscheBahn run station in the Swiss city of Basel.

Basel Badischer Bahnhof

Basel is a Swiss city, but sits near the borders with France and Germany and so has two main train stations. One run by the Swiss Railways in conjunction with the French SNCF where all the international trains stop, and a second, smaller station run by the German railway. We’d decided to do a day trip up to Freiburg and so we headed to the German station. As we were limited on the number of days on our Interrail pass and as this is a relatively short journey we’d decided to pay for these tickets separately.

Basel Badischer Bahnhof

The combination of relatively brutalist architecture (although nothing compared to what we would find as we headed further east!) and a deserted station gave the whole place a slightly eerie feel.

Basel Badischer Bahnhof

The disco ball hanging in one of the main halls just felt at odds with how quiet it was there.

Basel Badischer Bahnhof

We managed to accidentally arrive at the station via a bit of a back entrance, and so initially missed the main ticket office so made do with buying our tickets from one of the ticket machines that we found in an empty corridor.

Basel Badischer Bahnhof

Platform level felt a bit more modern, but still deathly quiet compared to the bustling Swiss station we’d gone through the previous day.

For more on how we planned our Interrail trip across Europe take a look here.

Filed Under: Germany, Train Travel

Planning an Interrail Journey Across Europe

August 17, 2026 by Penny Leave a Comment

One of the first conversations that my husband and I ever had was about an urge we both had to travel across Europe by train. I took a year out between school and university, but worked throughout that year. Later on I started travelling, but apart from trips to Finland, Estonia, Sweden and Germany in the summer after uni I’ve always otherwise been limited by how much leave I can take from work, and then in later years by school holidays. It seemed that the chance to go interrailing had passed me by, but that is definitely not the case and I rectified the situation this summer.

I’m lucky enough to have travelled in Europe a fair bit already and last summer all five of us took the Eurostar from London through to Rotterdam and this ignited a bit of a spark of an idea in us. A bit of research showed us that an interrail pass definitely isn’t just limited to students with backpacks, and also, modern technology and phone apps in particular have changed how the system works somewhat.

Initial sources of inspiration and information

One of the best sources of information I found when initially researching our trip was the excellent Man in Seat 61 website. There isn’t much that Mark, the man behind the site, doesn’t know about train travel. He’s worked for various train companies and even the Department for Transport here in the UK, but since 2007 he’s worked full time on his excellent Seat 61 site which provides everything from route suggestions through to walk through descriptions of train stations across Europe and step by step guides into buying train tickets or rail passes to undertake adventures.

It was through him and various European train travel related Facebook groups that I came to realise that interrail fans came in all different shapes and sizes, and that rail travel across Europe was no where near as mysterious as it at first sounded. An interrail pass is relatively easy to purchase from Interrail’s own website. There are however a vast array of passes to choose from, depending on how long you want to travel for and how many days you plan to actually use trains in that time.

How does an Interrail pass work?

In the “olden days” it was simply the case that once you had an Interrail pass all trains were free. You simply hopped on the one you fancied, showed your paper pass to the guard or ticket inspector and that was it. In these modern days of mandatory seat reservations it’s not so simple. Firstly, whilst you can still request a paper pass, most people use the app version, which is excellent.

Some trains do require mandatory seat reservations though. Depending on which country you are in these can range from being free, or just €3 each, through to being significantly more. When you come to actually using the trains with your pass you can find out the exact costs, but the headline thing to bear in mind is that if you’re starting in the UK you will need to pay a significant seat reservation fee to travel on Eurostar out of St Pancras (and back in again) and also on most high speed trains across France. It is still the case that you can join most regional trains for free, but depending on how far you want to travel, it is likely to that high speed trains will form part of your journey so budget accordingly.

In/out travel days

The second thing to point out is that with a pass you get two travel days only in your home country. So if you’re in the UK, like we are, you get one travel day to leave the country, and a second to return. For the other days it doesn’t matter how many countries you use your pass in, and it is not mandatory to use the pass in your own country. Some people choose to head out of the UK by train and then fly back from their end destination (which is what we ended up doing), whilst others might do that in reverse. Some people use a cheap flight to get to their train starting point, and possibly the same at the end of their journey. This does mean that if you plan to break your outward or return journey in London, think carefully about how you use your pass.

First or second class?

This is a question that I hadn’t even contemplated before buying an Interrail pass. Train travel in the UK is mainly in my experience in standard class. First class tickets are vastly more expensive, and are only a rare treat when you spot a deal or use a site like Seatfrog to bag an upgrade.

In mainland Europe First Class isn’t quite so unattainable. The difference in prices is less and you see more normal people choosing to travel that way. If you’re travelling some distance in the UK before getting to mainland Europe remember that a First Class interrail pass will be valid for your journey to and from London if you plan to connect with the Eurostar there. That means you can enjoy First Class on LNER, Avanti West Coast or GWR on your way to London, and that often includes a meal on the train too. This isn’t the case in all other European countries but saving the cost of a meal should again factor into your budgeting decisions.

Travelling with children or as a senior

Youth interrail passes (from the age of 12 up to 27) are cheaper than standard adult tickets, but it is worth noting that there are also reduced price tickets for seniors (age 60+). In addition to all this, if you are travelling with a child who is 11 or younger then their pass is free. Yes, free. £0. Even if it is a first class pass. Travelling with a seven year old this was music to my ears! Seat reservation fees are still applicable, but it makes them much more palatable when it’s on top of a free ticket!

Look for offers

Before buying out Interrail passes I registered on the Interrail site for their mailing lists and started to receive offers from them. At points there was 10% off passes that were to be used in certain months, at other points the passes had their usual 11 month validity (as standard you get 11 months from buying your interrail pass to activate it and start travelling).

I had also heard about how in the past Interrail had had a large Black Friday sale which involved 25% off all Interrail passes. This isn’t guaranteed to happen every year, but having seen it in the past I thought it worth holding out and seeing and bingo the email arrived telling me there was going to be 25% off all passes, including first class ones! Bargain. It makes a first class pass at the reduced price less than you would pay for a standard class one outside of the sale. Buying in a sale months before you plan to travel also helps you to spread the cost of your trip somewhat.

Where to go

Once you’ve decided on the type of pass to go for, how many days you want, and whether to go first class or not you have hopefully managed to take advantage of a sale and have your passes secured. You register a passenger’s name and passport details at the time of purchase, but you don’t then need to do anything else with them until just before your trip when you’re ready to activate them. Just make sure you know how long you have before you have to activate your pass. It’s usually 11 months, but these Ts & Cs might change in some sales.

They you’re on to the fun part – deciding where to go. You might have a general idea in mind like – let’s go to Italy, or Switzerland – but how do you see where it is possible to go, as obviously you are restricted slightly on where there are train tracks!

Every year the European Rail Timetable is published which sets out across multiple countries exactly which trains go where when. You can buy this as a big paperback book (the 2026 version is available here) but you can also access the data in it electronically through the Rail Europe website. Again, this is all super once you’ve decided where to go and just want to know what time of day trains run, but there’s a step before that that I think is only really sorted with a paper map.

Paper Maps

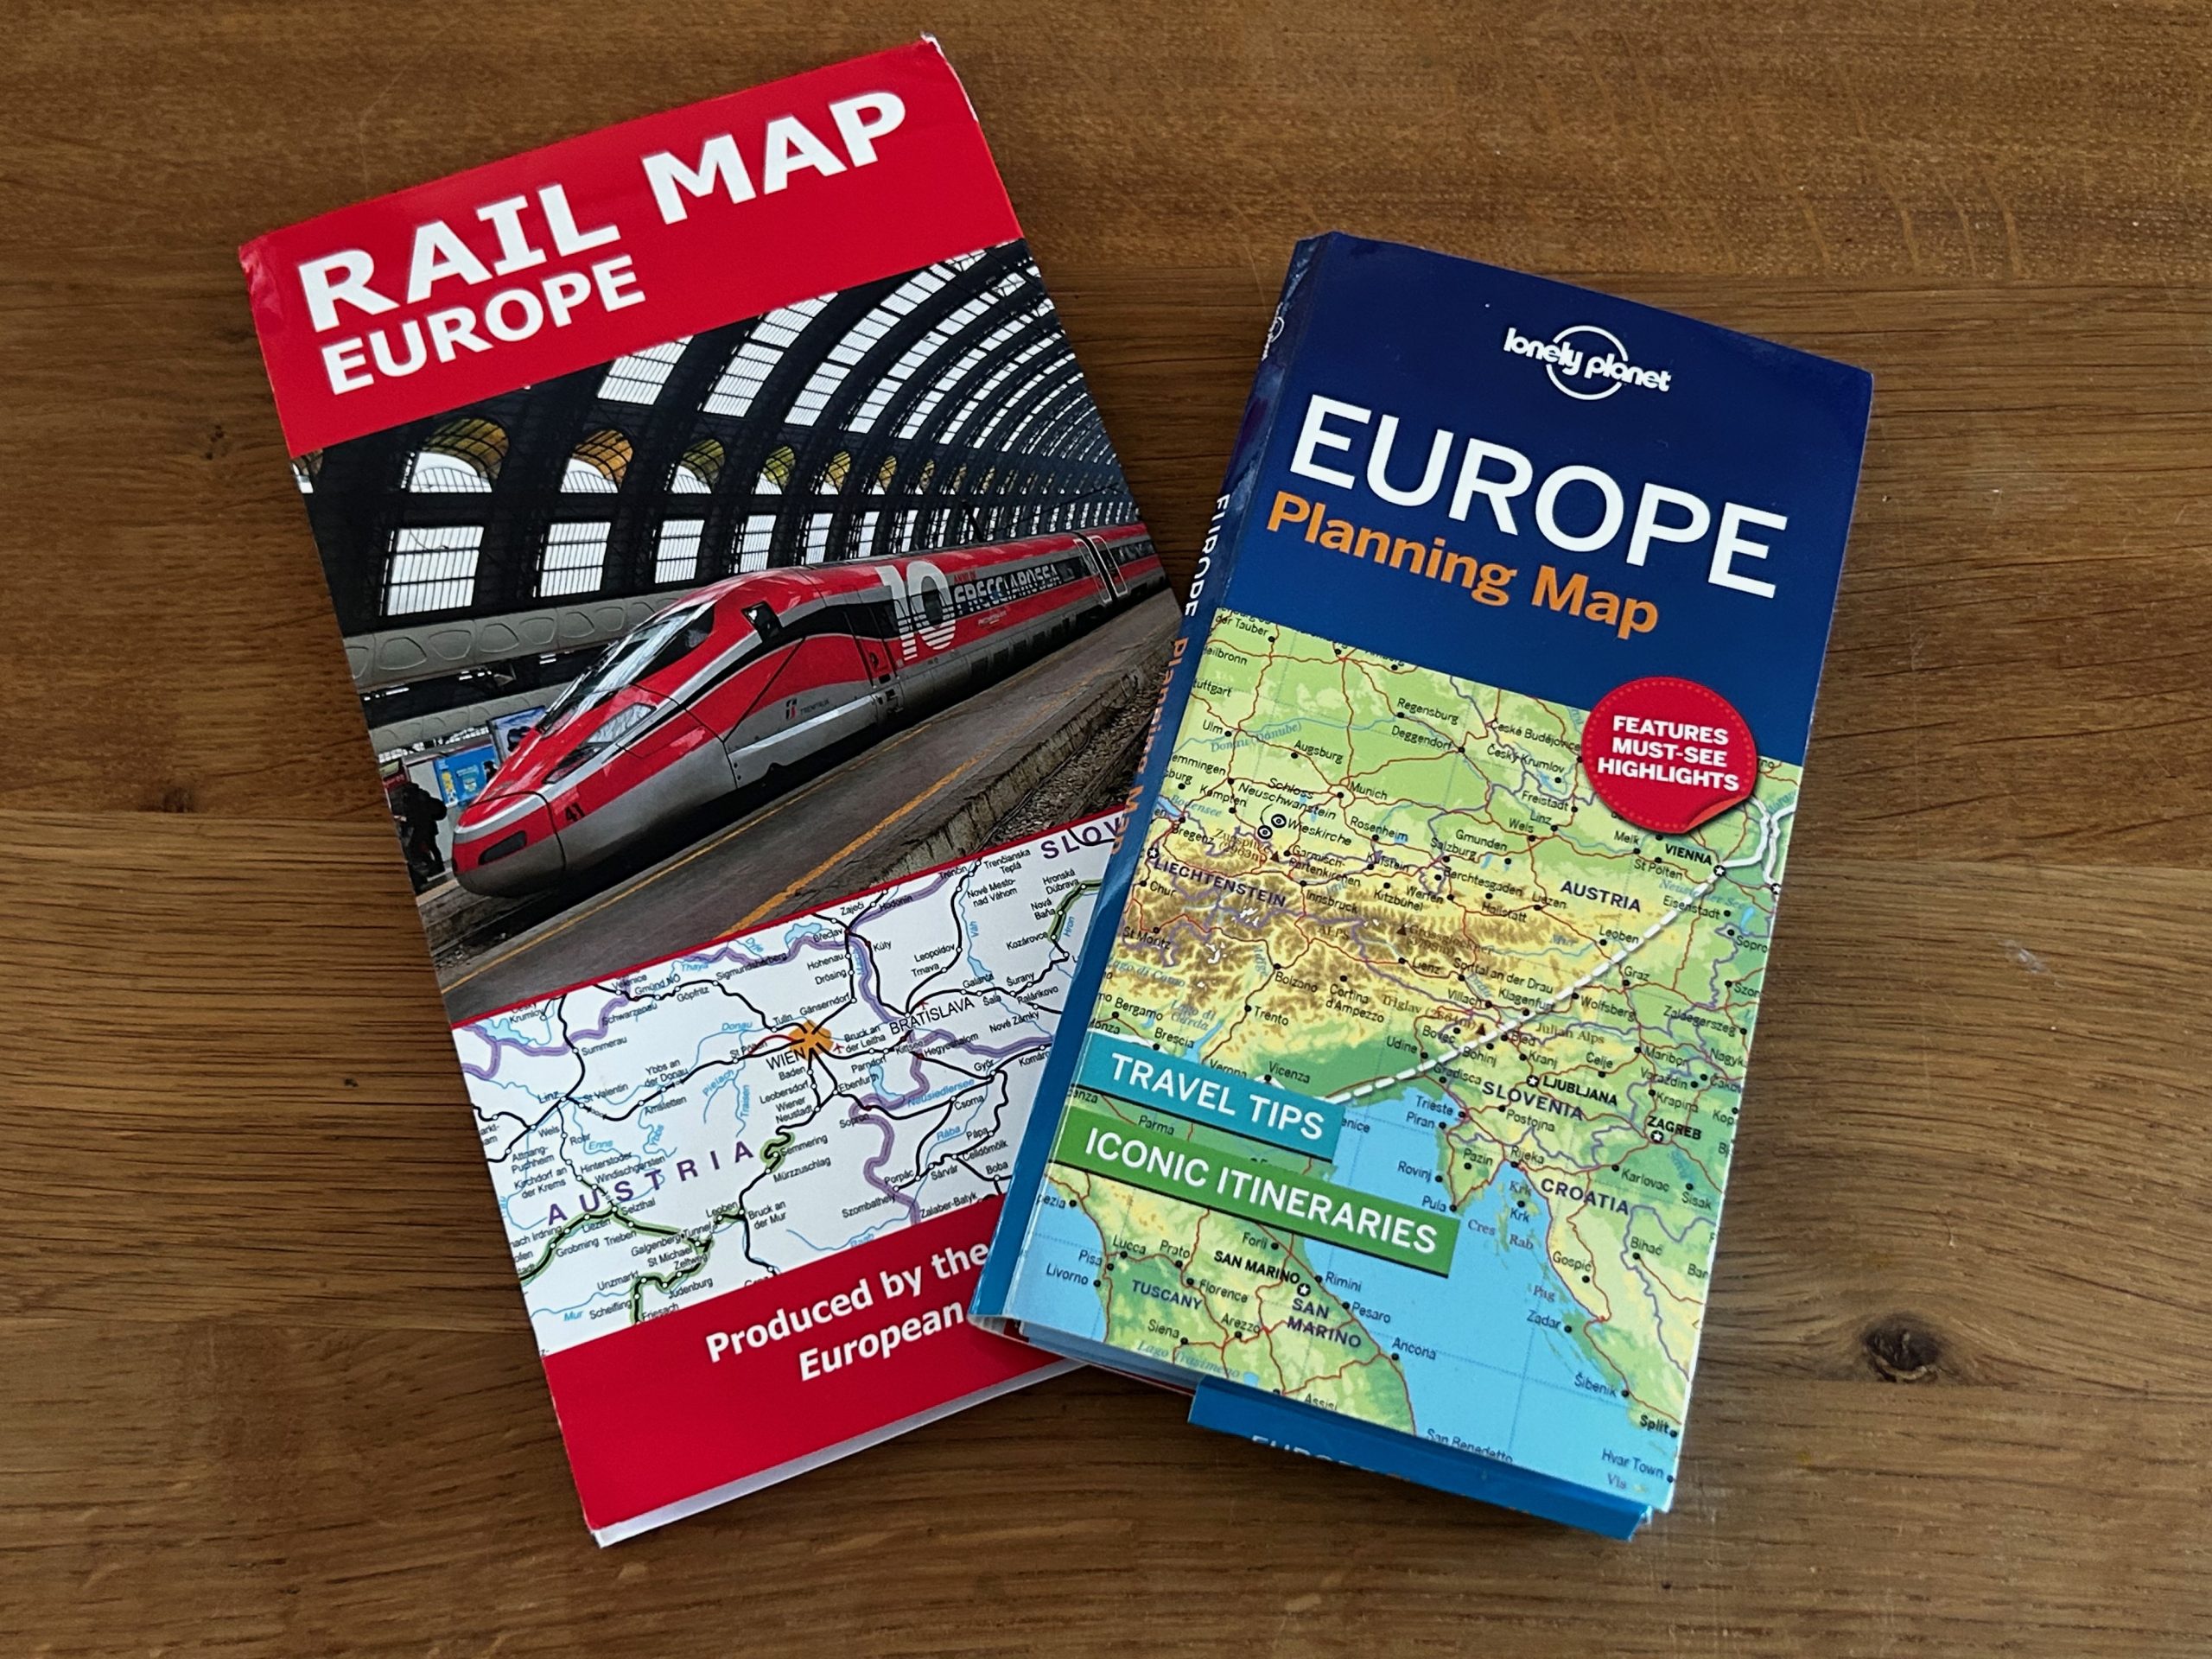
When we started planning I went online and bought myself two maps.

A pictures showing two maps laid closed on a wooden table. On the left is the Rail Map Europe. On the right the Lonely Planet Europe Planning Map.

The first was one published by the European Rail Timetable which shows all the routes across Europe. It helped us to see where tracks went so that we could make decisions about where to go between and estimate how many steps we night need to go to our end goal location. Whilst this was great for the tramlines I felt I wanted a bit more in terms of understanding the lay of the land. I therefore also purchased this Lonely Planet map of Europe which shows you where the mountain ranges are, gives some suggestions of what you could see in different places and even some suggested itineraries. There are even stickers so you can plot your planned route on the map itself. Not something we used, but I can see how it might be a good way of showing children where you’re off to.

These two maps got a lot of use when we planned our trip. Spread out over the kitchen table they allowed us to really see where places where and be inspired to follow train lines and see where we could end up on them. If it hadn’t been a chance conversation about how close we were going to be to the border or the Czech Republic with our planned route we might not have popped over and see the city of Brno, which turned out to be one of the highlights of our trip!

Last thoughts

It can be so easy to feel daunted about planning an interrail trip, and I do feel that planning is necessary, especially if travelling with children as we were, but once you’ve taken the first step of buying a pass there is so much information and help out there that the planning really is part of the fun. Feel free to ask questions of anyone you know who has been interrailing, and I too am happy to try and help.

Disclaimer: This post contains some affiliate links. If you click through on the links and make a purchase I will receive a referral fee. Doing so will not cost you any more than if you had gone there under your own steam. Thank you for any purchases you do make. Your support is very much appreciated.

Filed Under: Europe, Train Travel

Day trip to Dunkirk

August 17, 2025 by Penny Leave a Comment

It all started with an Instagram ad. One of those ones that pops up between stories and is usually getting you to improve your life in some way, or offering you something that seems too good to be true. That was my initial thought when I saw that DFDS were offering day trips over to Dunkirk for just £25.

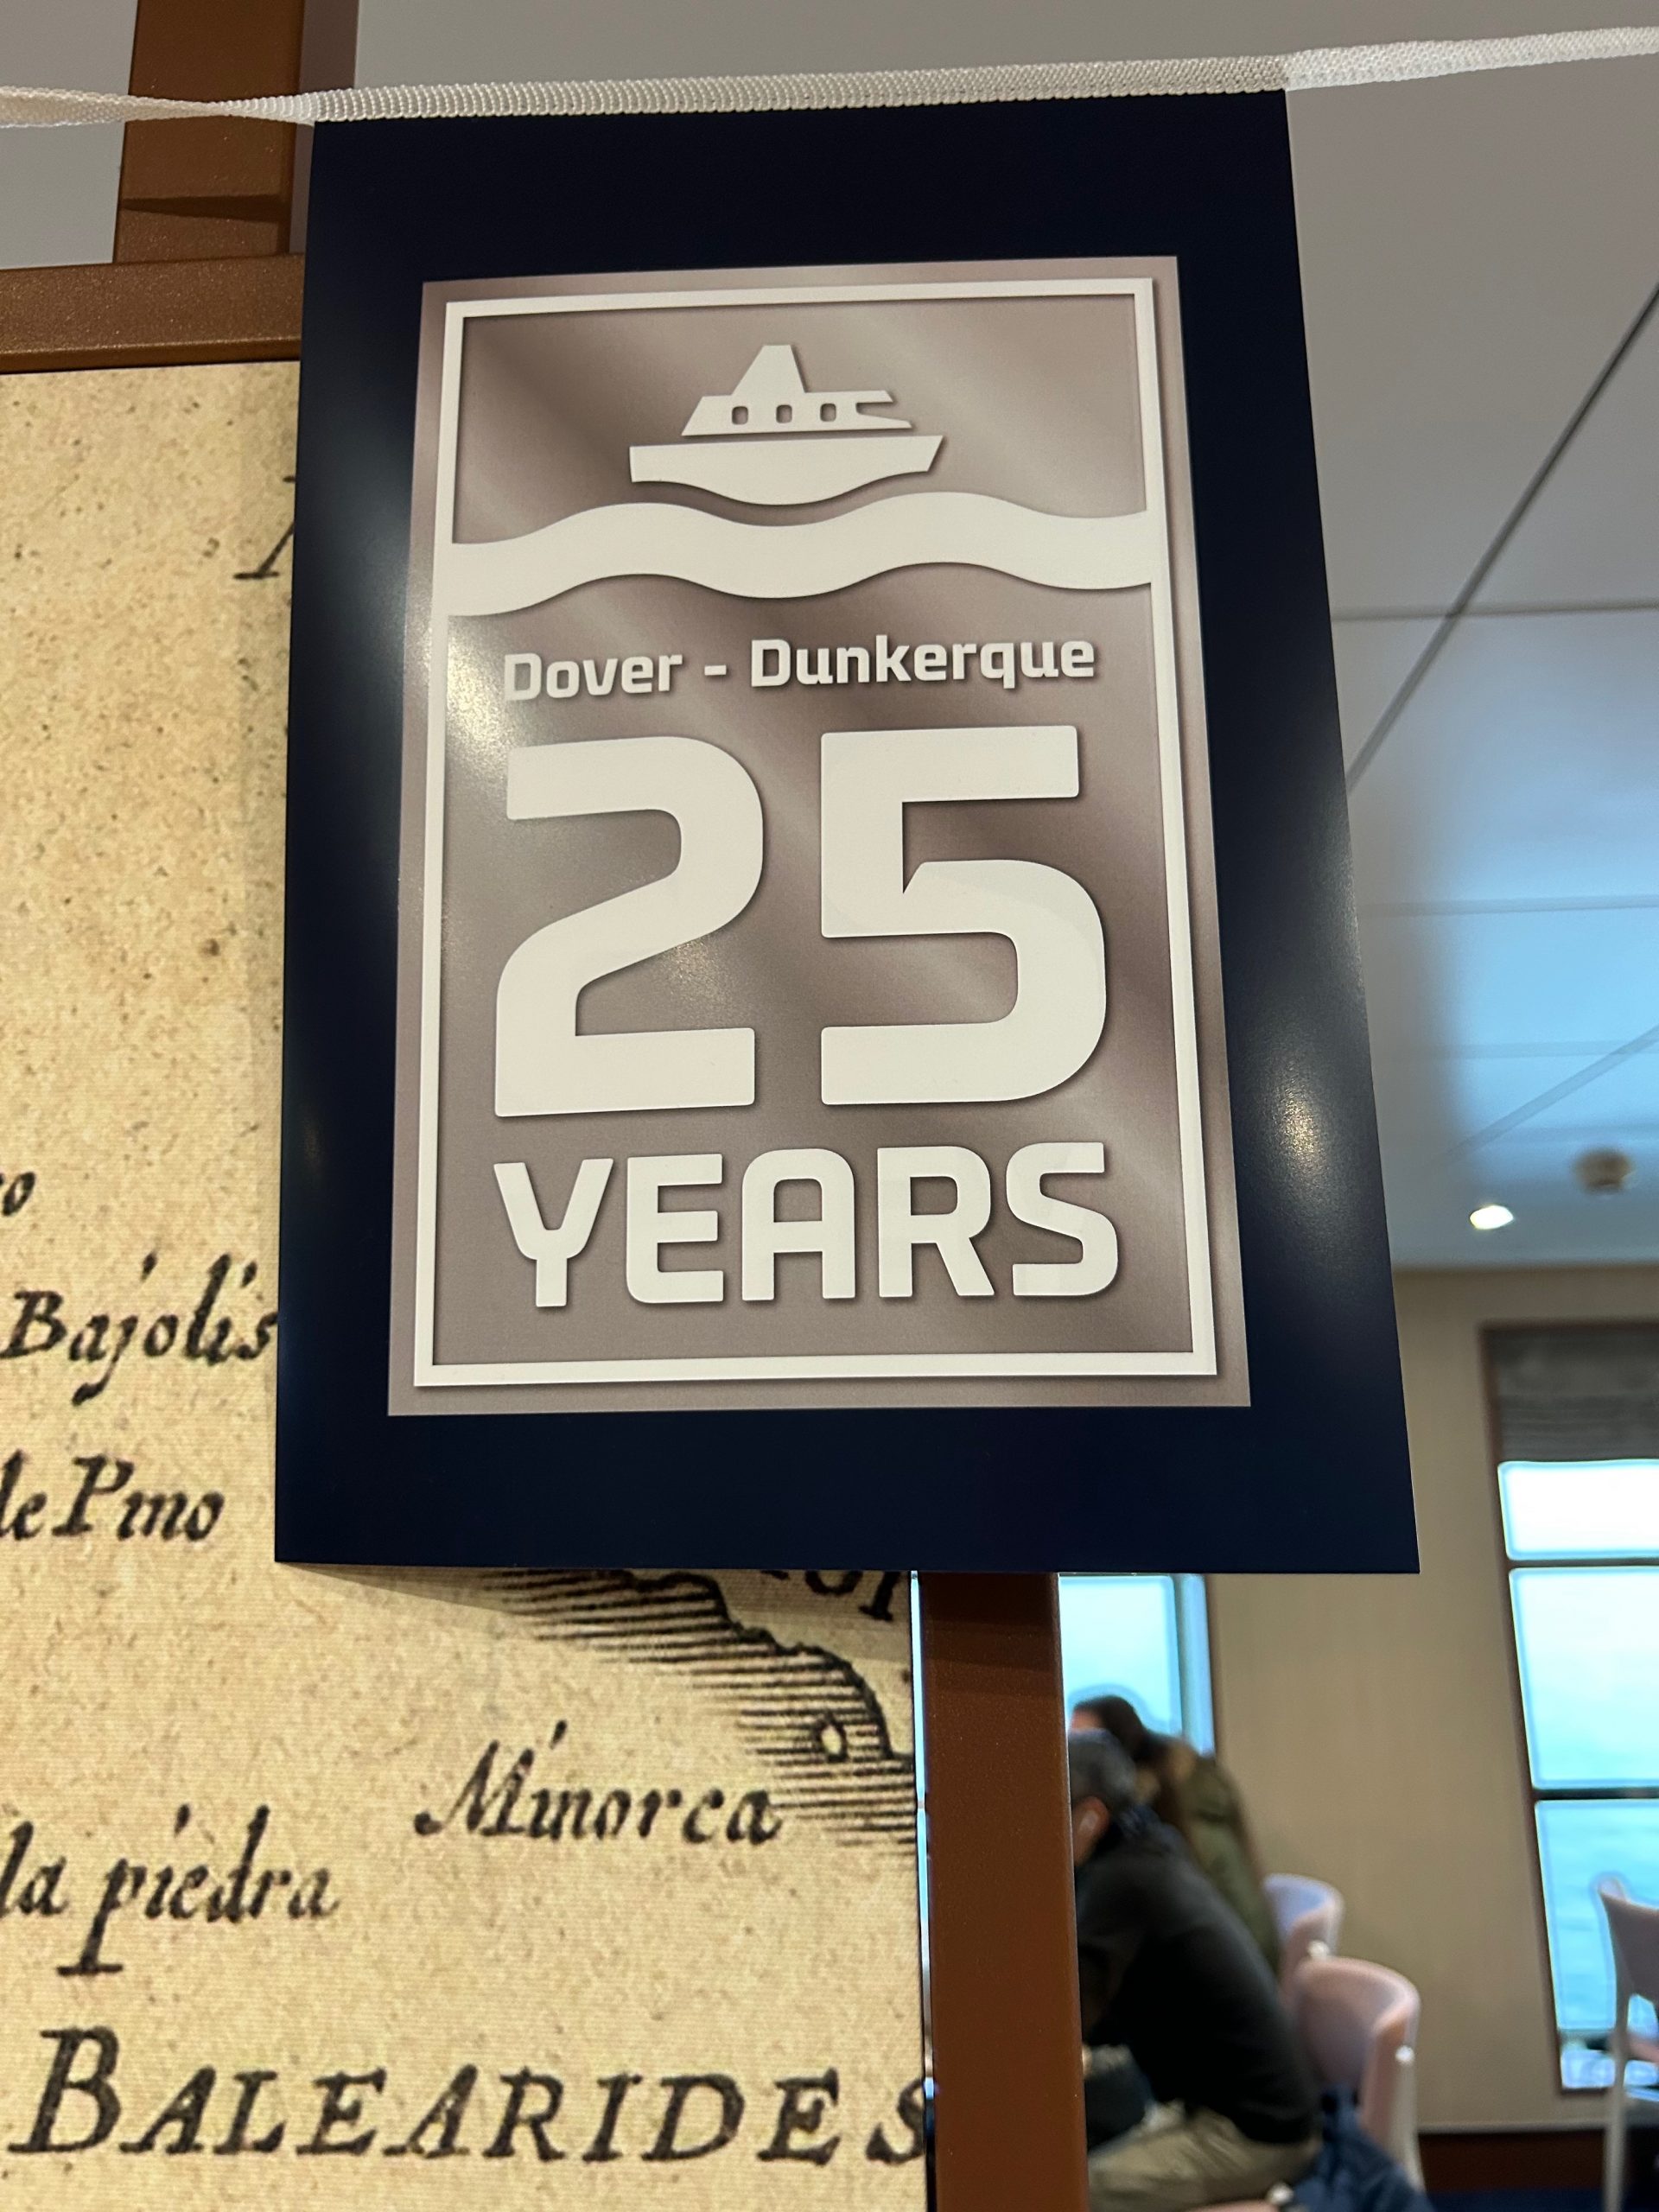
A banner celebrating 25 years of the Dover to Dunkirk DFDS ferry route

I assumed that there would be no tickets left. That it would be £25 per person. That there would be a catch of some kind. But there wasn’t. To celebrate 25 years of their route between Dover and Dunkirk they were offering £25 day return tickets for a car and passengers in the month of March. Amazingly there were tickets available to go on a Sunday in just a week and a half’s time. At this point my husband was in the loo so I didn’t even bother checking with him before I started booking. I got half way through entering the car details and then I found the catch…

Two weeks earlier we’d sent off his passport to be renewed. His ten years were very nearly up and there was the chance that he was going to need to go to Germany with work soon and, as we had no other trips planned, we thought it would be a good time to get it done before the Easter holidays. But then they rejected his photo (seems our white shower curtain background was too textured) and we hadn’t got round to sending in a new one. The passport office had been sent his old passport though, so even though it would be valid for travel he didn’t have it and therefore couldn’t technically travel.

After an hour or so of feeling deflated and annoyed that I’d found an amazing offer but couldn’t make the most of it I decided not to let admin stand in my way. After all, I can’t even get a day return on the train for the whole family into London from where I live for £25, let alone being able to take us all to France for the day. I went ahead and booked the ferry tickets and then found a huge sheet of white card and took new passport photos for my husband and submitted them in the hope that he’d have a new passport before it was time for us to head to Dover. If his passport wasn’t there in time we’d only lose £25.

The good news was that the passport arrived on the Thursday (thanks Passport office!) and so on the Sunday we headed off bright and early for Dover and our trip to France. The youngest in the back of the car stupidly excited that she was off to another country for the day and would be back in time for school the next morning.

Dunkirk or Calais?

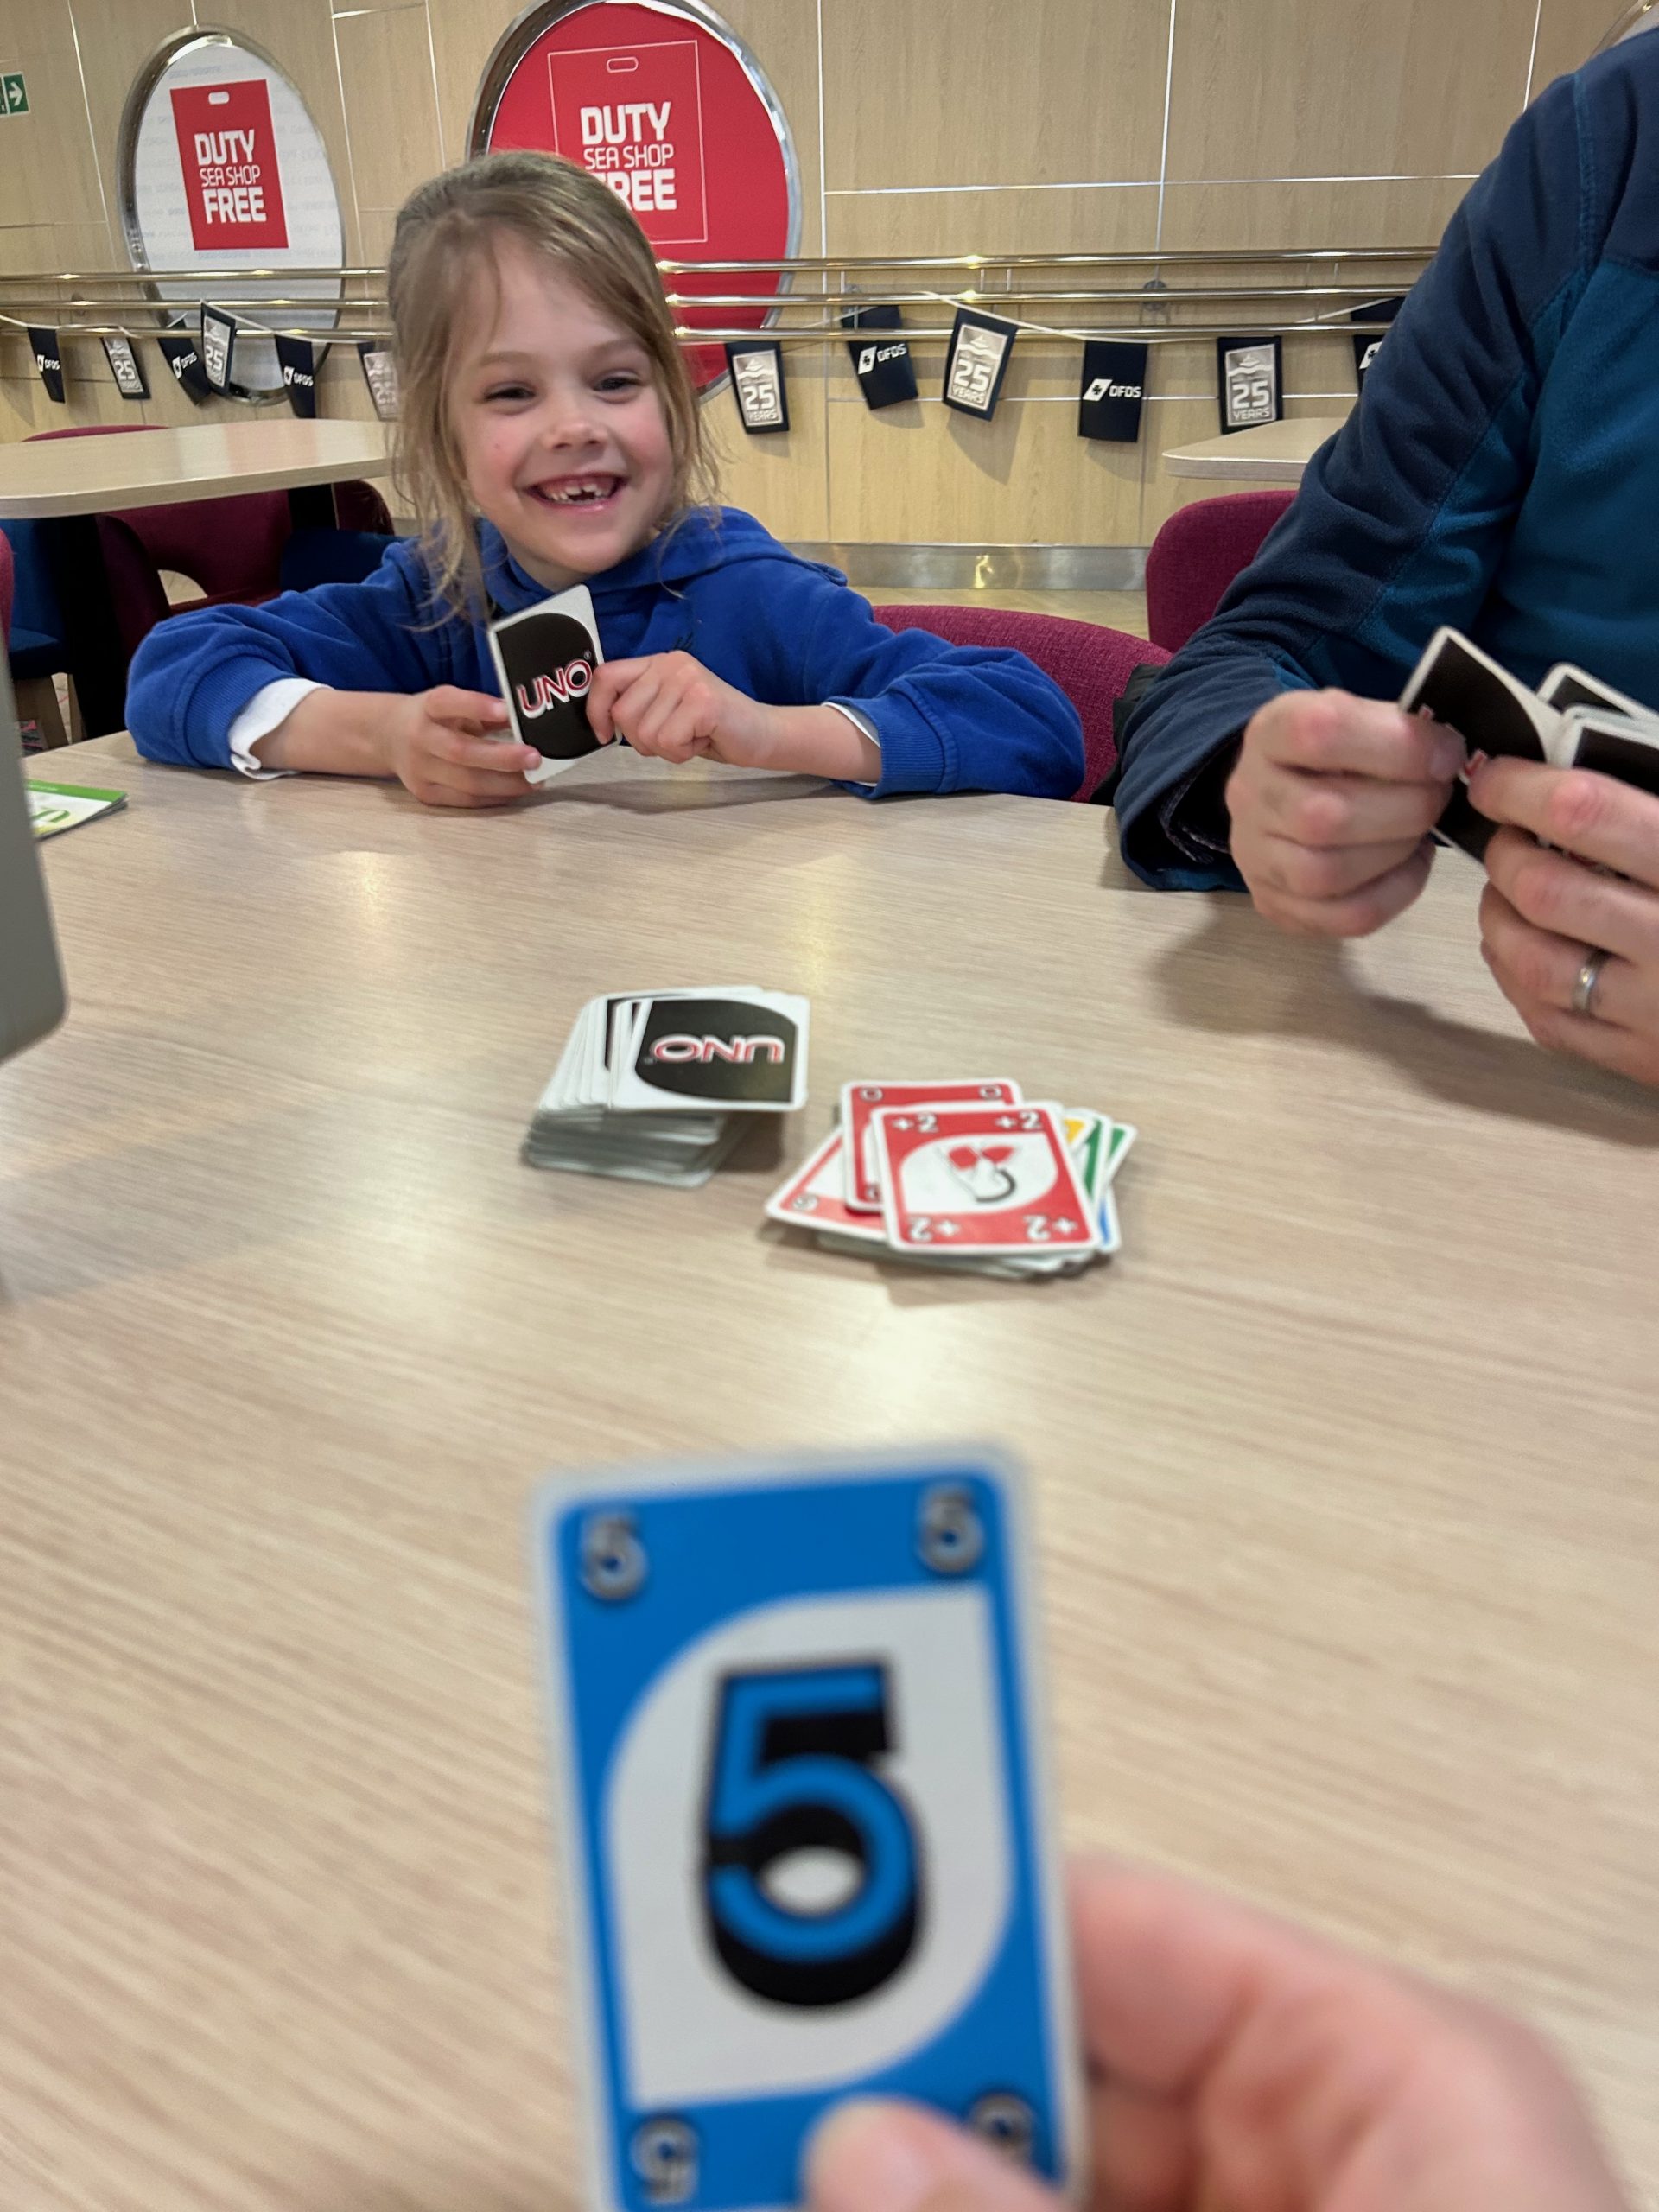
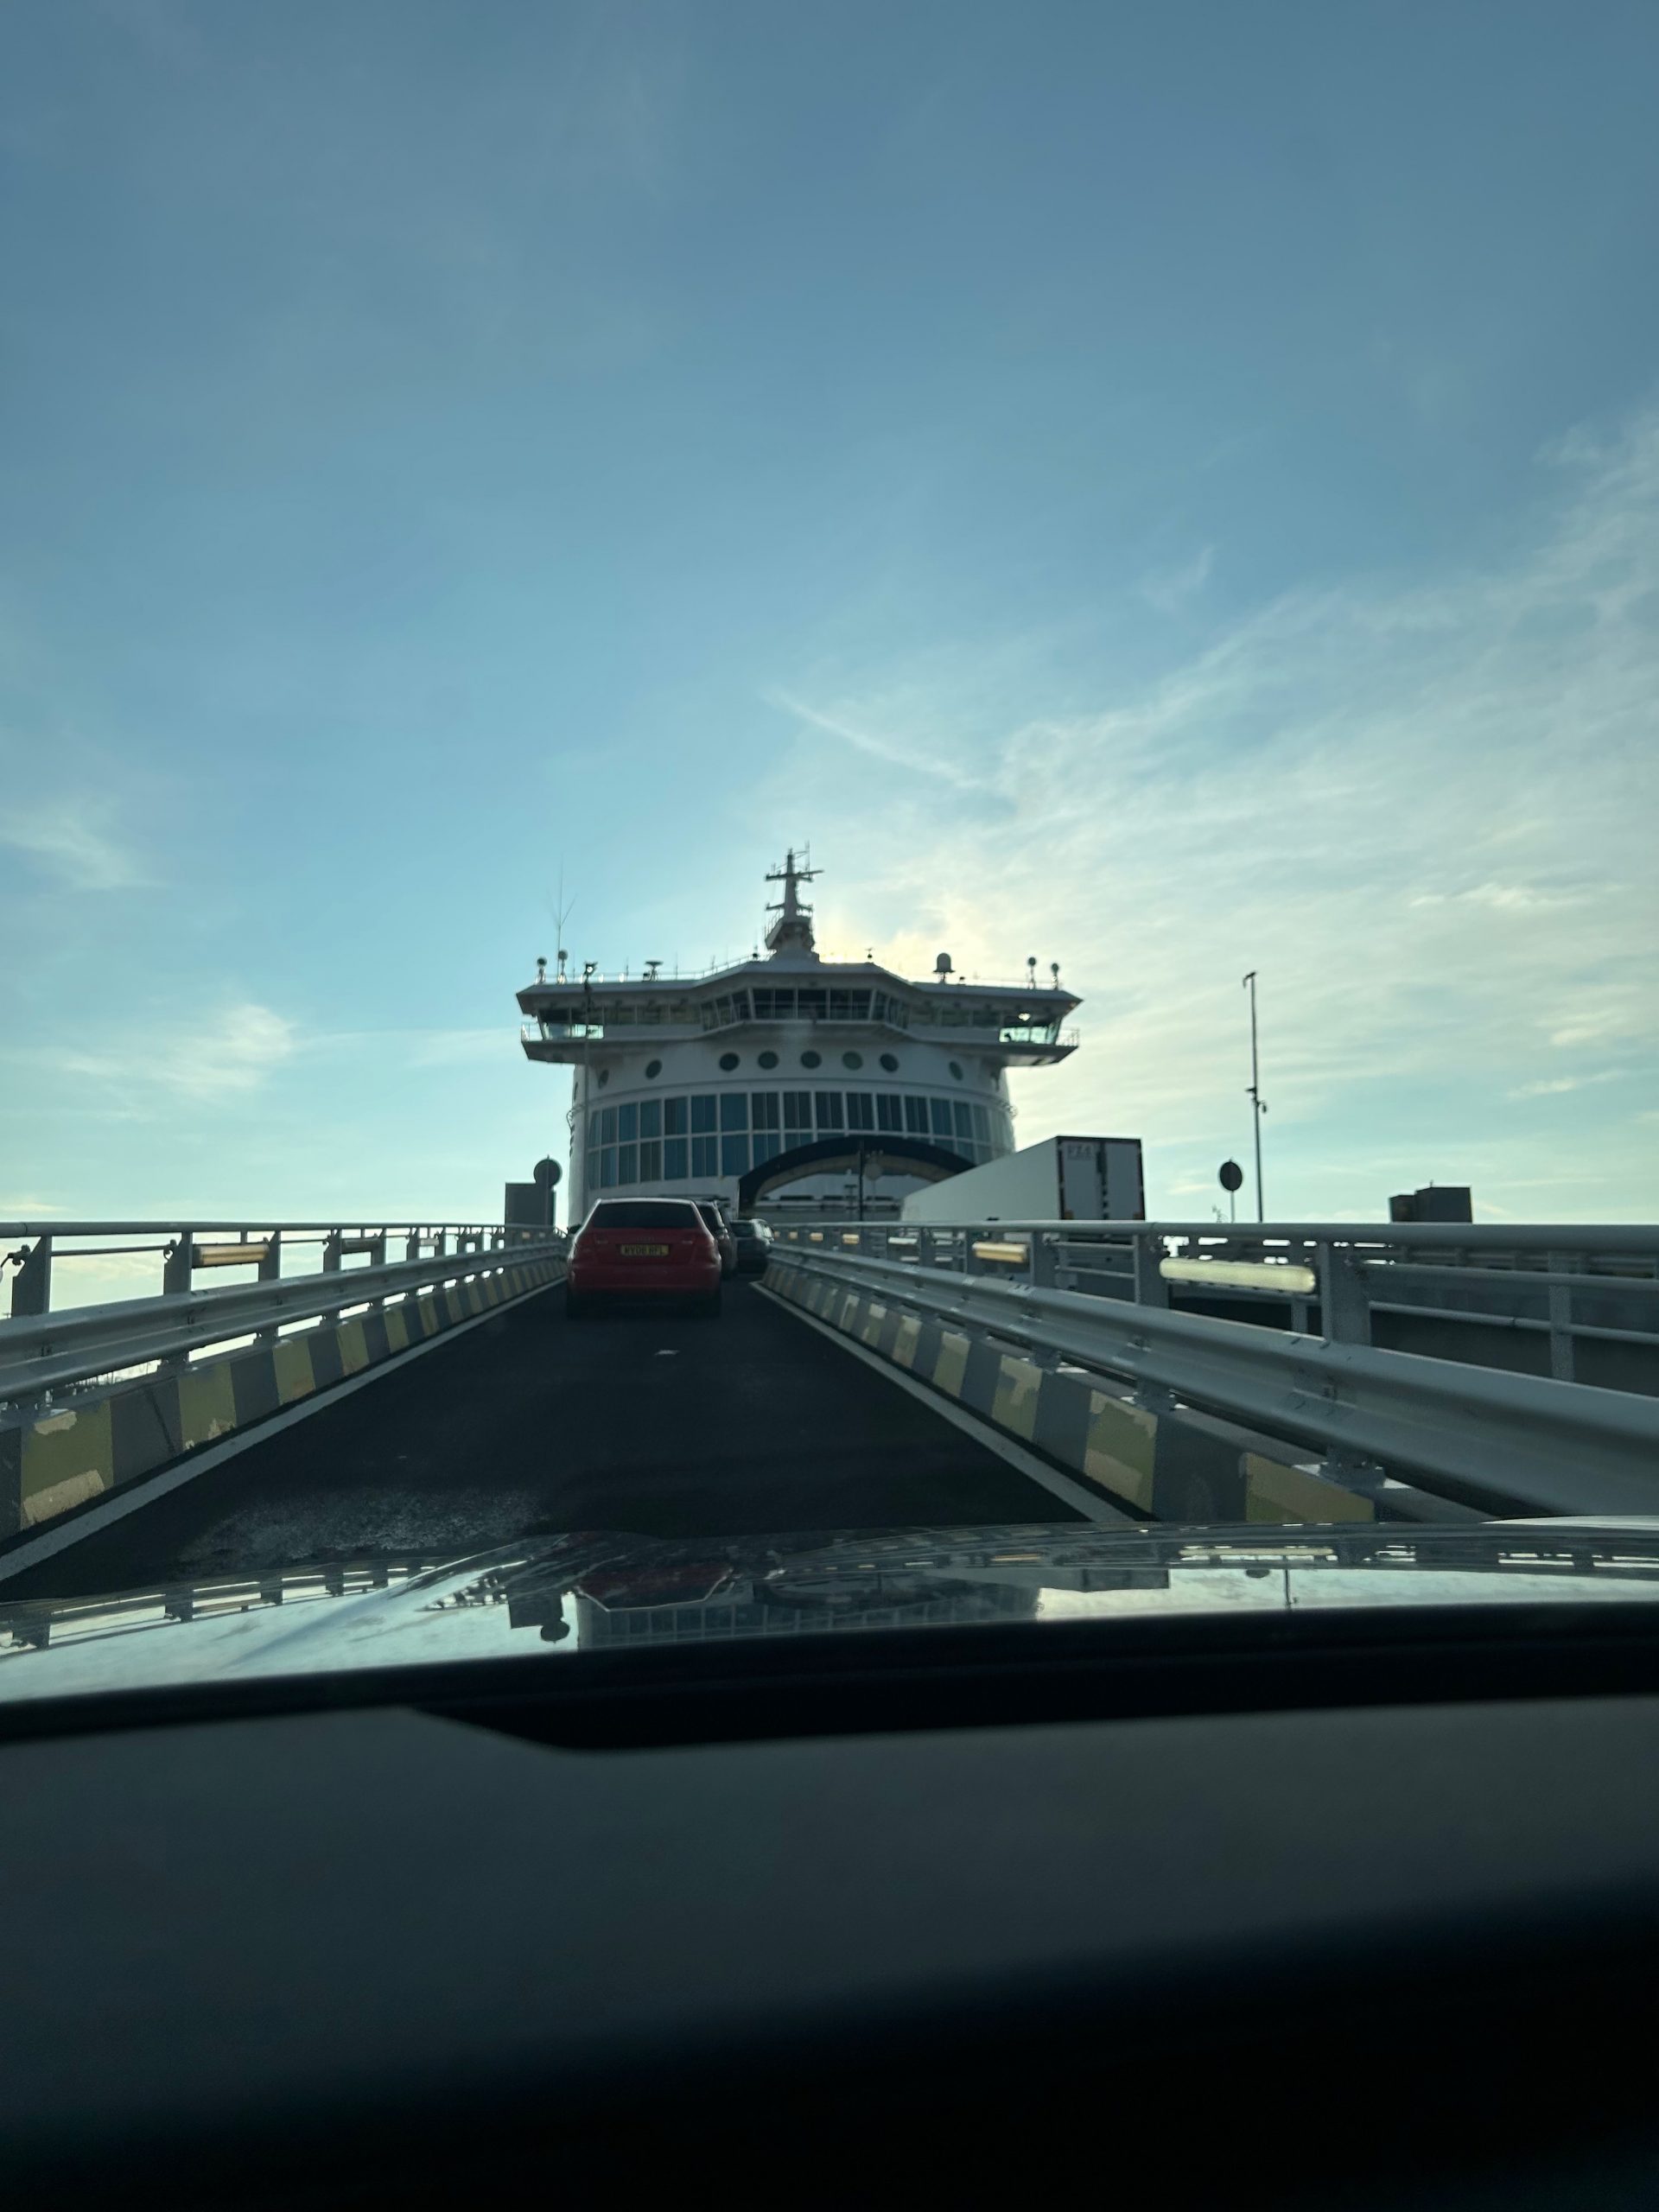
It’s a couple of hours from where we live to Dover and we’d done the trip a few months earlier to head over to Calais and the Opal Coast area of France, so we knew the drill quite well and where we might get held up en route. We left plenty of time and didn’t need our contingency. So much so that when we arrived at Dover and checked in the guy in the little booth said that there was space on the earlier sailing to Calais if we wanted to take it. Now that ferry was leaving a whole hour and twenty minutes earlier than ours, and the crossing is 30 minutes shorter than that to Dunkirk. We instantly decided to take it and drove aboard. Within 20 minutes we were pulling out of Dover feeling pretty chuffed with ourselves and starting the first Uno game of the day.

That’s the advantage of sailing with DFDS over Irish Ferries and P&O who also cover the Dover – Calais route. DFDS have the two routes and so if you manage to check in early and they have space they will often offer you a space on an earlier sailing to the other port.

It’s only an hour and a half to Calais and from there a 30-40 minute drive to Dunkirk so we knew that we had some time in hand so actually pulled over in Calais and enjoyed our sandwiches next to the beach watching the ferries roll in to the port of Calais. We’ve also discovered a place on the beach that sells incredibly cheap ice creams that we now have to take advantage of every time we’re passing!

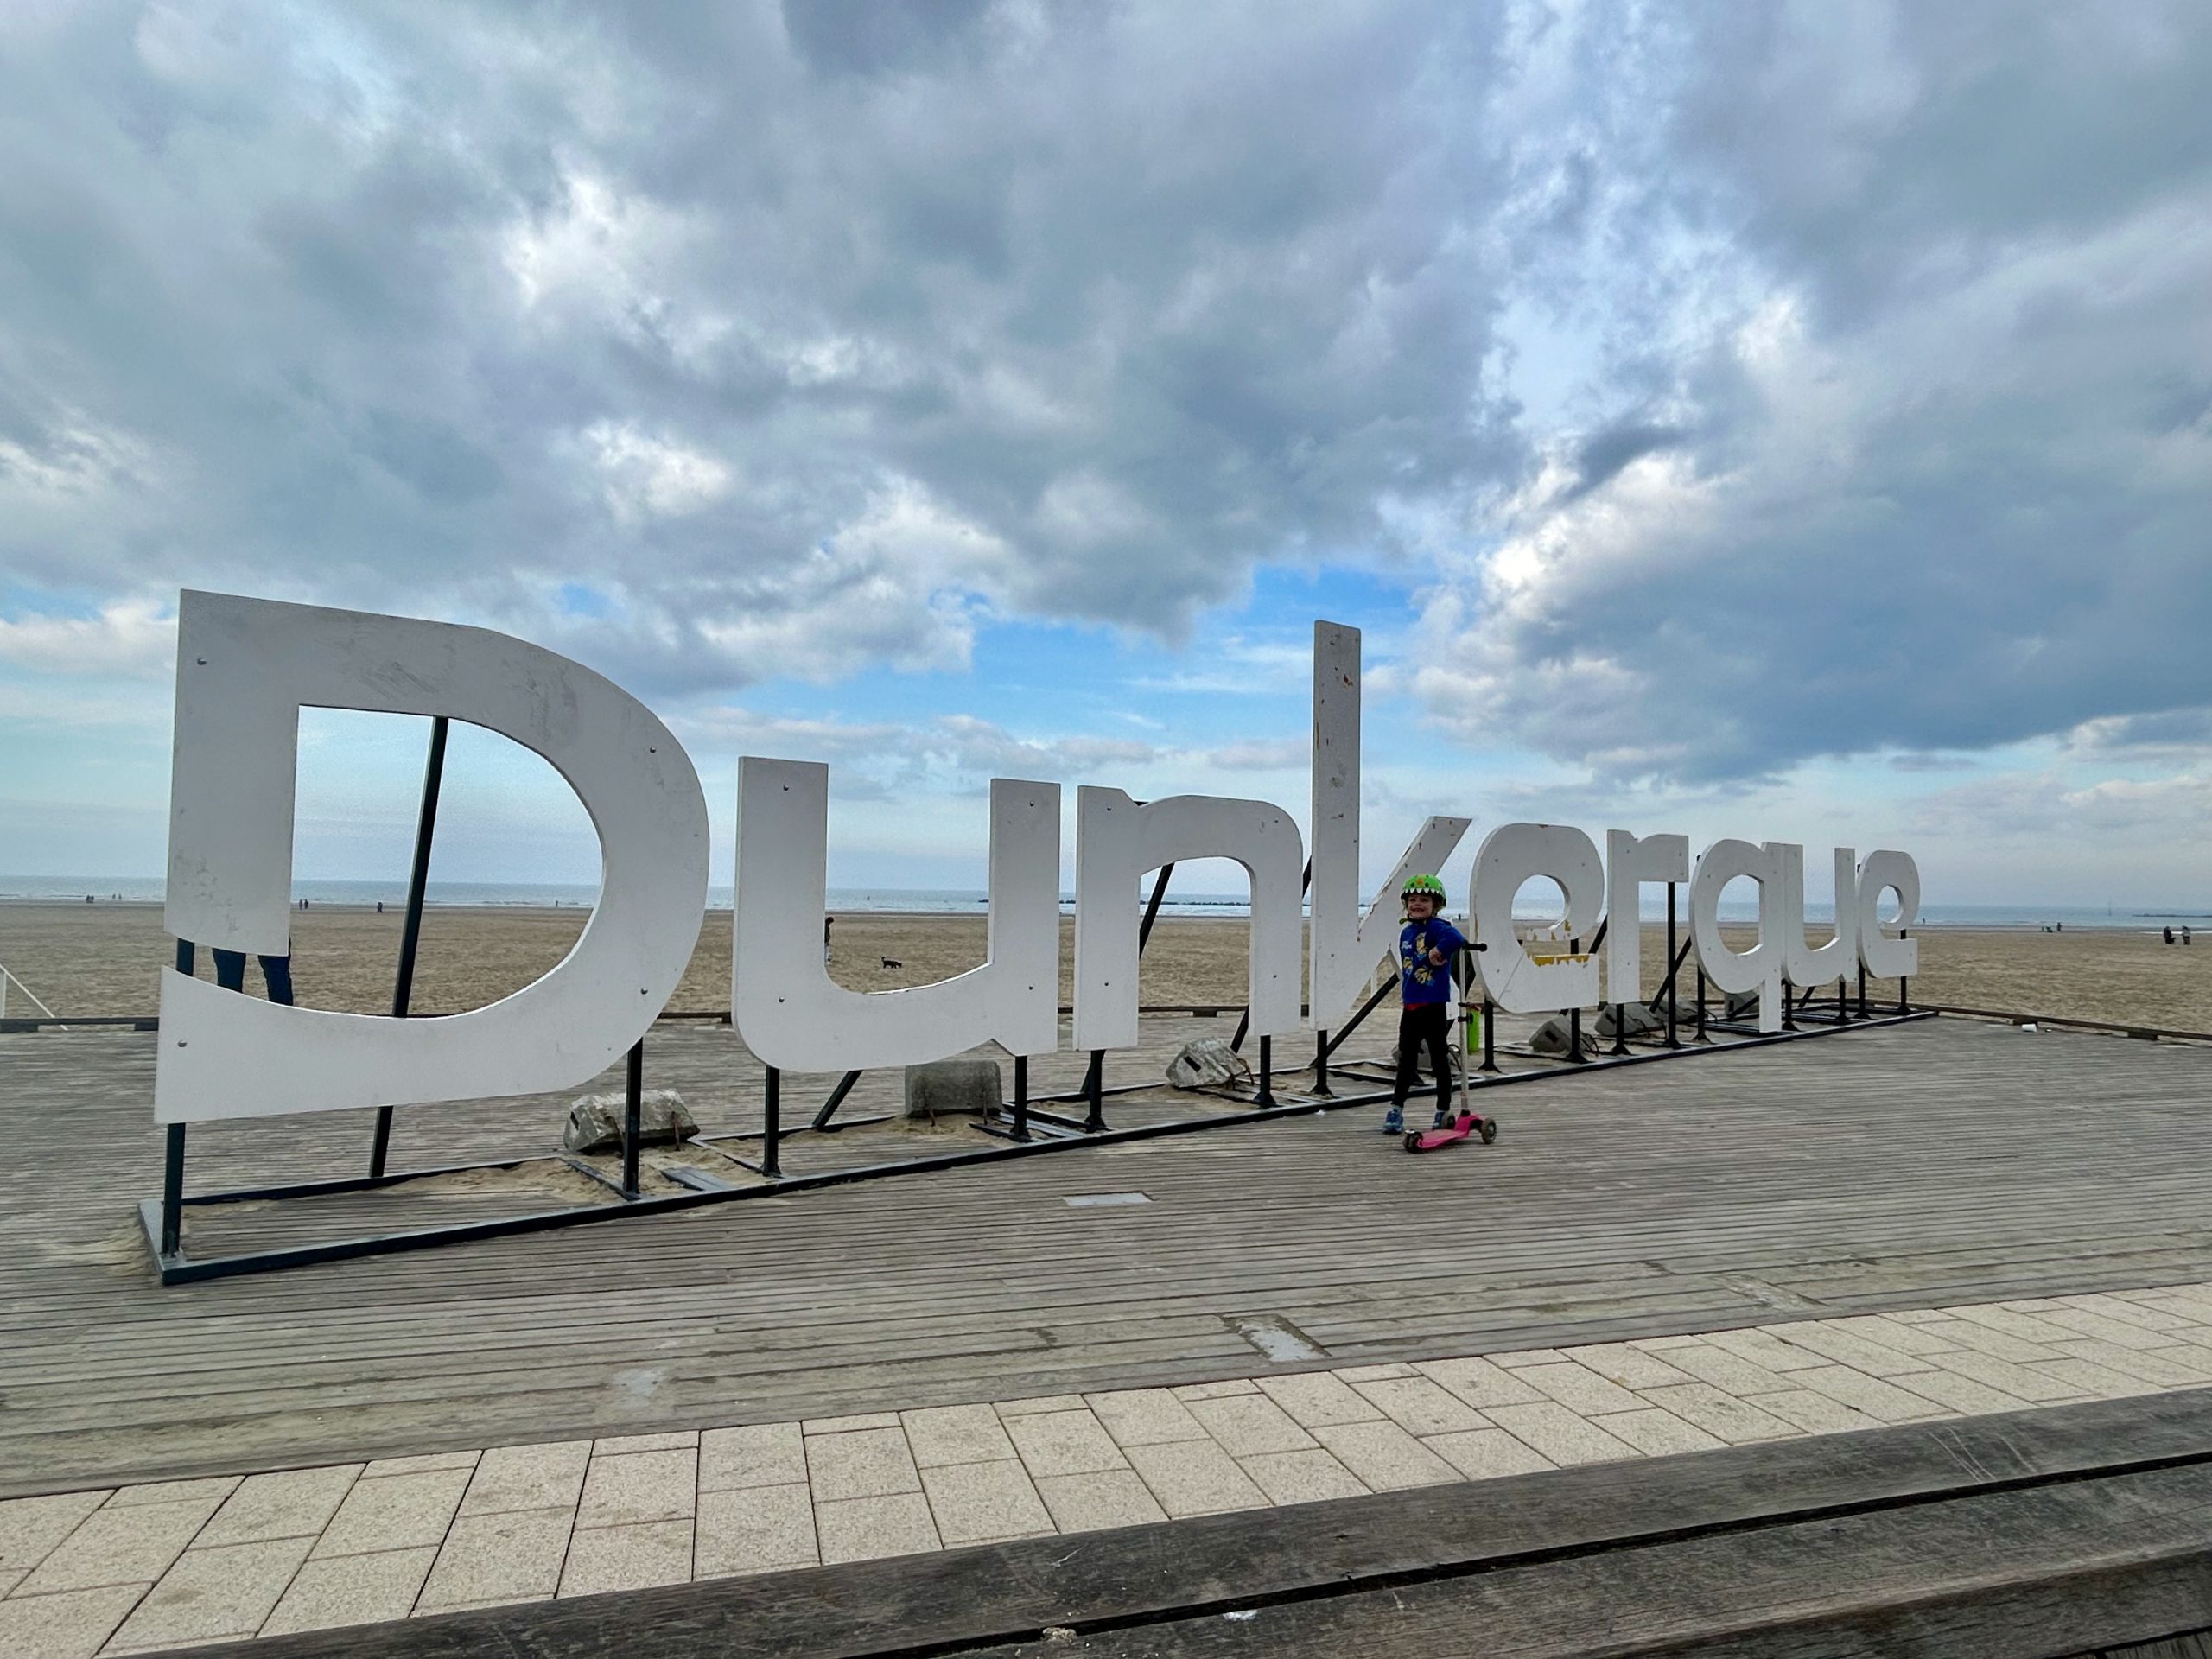
Having spent some time exploring Calais a few months earlier (and knowing that we were returning in just a matter of weeks on our way to another trip to the Netherlands) we pressed on to Dunkirk in the car. It was only 40 minutes from the beach in Calais to get there and we were thrilled to find space in a free car park near the beach.

WW2 and Operation Dynamo in Dunkirk

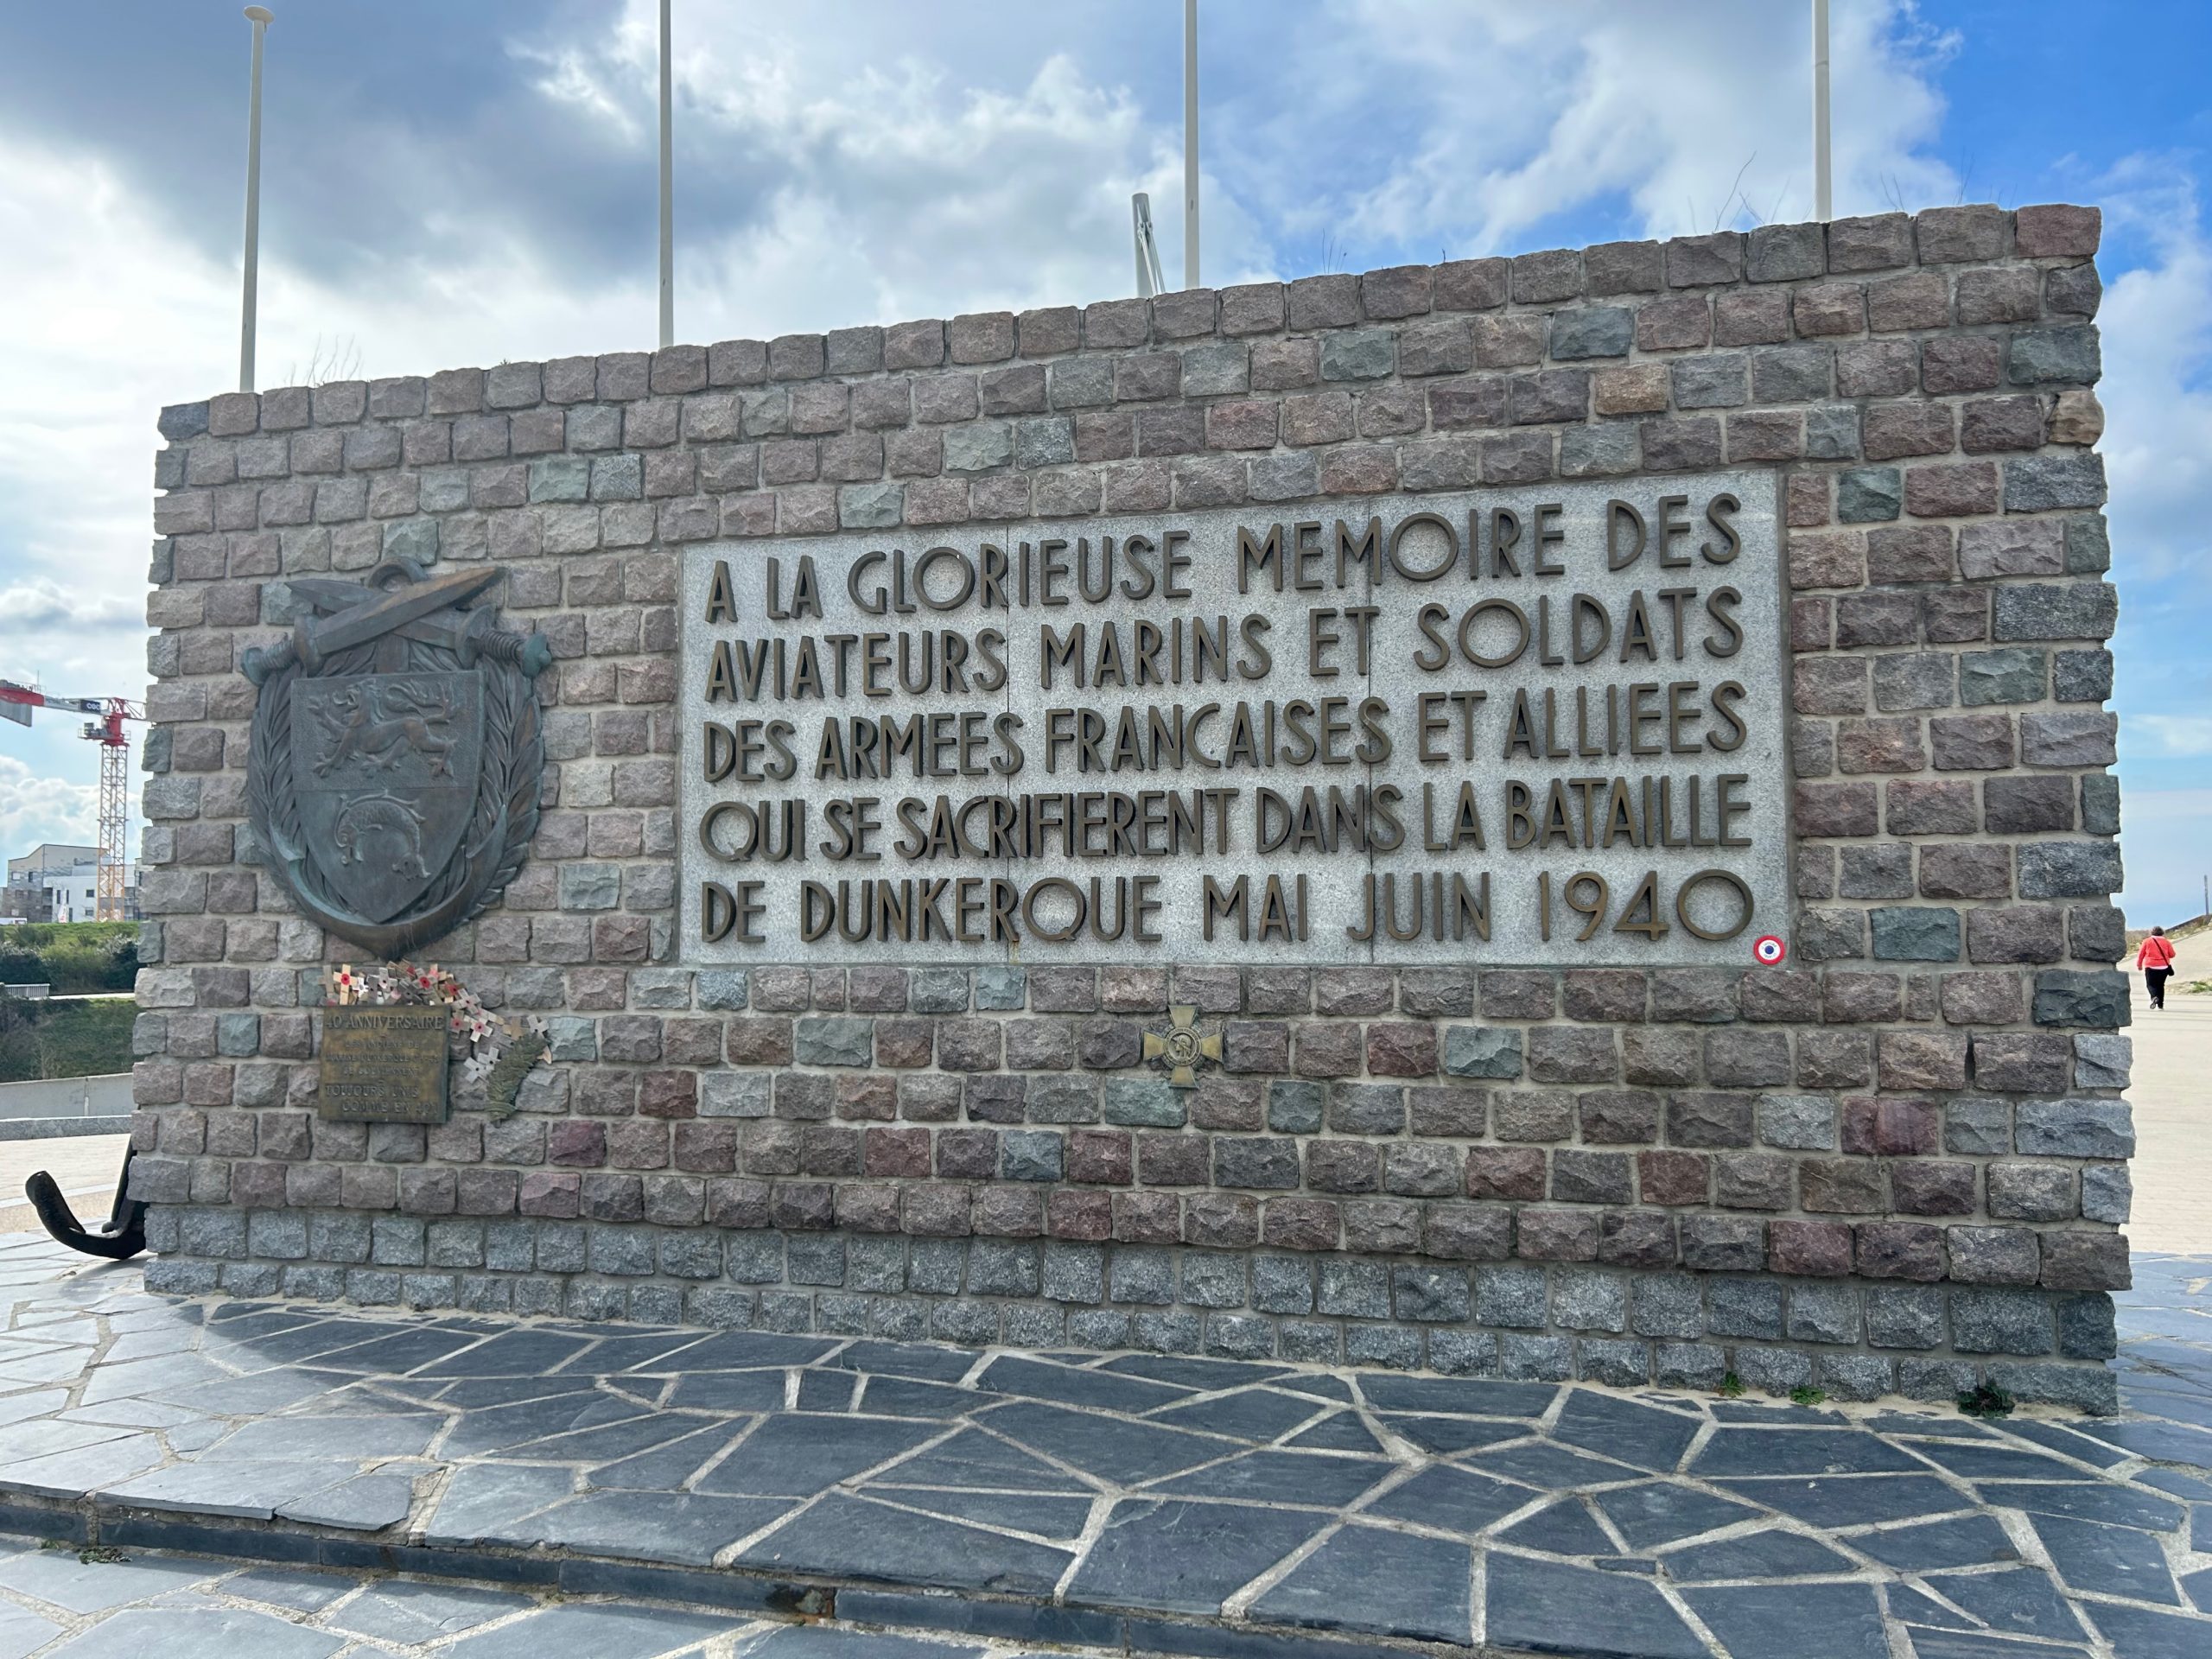
Now for me the main attraction of visiting Dunkirk was to see the beaches where Operation Dynamo had taken place during the Second World War. I had spent a term working in a Year 6 class where they had been studying WW2 and Operation Dynamo in particular. I remembered my parents saying that they had visited Dunkirk many years ago and my mum was actually quite disappointed that there wasn’t more there marking what had happened. She’d managed to find one memorial that the local tourist office had pointed her towards and that was it.

Since then though Holywood had been to Dunkirk in the form of the Christopher Nolan film and as a result it seems that money had been directed into marking what had happened there more for tourists visiting the area. Our previous trip down the Opal Coast had shown us that there was a definite interest in the Second World War in the area with several small museums along the coastline and lots of tourists heading for them. In Dunkirk there were several display boards along the beach with pictures from the evacuation and text in English and French explaining what had happened. I get the impression that these had been paid for with money from the film.

It was also evident to us that money was being directed into the beach area to attract tourists more generally. As well as new apartment blocks and cafes and restaurants there was also a sparkling looking Hotel and Spa from Radisson Blu right next to the beach which looked like a lovely place to stay.

For our daughter the history side of things was secondary to being in a different country for her lunch and she was equally thrilled that we’d thrown her scooter in the back of the car, as it meant she was able to scoot along the seafront to her heart’s content whilst we took in some of the history.

With the trip planned so quickly and a busy time at work meaning we hadn’t done much prep we were also delighted to find that there was now a museum all about Operation Dynamo close by and, although we didn’t have time that day to go, we made a mental note to return and visit.

Before we knew it we were jumping back in the car and heading to the port in Dunkirk for our ferry home. It is worth noting though that the port in Dunkirk is to the south of the town, towards Calais, so really there isn’t all that much difference in overall time when you compare sailing to Calais and driving up the coast. Especially so when you think about the ferry taking an extra 30 minutes to get to Dunkirk.

After a little bit of a problem at passport control (when the French officers forgot to stamp me out of the country and instead stamped my husband’s new passport out twice!) we managed to get the UK Border Force to help us make sure I was officially and legally out of France before we boarded the ferry home.

The ease and calmness of ferry travel

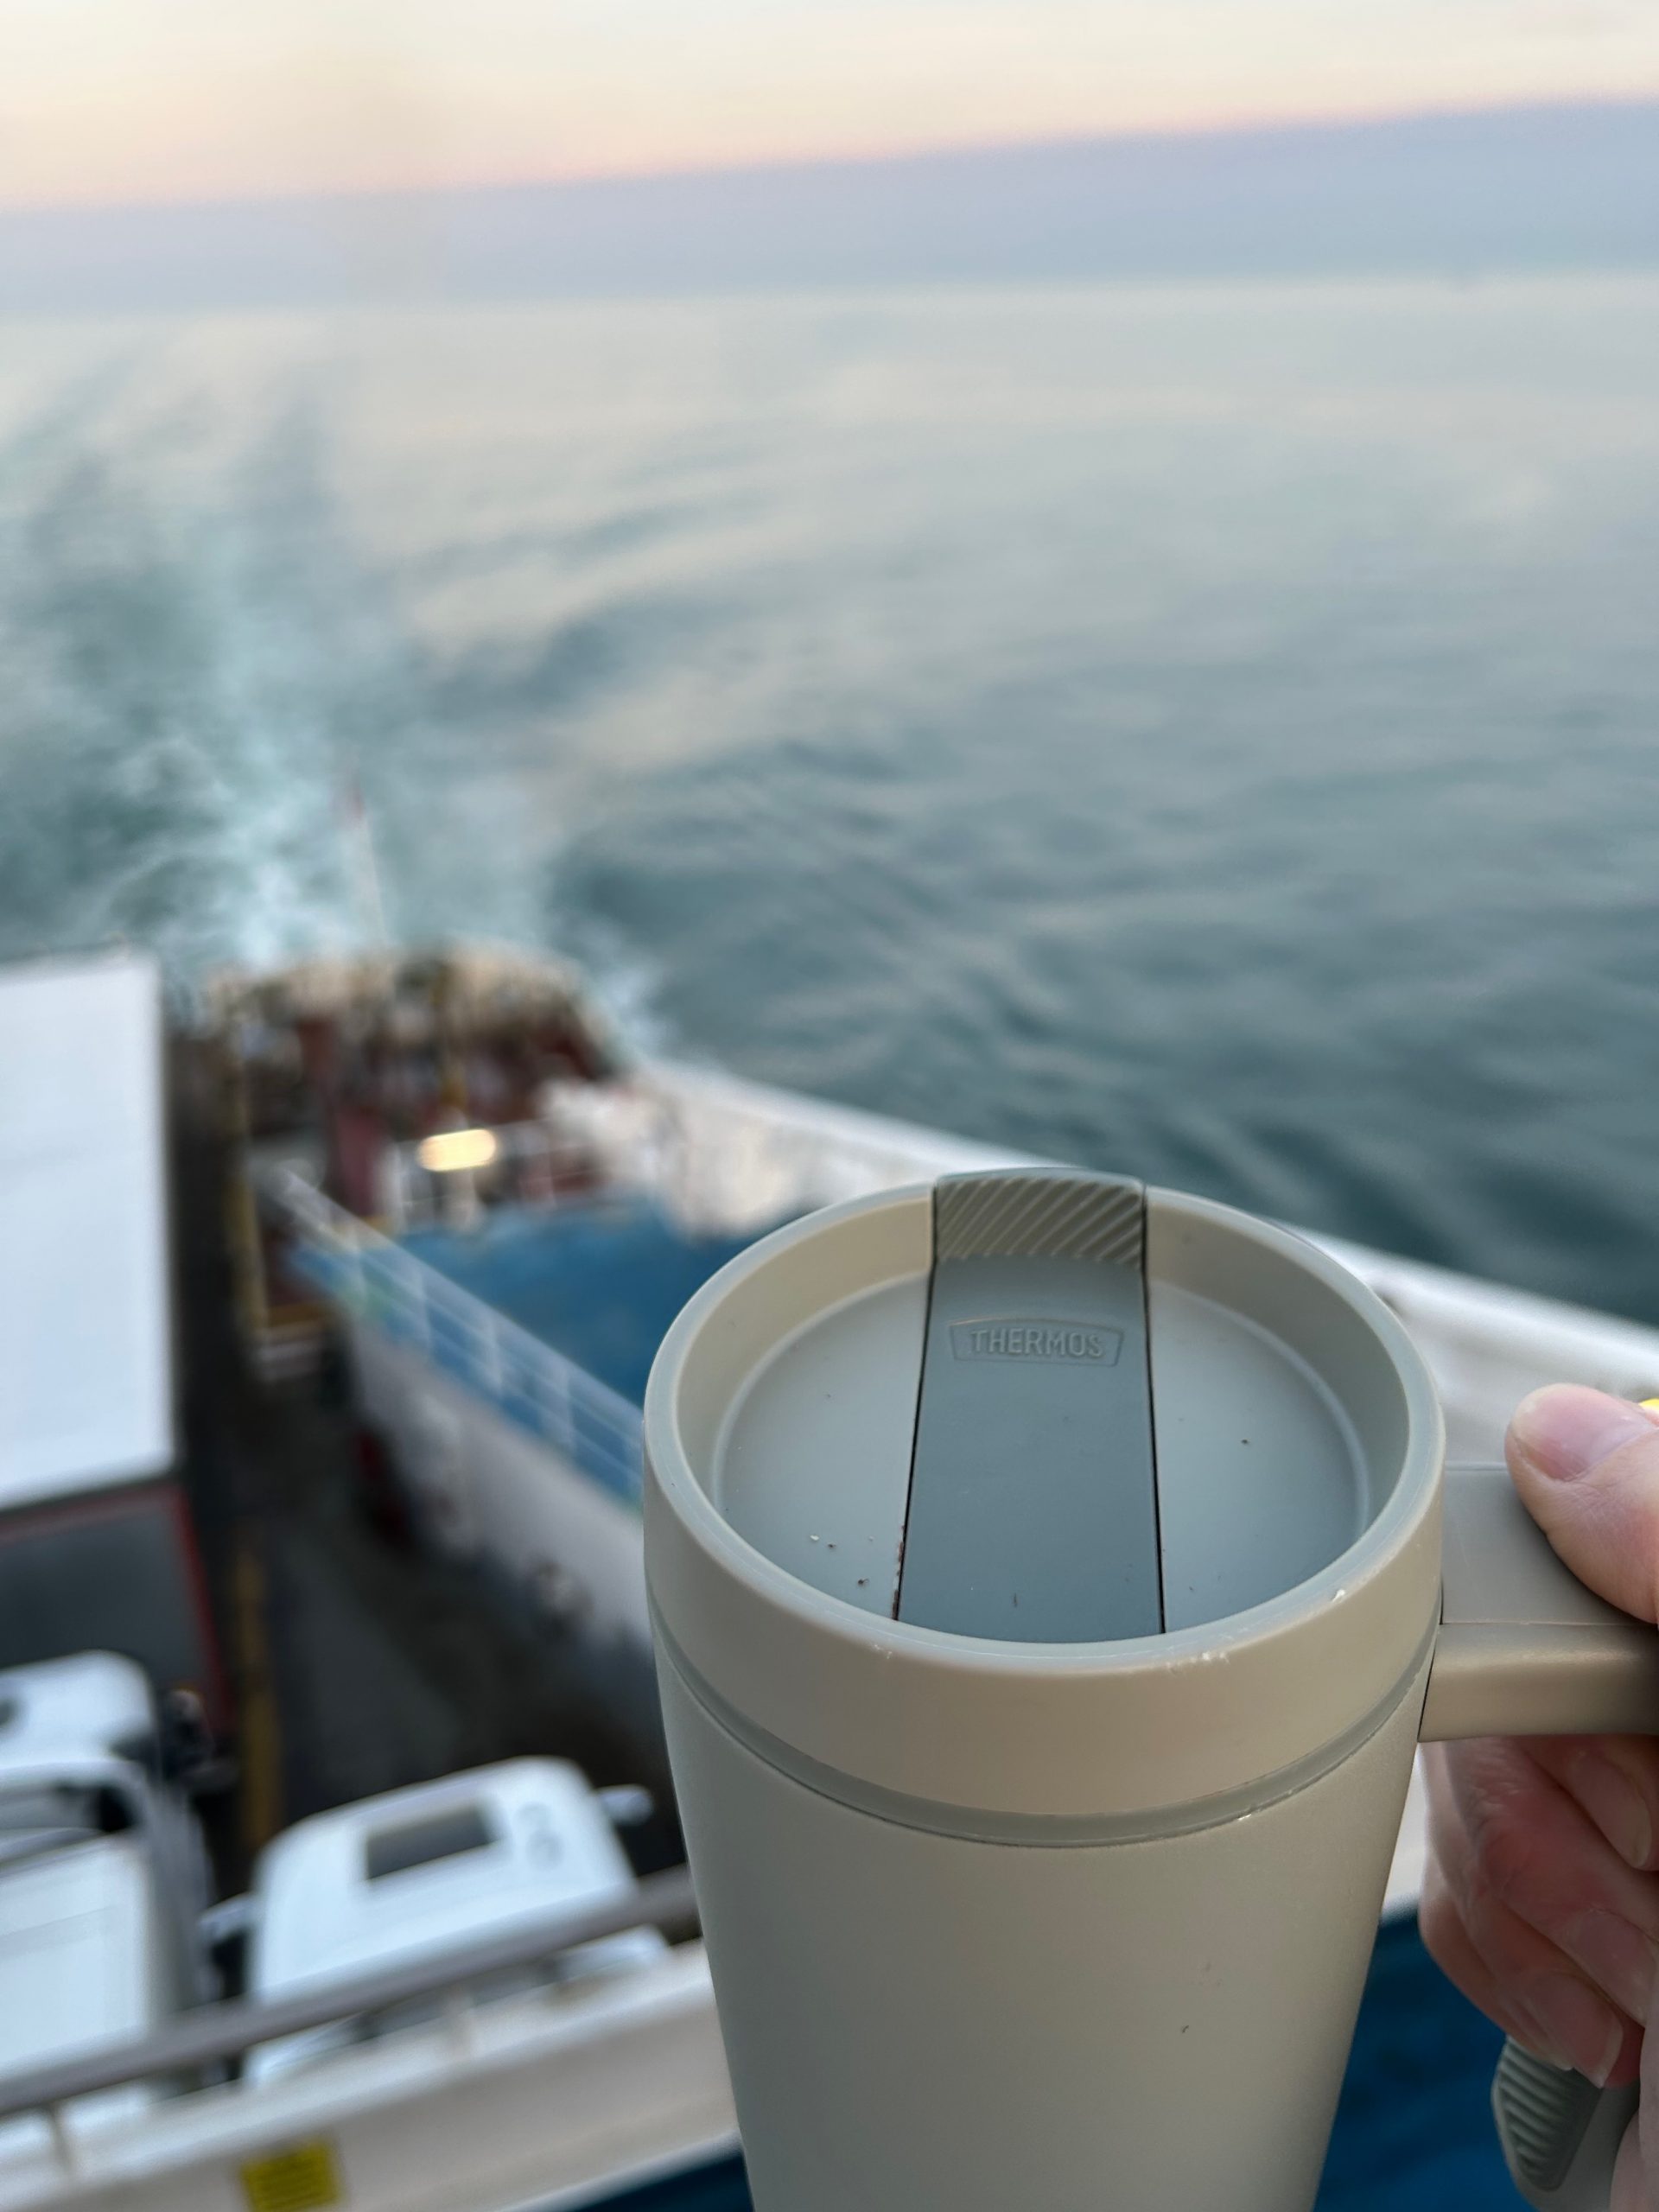
The two hour sailing was a breeze and I have to admit to being a huge fan of the convenience and calmness of taking the ferry over to France rather than flying. Just being able to sit on deck with a cup of tea and take in the sea air is a huge positive for me rather than being cramped in a plane. Yes the meal on the ferry home did cost more than the return ferry tickets, but overall it was still far cheaper than a day trip to London and a meal out there.

I said we’d return and take in the museum there, but it was only when we then visited my mum at Easter and told her about the trip and she said the words “oh I wouldn’t mind returning to Dunkirk for the day” that we put another plan in action. It just goes to show that Extreme Day Trips don’t only involve flying!

Filed Under: Family Days Out, France, Sea Travel Tagged With: Calais, day trip, DFDS, Dover, Dunkirk, Extreme Day Trip, ferry, ferry travel, Operation Dynamo

Central Tramway Company – Scarborough’s Cliff Railway

April 17, 2024 by Penny Leave a Comment

Scarborough is a popular North Yorkshire seaside town that many think of as on two levels. The bays are obviously at sea level, but the main part of the town with shops and accommodation is at the top of the cliff. Walking down to the bay can be quite nice, but the trip back up, especially after a long day is hard going. Even more so if you have children with you. There’s no wonder then that over the years Scarborough has had a total of five cliff lifts, or cliff railways, and two of them remain operational today. Possibly the most famous being the Central Tramway Company.

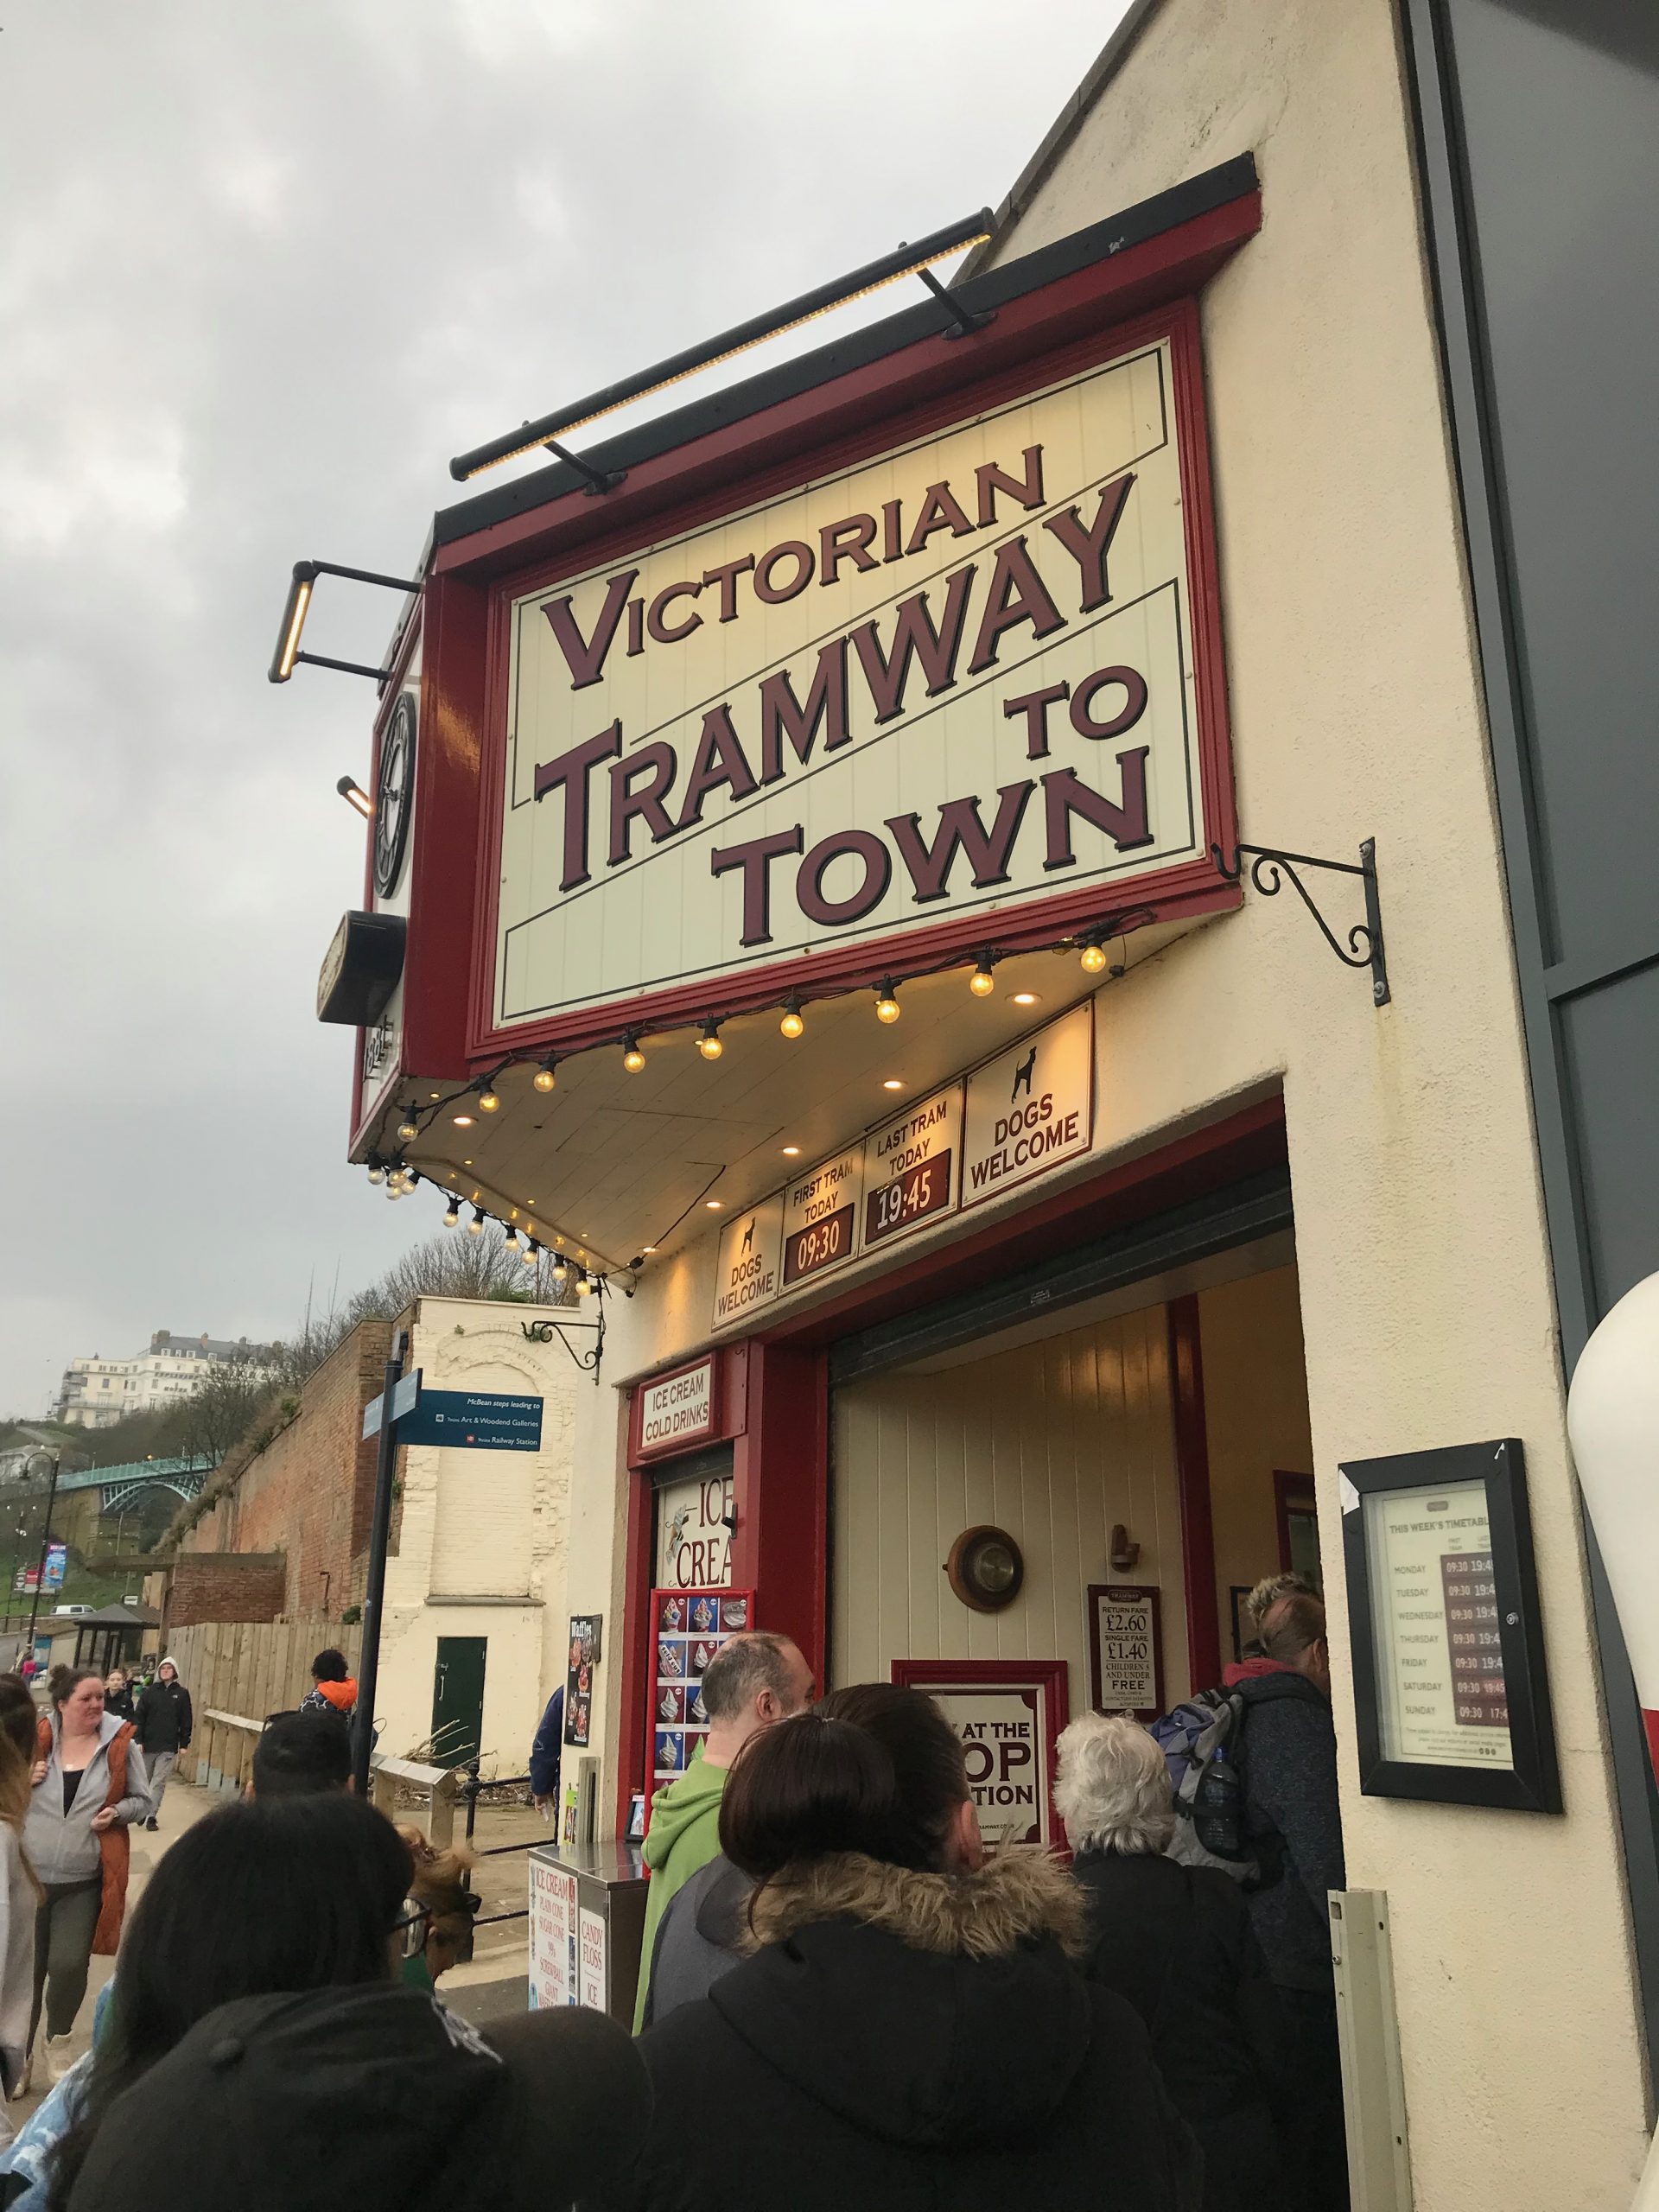
A picture of the outside of the lower station on teh Central Tramway Company. The sign reads Victorian Tramway to Town.
The entrance to the tramway on the South Bay

Where to find Scarborough’s Cliff Railway

Running on Scarborough’s South Bay the top station is located between the Grand Hotel and the Town Hall and the bottom one is next to the massive Olympia amusement arcade. For most of the year the railway runs 7 days of the week, with only some weekday closures in December and January for maintenance. Normally open by 10am, the railway runs until 9.45pm in the summer months.

The history of Scarborough’s Cliff Railway

Originally built in 1881 the Central Tramway got its name because its was centrally located between two other cliff railways in the town – the South Cliff Tramway Company (now the Spa Cliff Lift, which is still operating) and the Queens Parade Cliff Lift (closed in 1887).

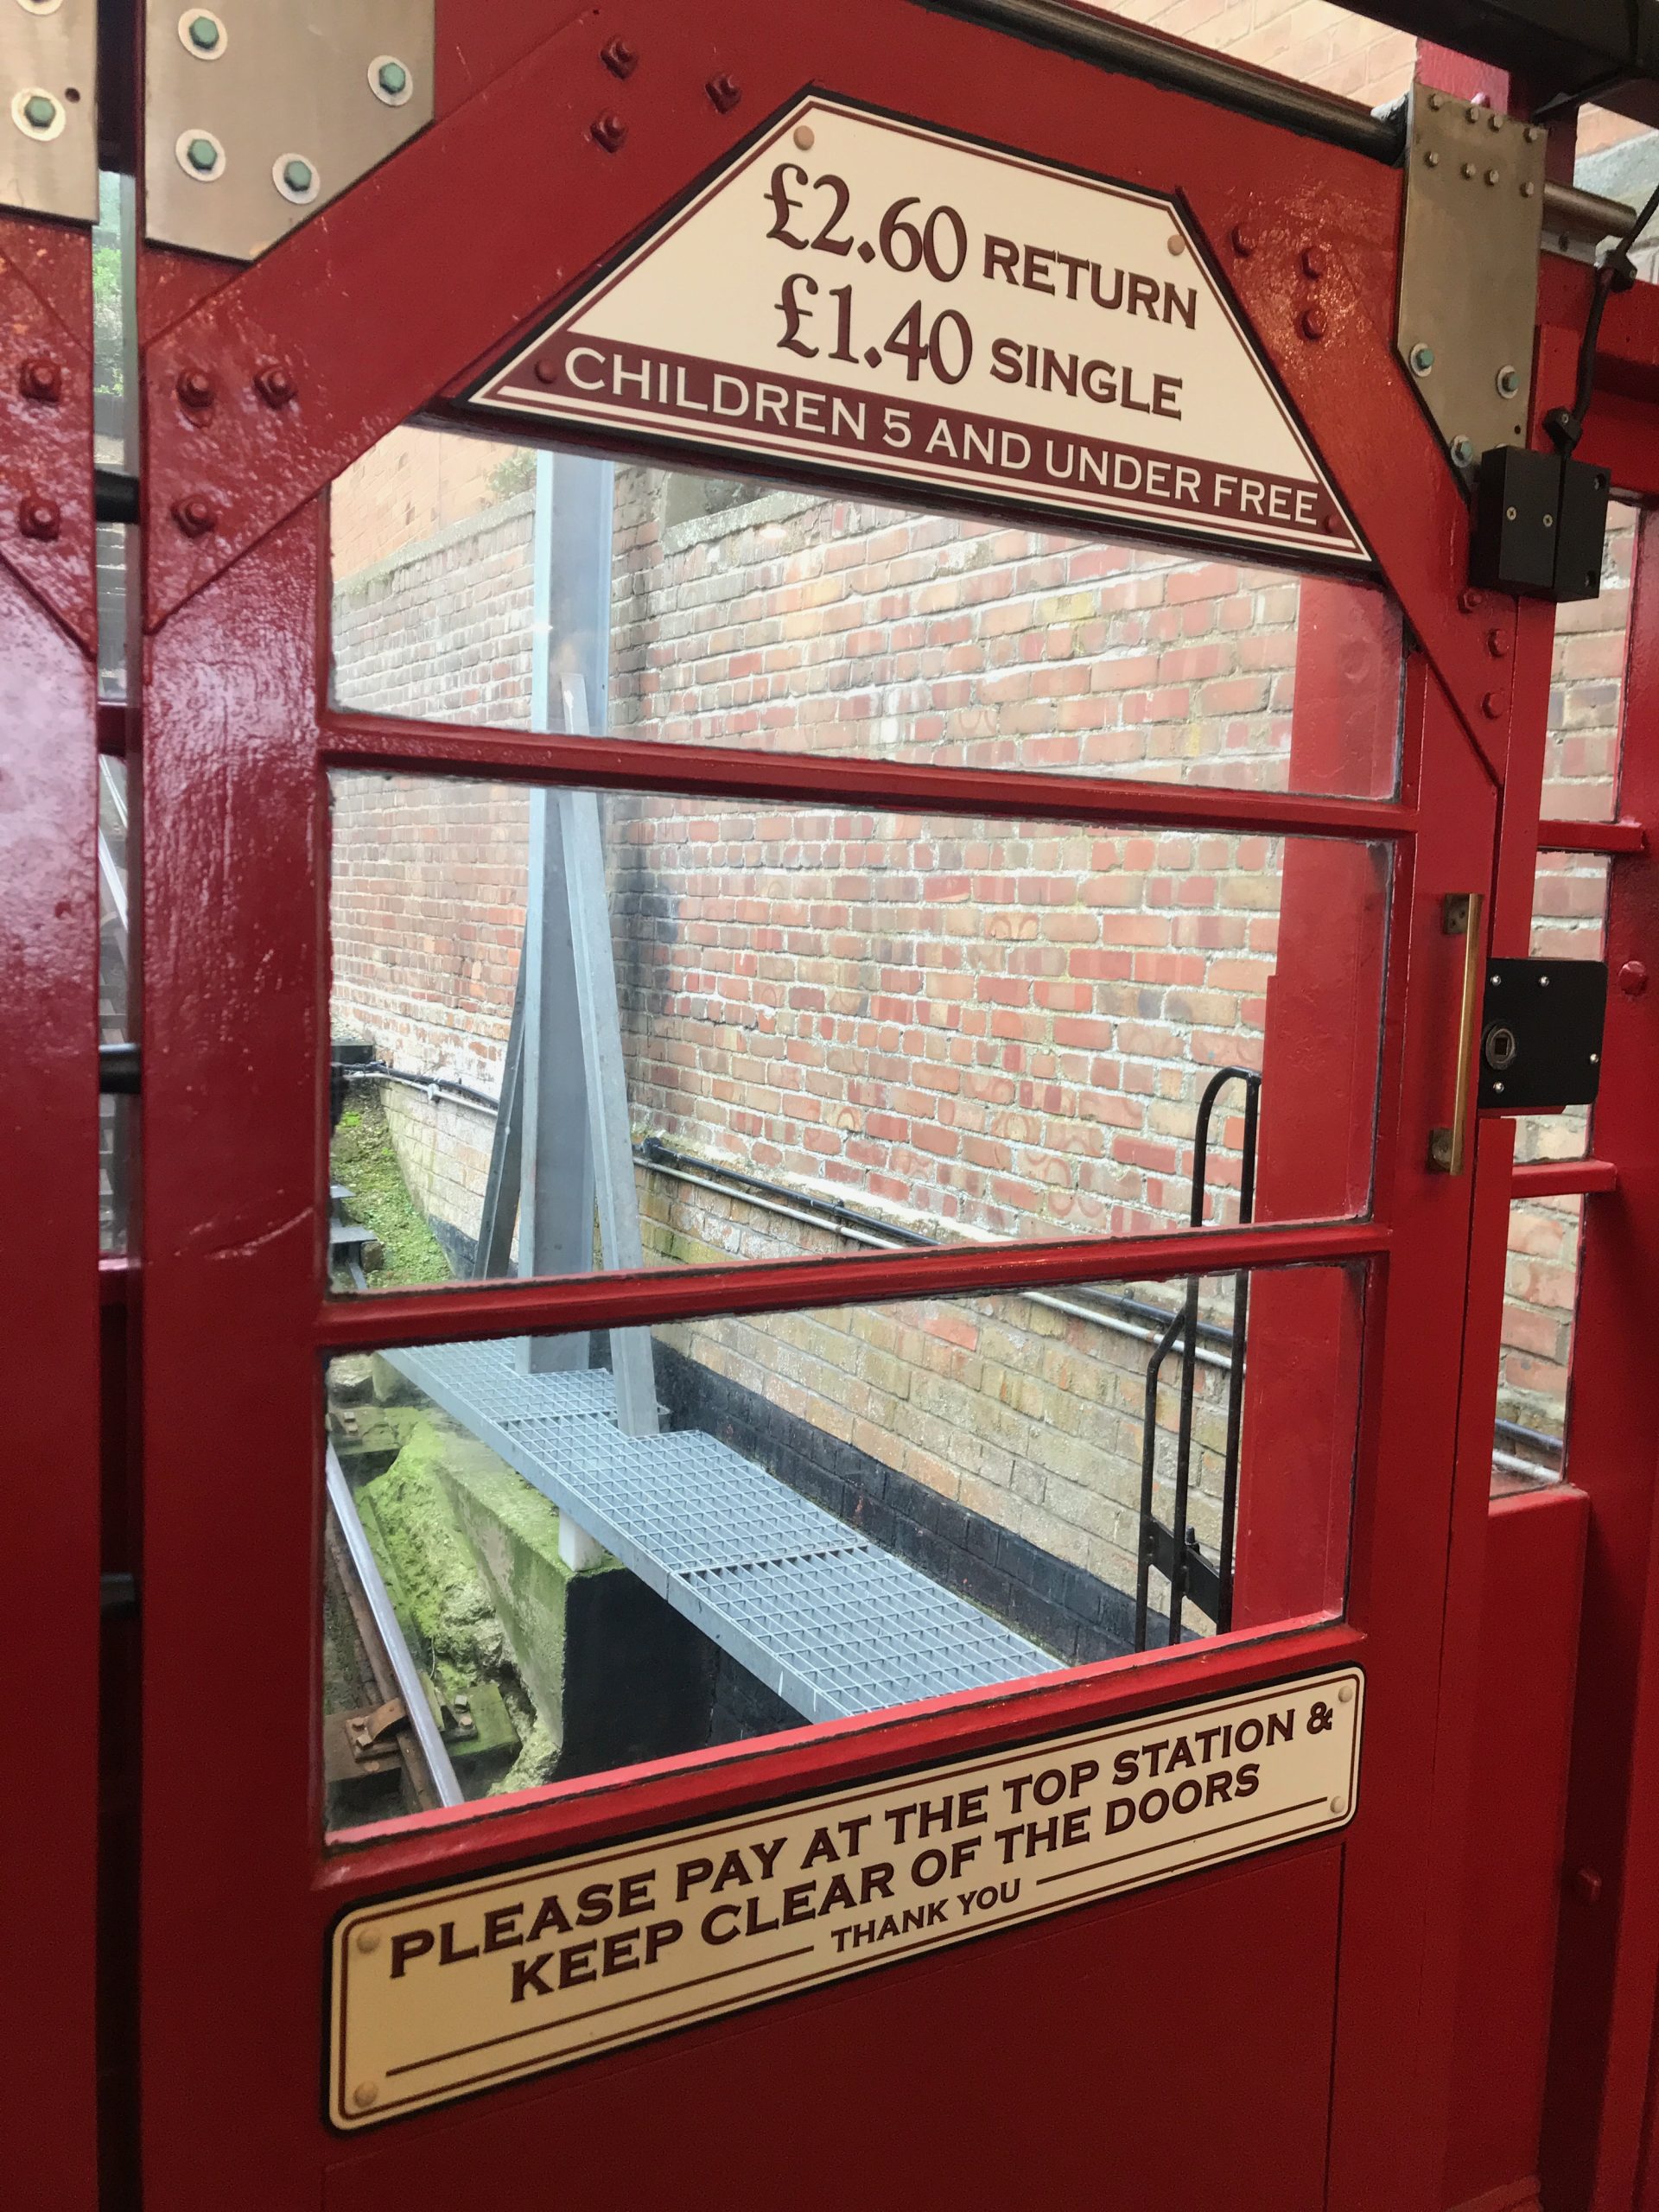
Inside one of the tramcars. Fares correct as of April 2024.

The first Tramway (the South Cliff one) linked the hotels of the South Cliff Esplanade with the panoramic South Bay beach and entertainment venue of the Spa and had been so popular with tourists that local business men were keen to repeat that success.

The Central Tramway Company now holds the position of the oldest surviving Tramway Company in the UK.

Technical facts

The gauge of the railway is 4 ft 8+1⁄2 in (1,435 mm) and there is a track length of 248 feet (76 m). There is a gradient of 1:2. The tramway being a funicular means that both cars are attached to each other with cables and as one car ascends the other descends.

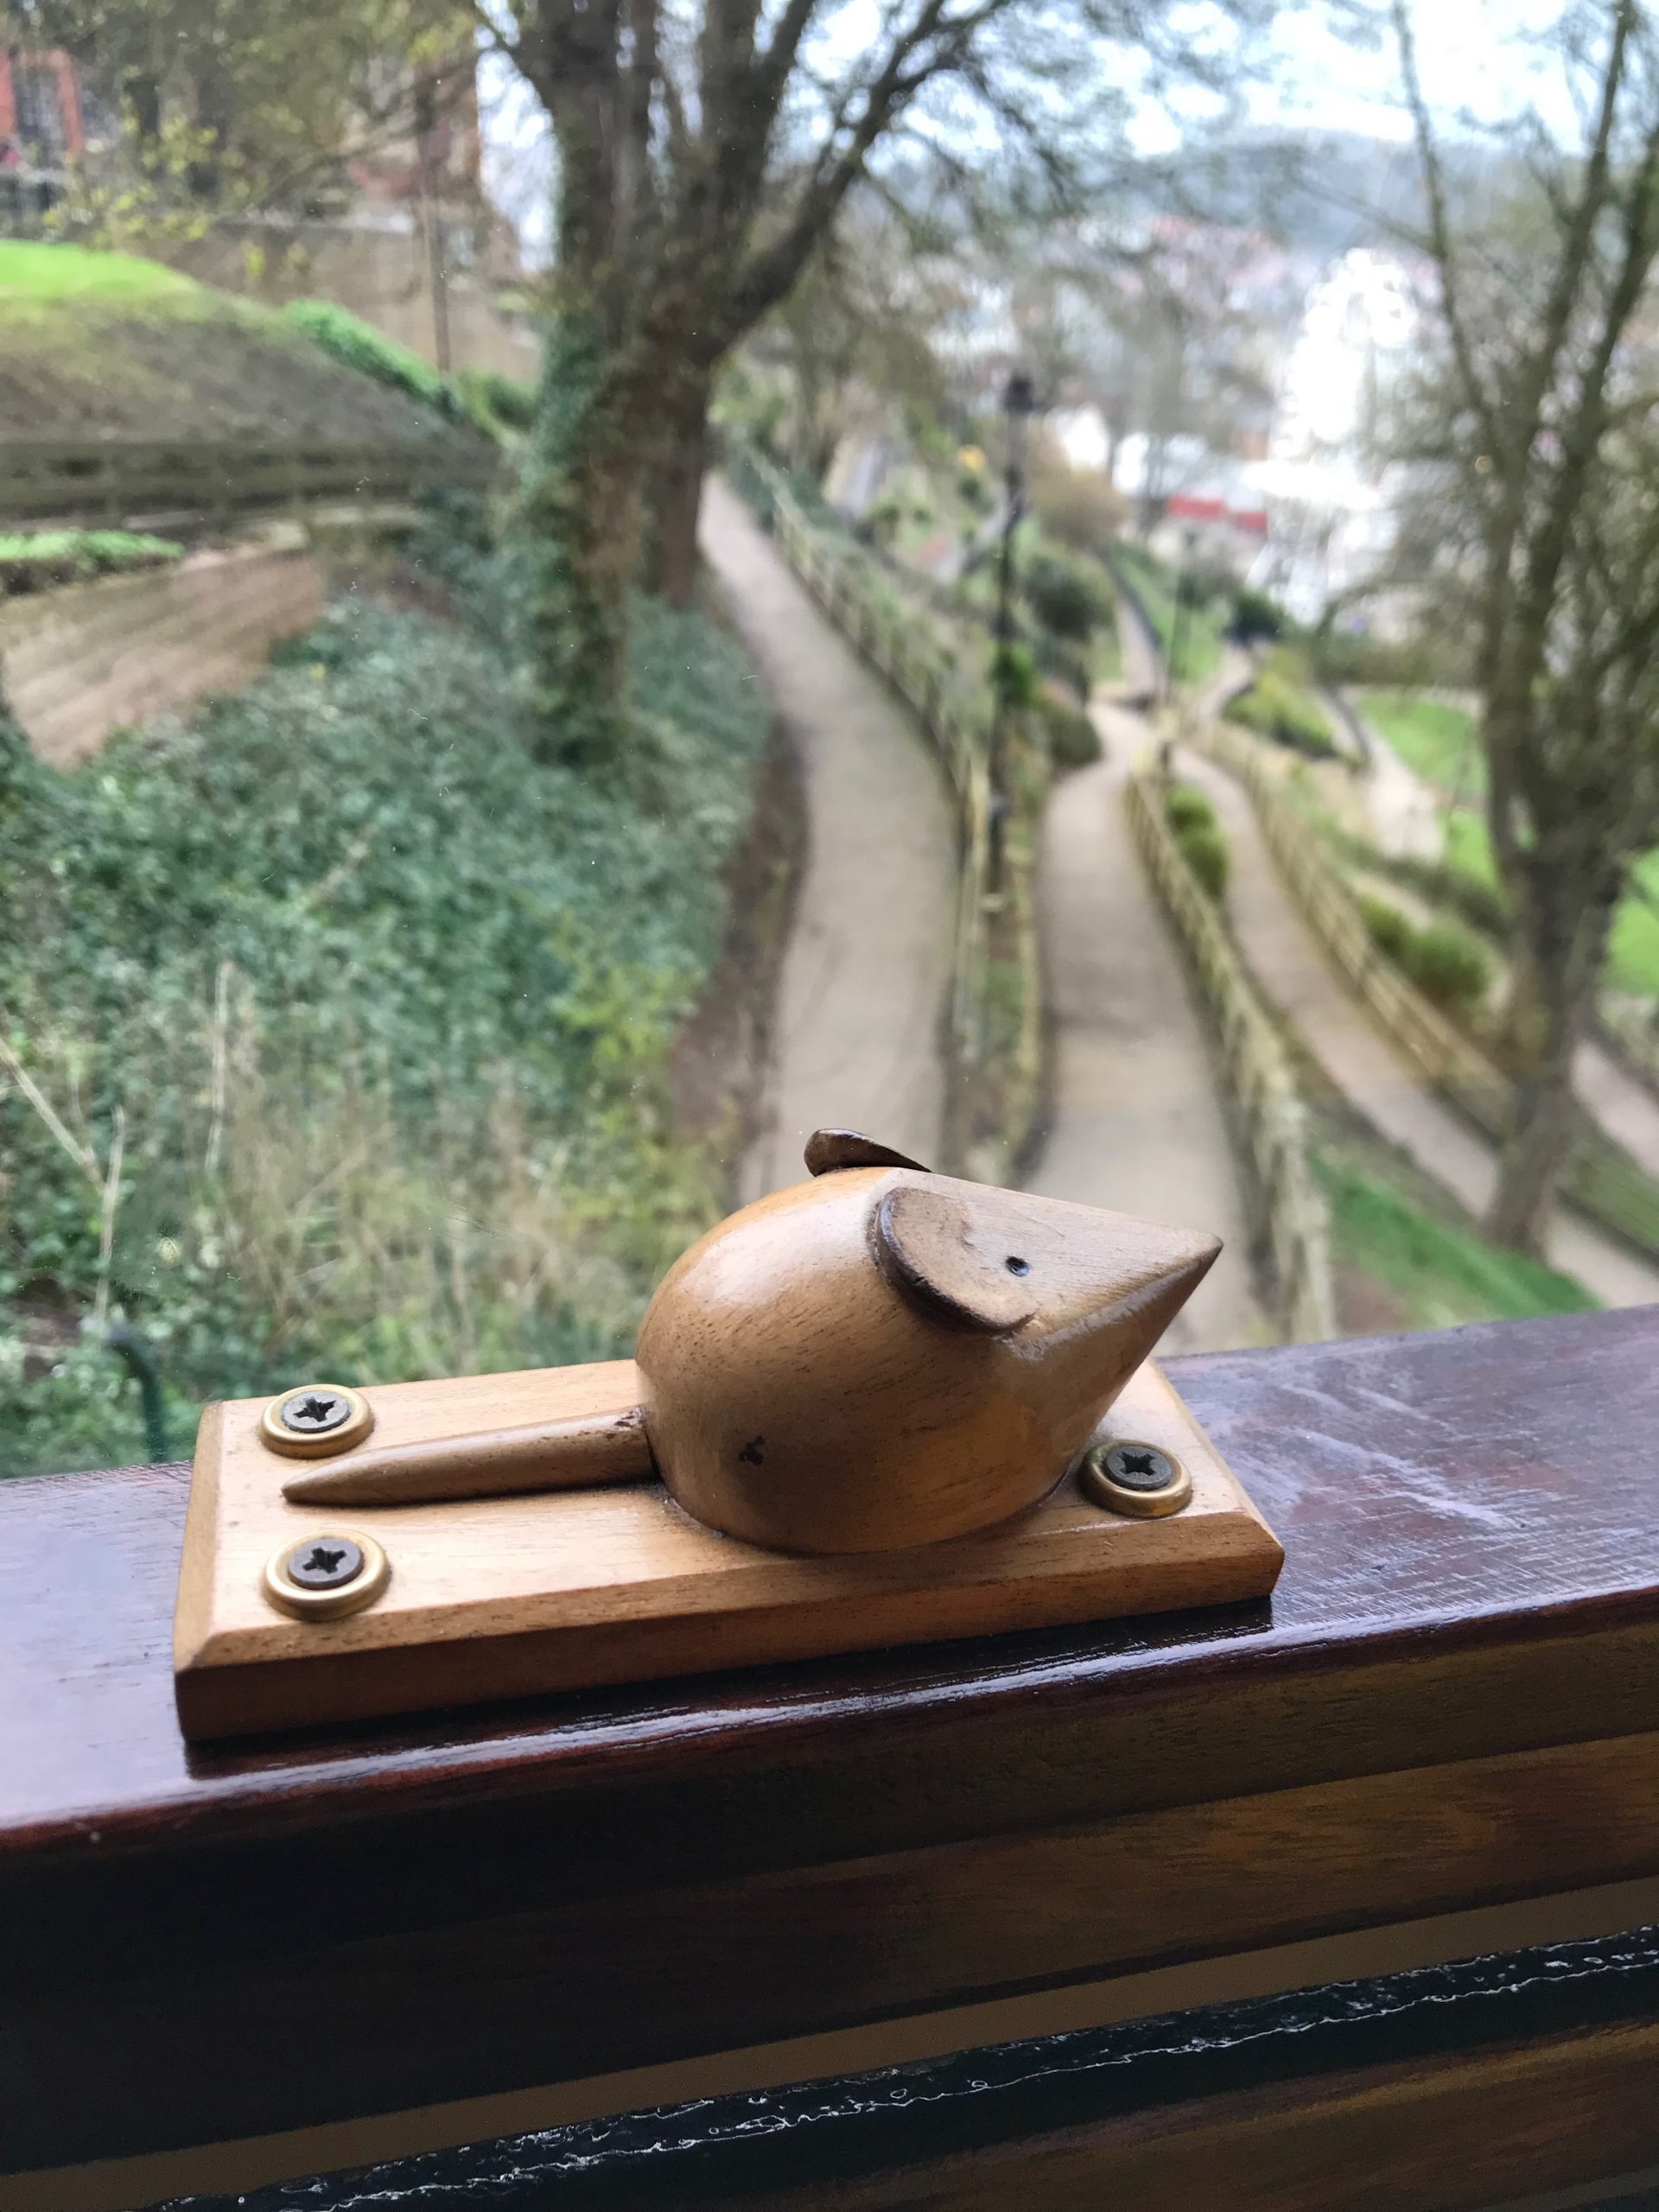
At the Central Tramway the two cars are named Grand and Olympia. They are identical (with the exception often placement of a small wooden mouse) and the names are mainly used for operational and engineering purposes to differentiate between the two. The cars are driven remotely by a driver who sits in a booth at the top station.

A carved wooden mouse sitting on a plaque on the window sill own a moving tramcar.
A wooden mouse found inside one of the tramcars

Tramway practicalities – when does it run and how much does it cost?

The Central Tramway provides an on demand service, so there is no need to book. Both stations have been through a significant refurbishment and make the most of their Victorian heritage in the way this has been done incredibly sympathetically. The two tram units themselves were refurbished in 2022 and, along with work to install a new Programmable logic controller drive system in 2019, means that the system makes the most of modern computer technology and the latest safety measures.

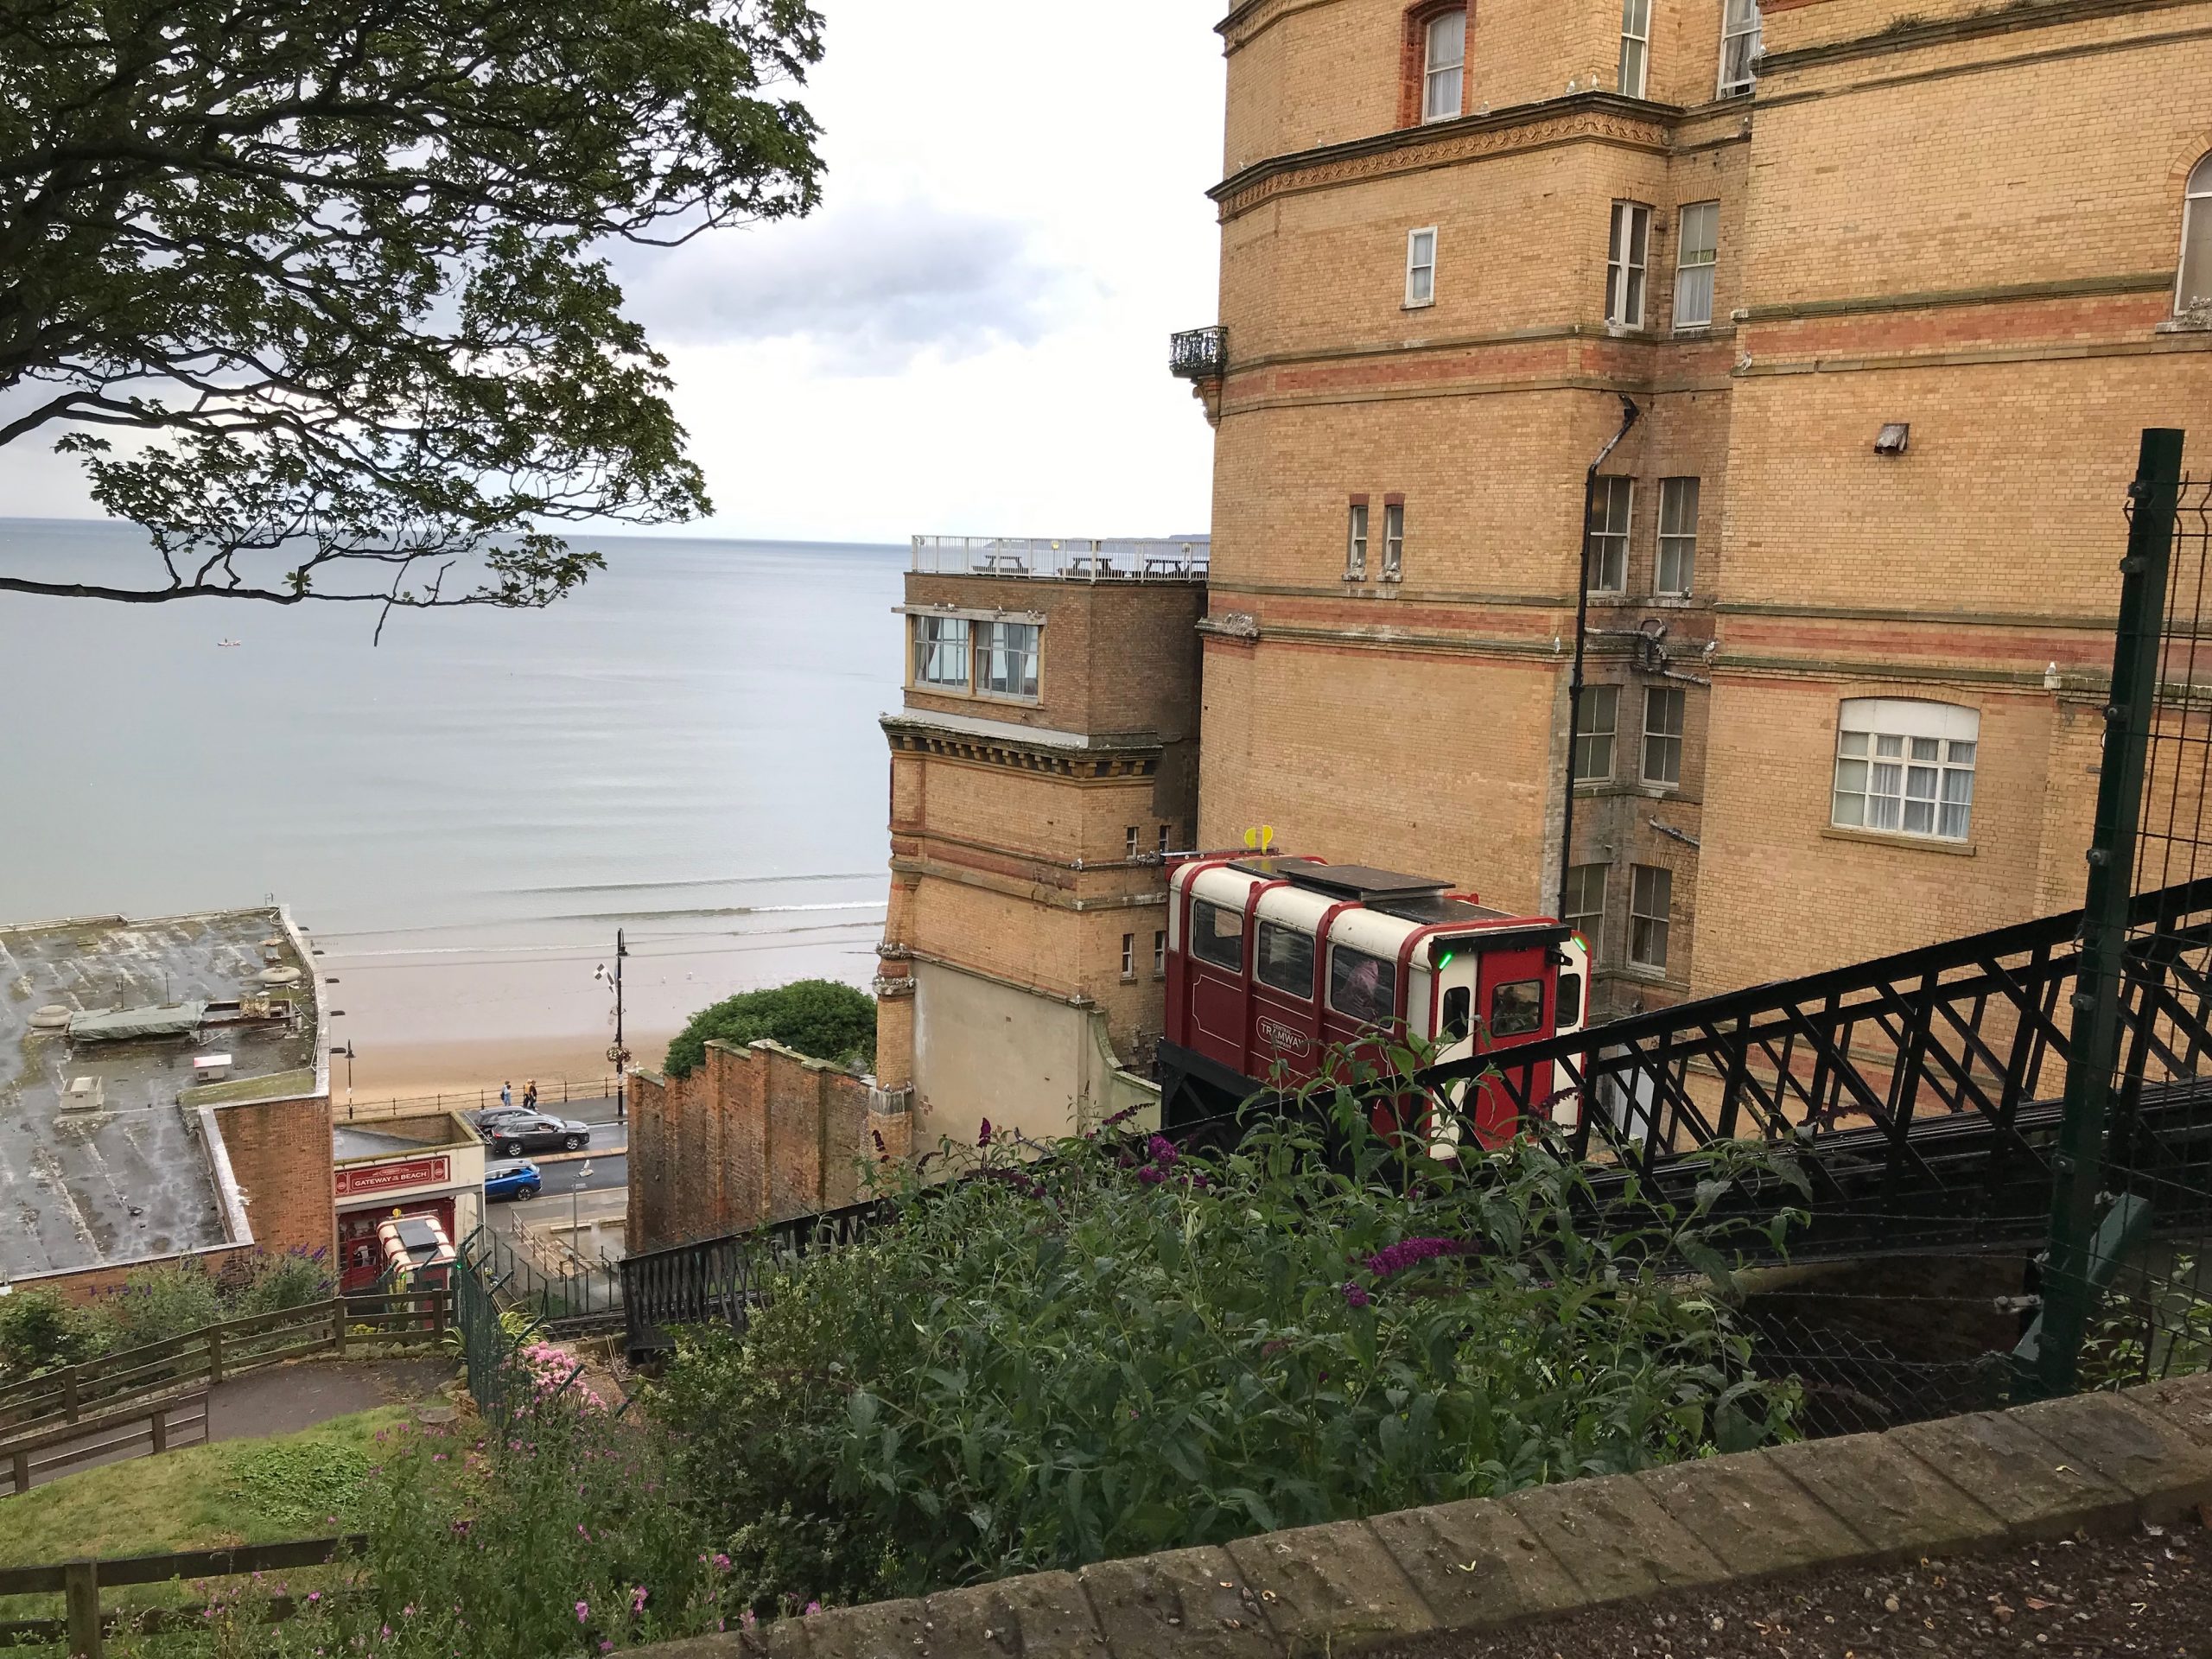
A picture of one of the tramcars half way down the tracks and the second car visible just starting its ascent. The bottom station and the sea can be seen in the background.
A tramcar leaving the top station in 2019

You pay for Scarborough’s Cliff Railway at the top station. If you’re coming up from the bay you pay upon exiting once at the top station. At the time of writing a return ticket costs £2.60 and one way is £1.40. Children 5 and under are free.

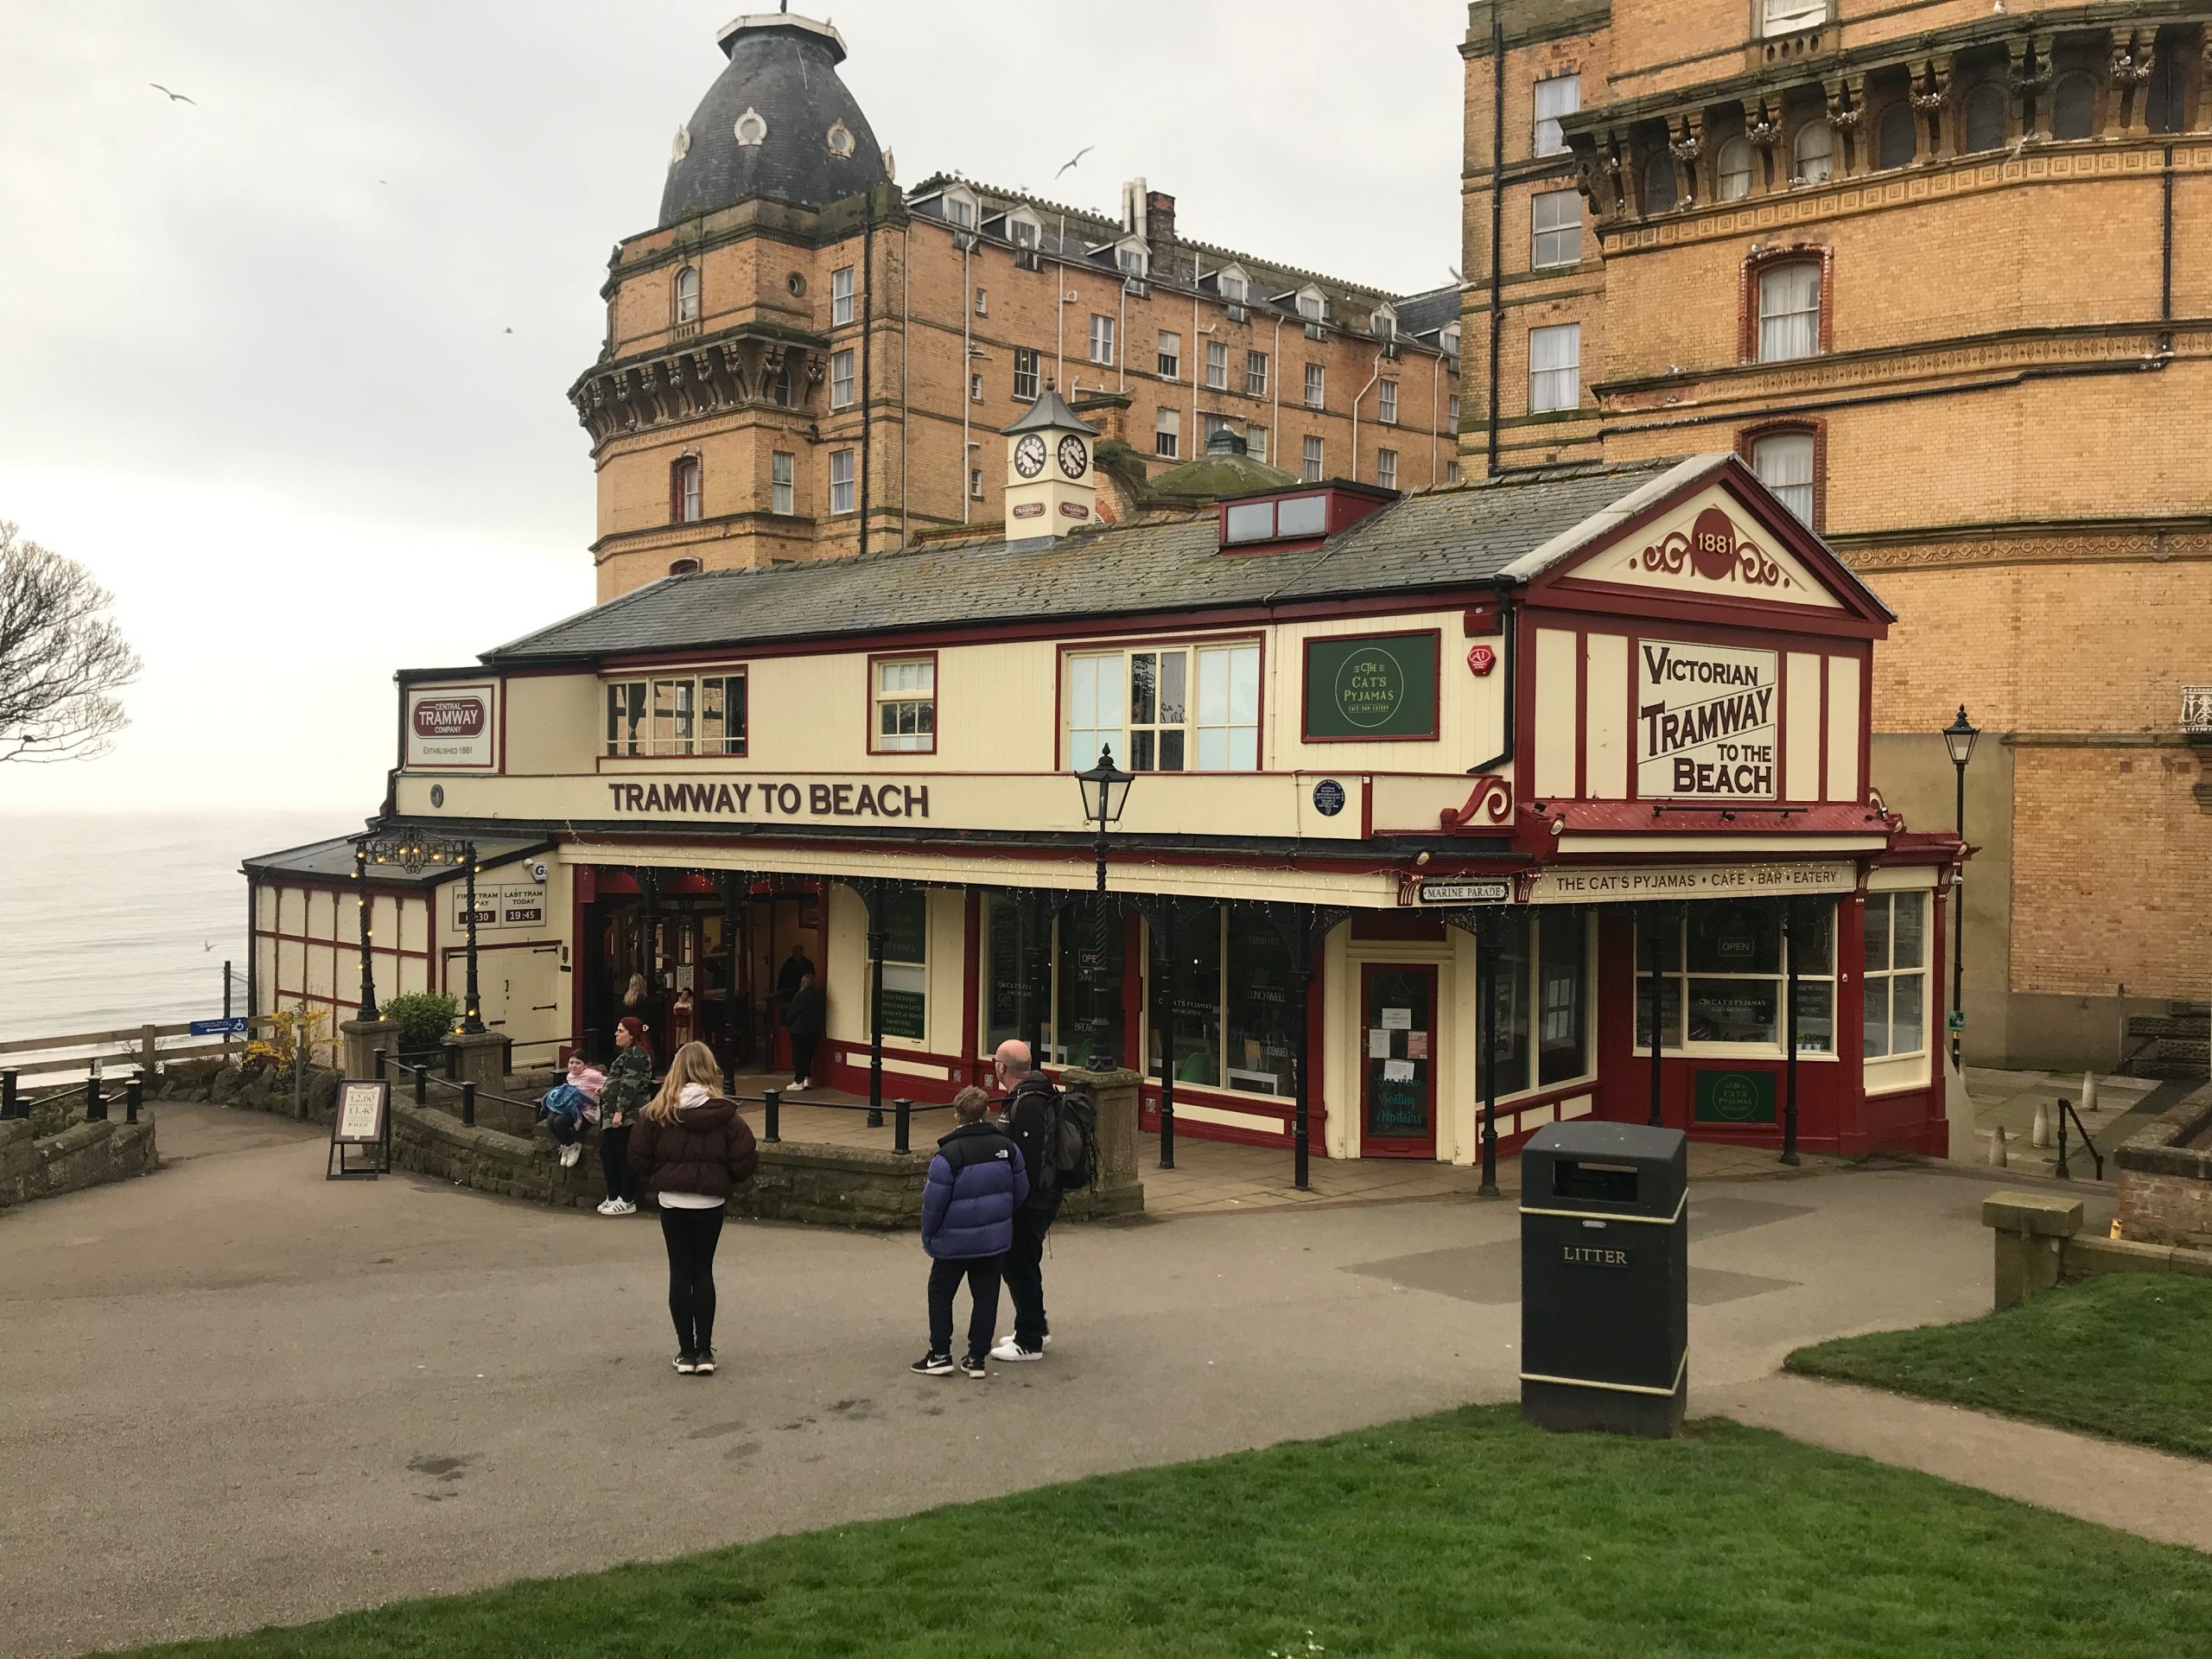
A picture showing the top station. The long building has a small clocktower on top, is mainly wooden in construction painted in cream and Burgundy. The words Tramway to Beach are along the side of the building and at the end it says Victorian Tramway to the beach.
The top station, located between the Town Hall and the Grand Hotel in Scarborough

At the top station is a small “shop” (more of a display unit with things to buy on it!) which is perfect if you want a little something to remember your trip from. Disappointingly, no sew on badges to be had, but sadly that seems to be the way in so many places lately.

For more details on the Central Tramway Company then take a look at their website.

Did you know?

Scarborough’s Grand Hotel, located near the Tramways top station) was spared from destruction in the Second World War as it is believed that Hitler had identified it as where he wanted to rule Britain from once he had invaded!

A fan of a cliff railway?

If you are then why not take a look at what we thought of the Southend Cliff Lift when we visited there and you can also read there about the difference between a cliff railway and a cliff lift, and so we should really be referring to this as Scarborough’s Cliff Funicular. Real cliff lift, railway and funicular fans may also be interested in this book which they were selling at the small shop they have at the top station, or this wider covering one.

Filed Under: Funiculars, North Yorkshire, Scarborough

Watford Miniature Railway

October 9, 2023 by Penny Leave a Comment

Since term started and the youngest started school we’ve been staying home a bit more on the weekends. Catching up on homework, housework and sleep. This weekend though we decided it was time to venture out a bit more and find some trains. A quick trip down the M1 brought us to Watford, Cassiobury Park and the rather excellent Watford Miniature Railway.

I’ve always been a huge fan of Cassiobury Park as there’s just so much there to see and do. The railway has always been a draw with the kids, although with Covid and everything else we haven’t actually been all that much in the last few years. This weekend was time to rectify that though.

Watford Miniature Railway – facts and figures

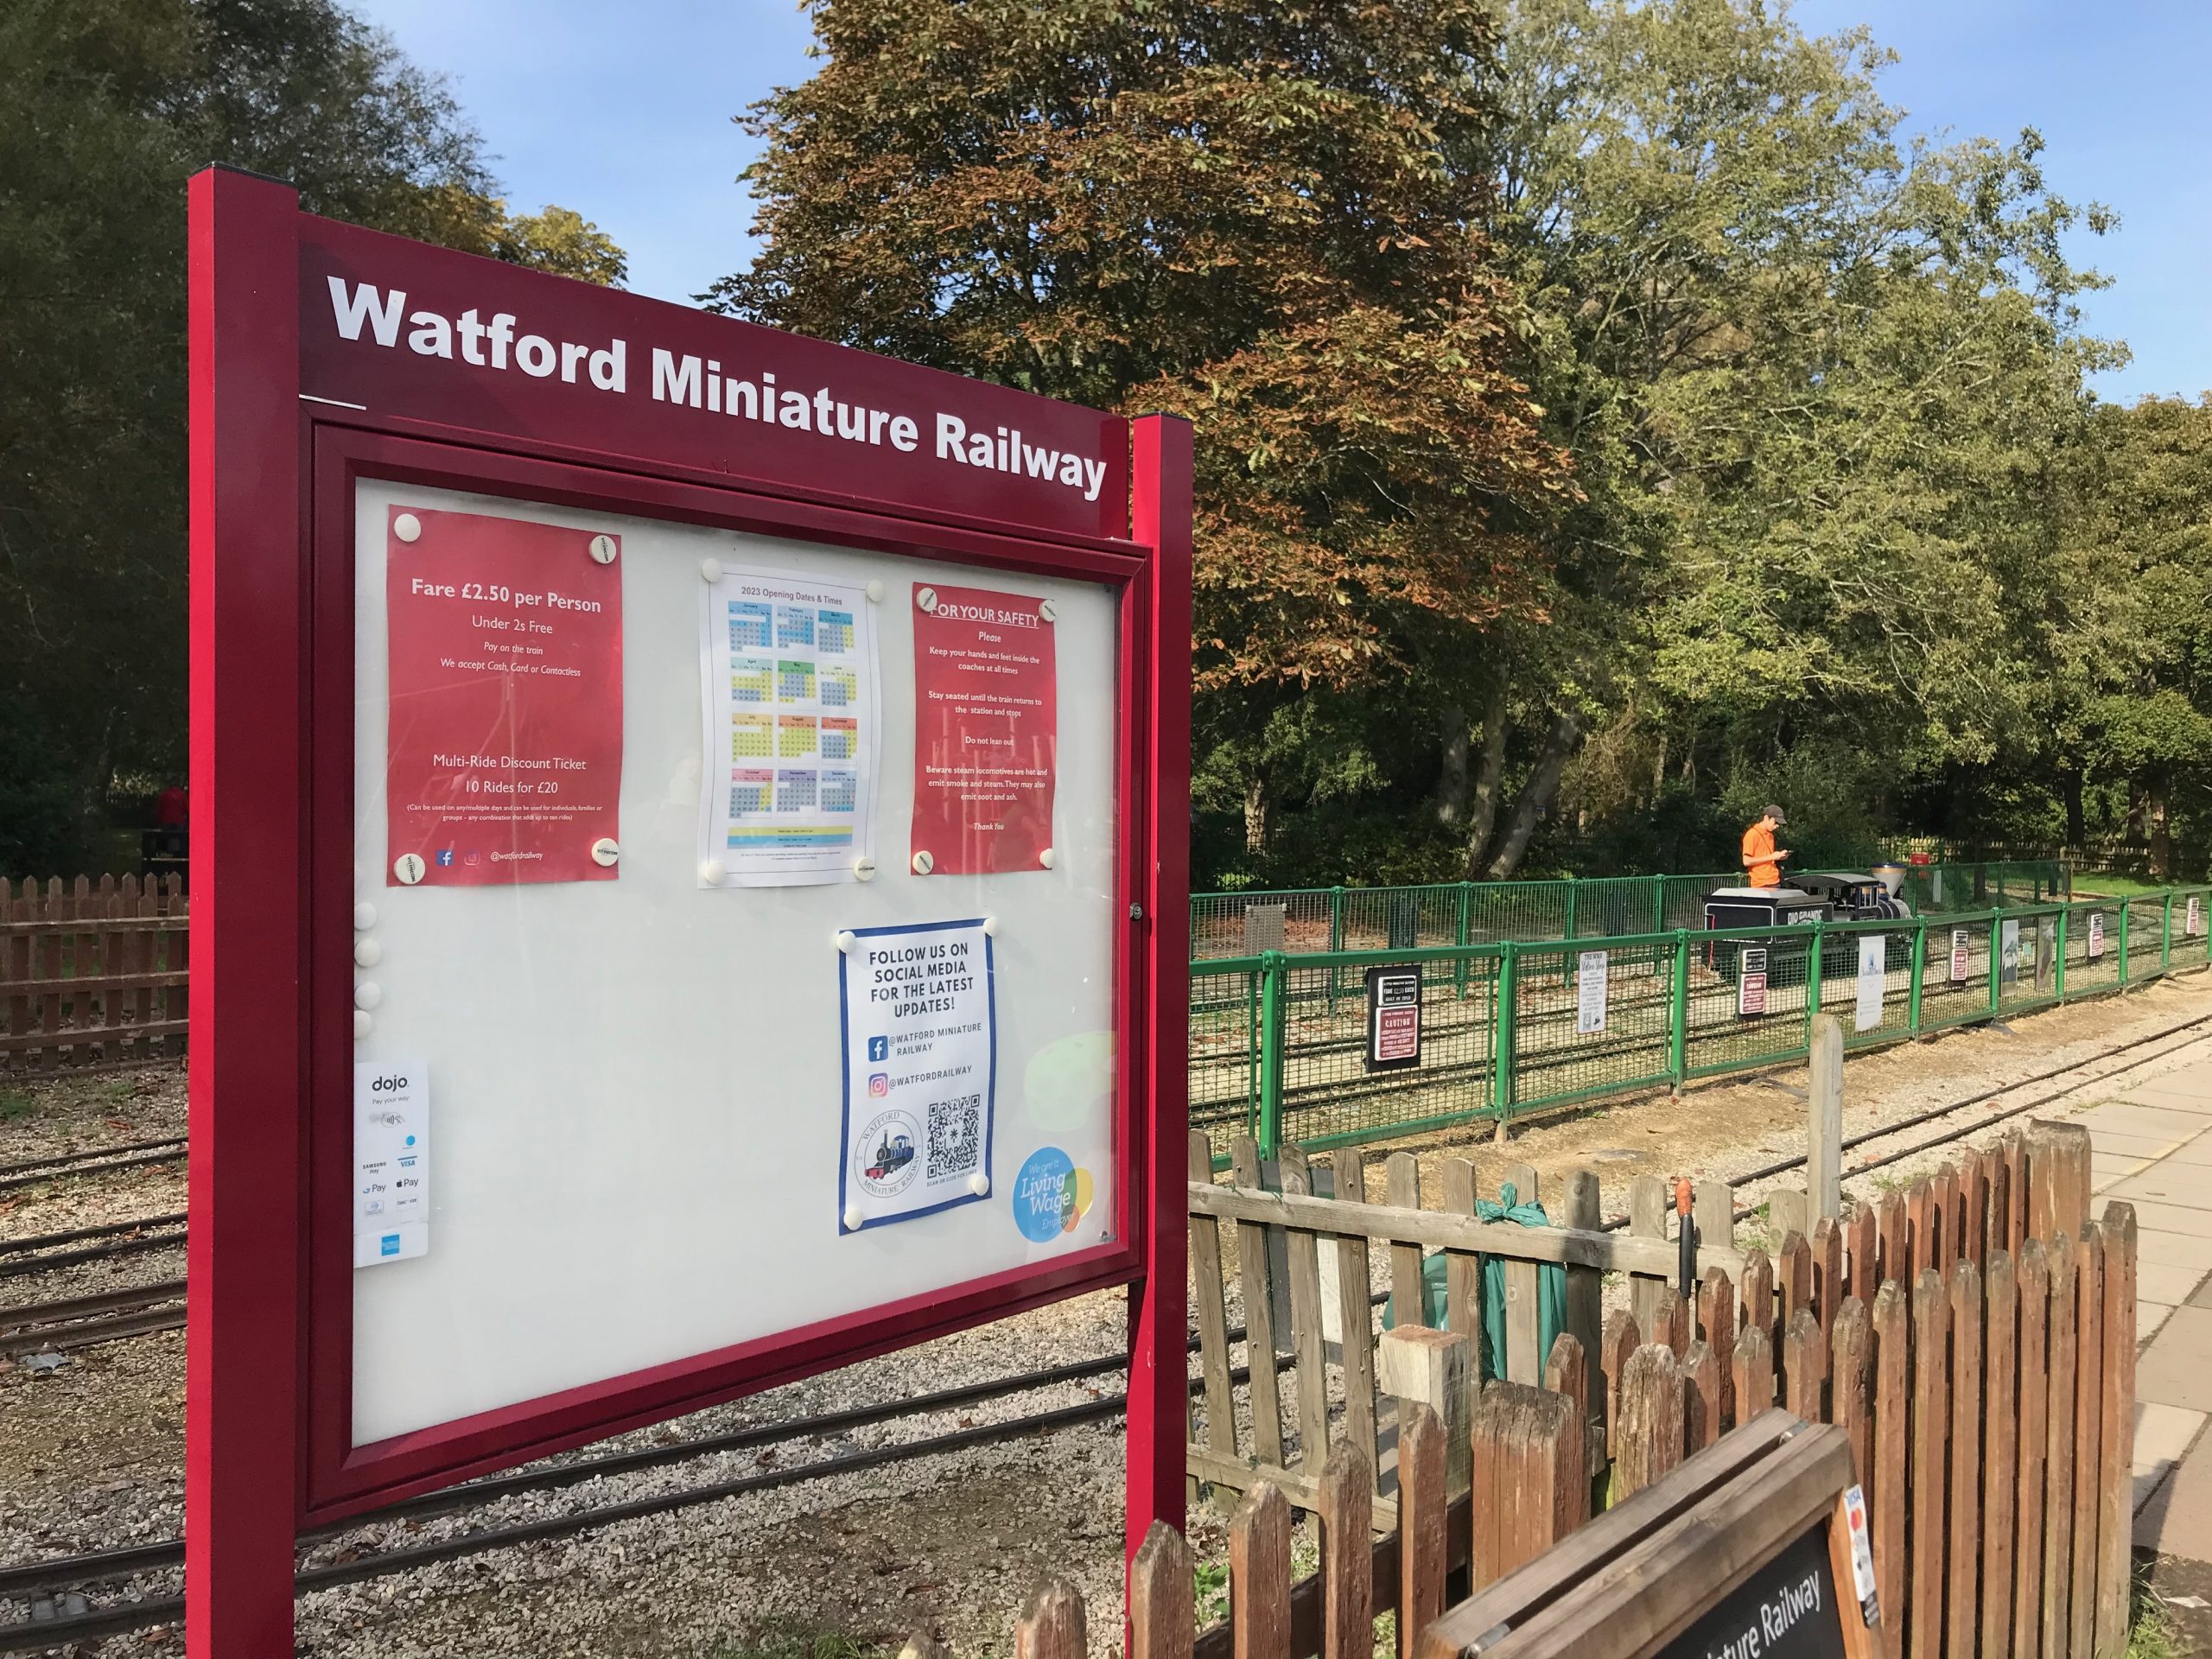
Located right next to the children’s playground the station for Watford Miniature Railway is a simple affair.

A notice board at Watford Miniature Railway and a view towards the platform area

First opened in 1959 the route is now 915 meters long, with a ride time of approximately 6 minutes. The track itself is 10 1/4 inch gauge (260mm in modern terms) and a variety of diesel and steam locos run on weekends and during school holidays. At the end of the platforms is a small turntable for turning the loco around at the end of a run.

The railway has a pretty comprehensive webpage with details of all their locos, a bit of history and also all the practical stuff you need to know before visiting. There’s also an online shop if you want a little souvenir of your visit.

Practical need to know

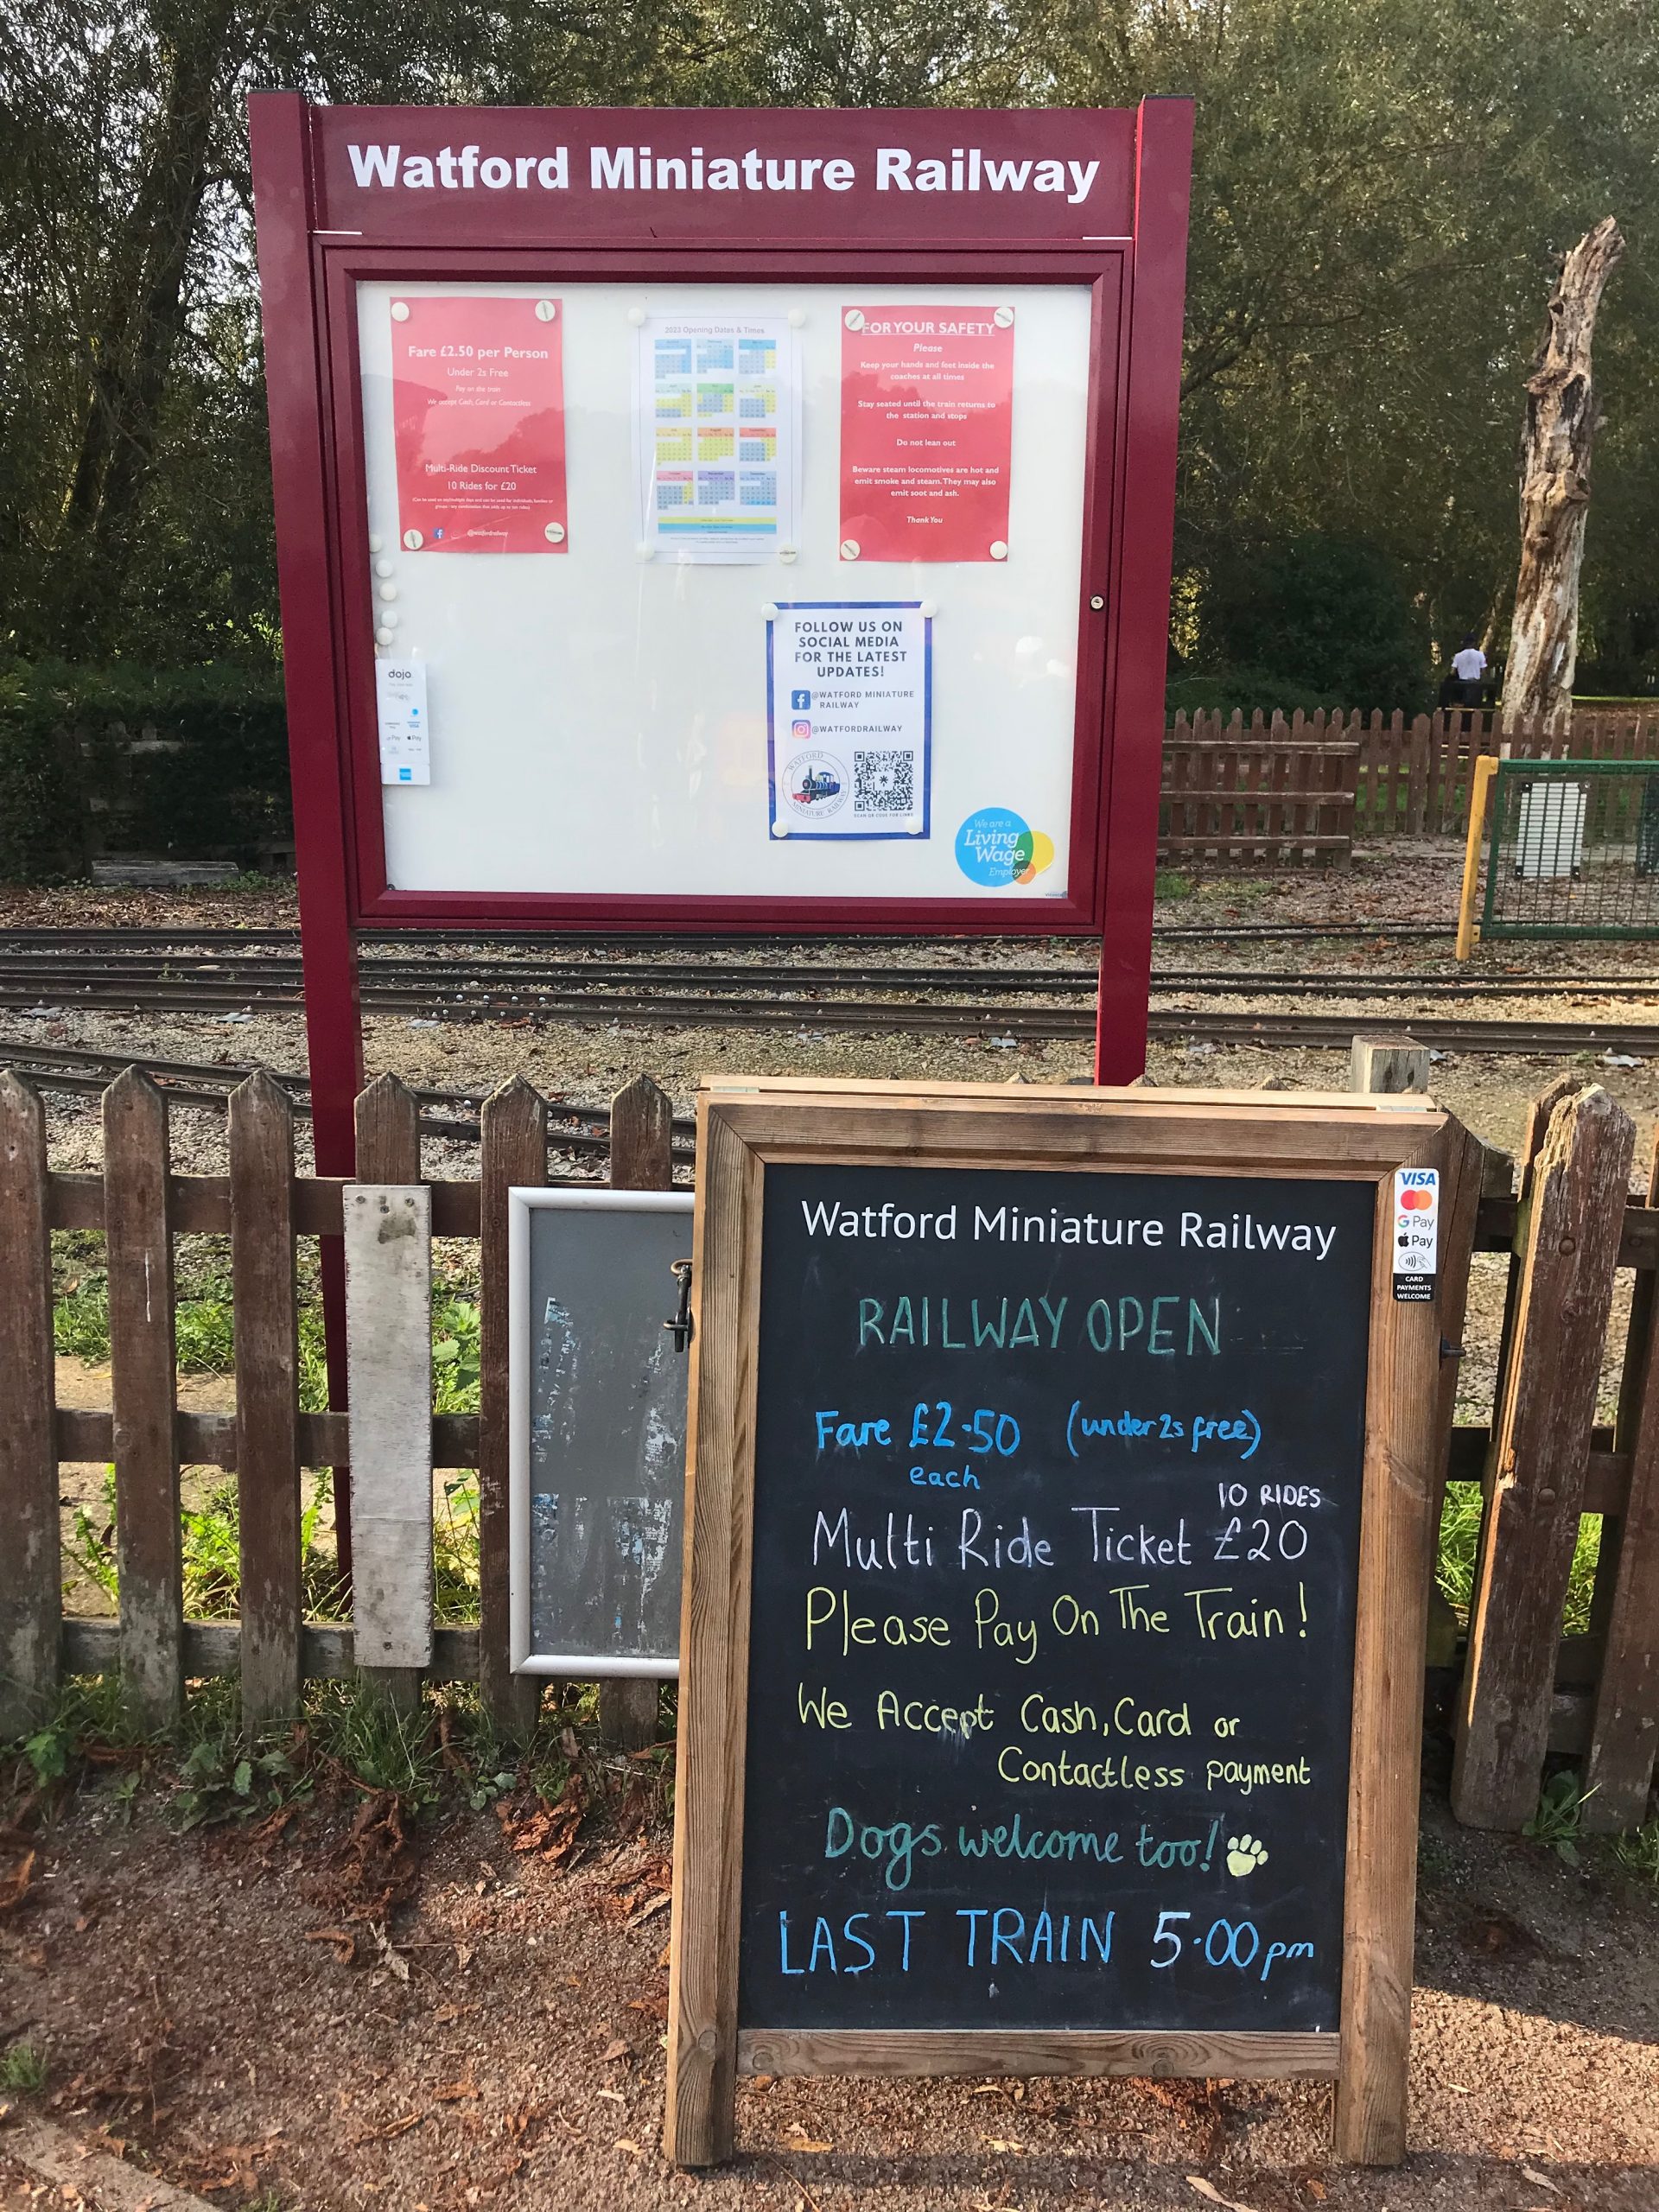
The great thing about Watford Miniature Railway is that it just works. Everything’s straightforward and as a parent with little train fans that just makes it all a breeze. It costs £2.50 per person (adult or child) to ride on the railway (with under 2s free) and you can pay with either cash or card. There’s even a £20 option to be able to ride 10 times! There’s no real timetable as such they just run when they’re ready to. You can leave scooters and bikes at the station (at your own risk – although a staff member does stay there) and there’s lots to spot as you go round in a couple of loops before returning to the station.

The notice board and accompanying chalk board as you enter the railway station

The railways opening days and times are on their website. Occasionally the weather (rain, wind or snow) can mean they need to close, but they’re very good at sharing information like that on their active Facebook page. They also tell you on there if they’re planning to run steam or not.

Our visit

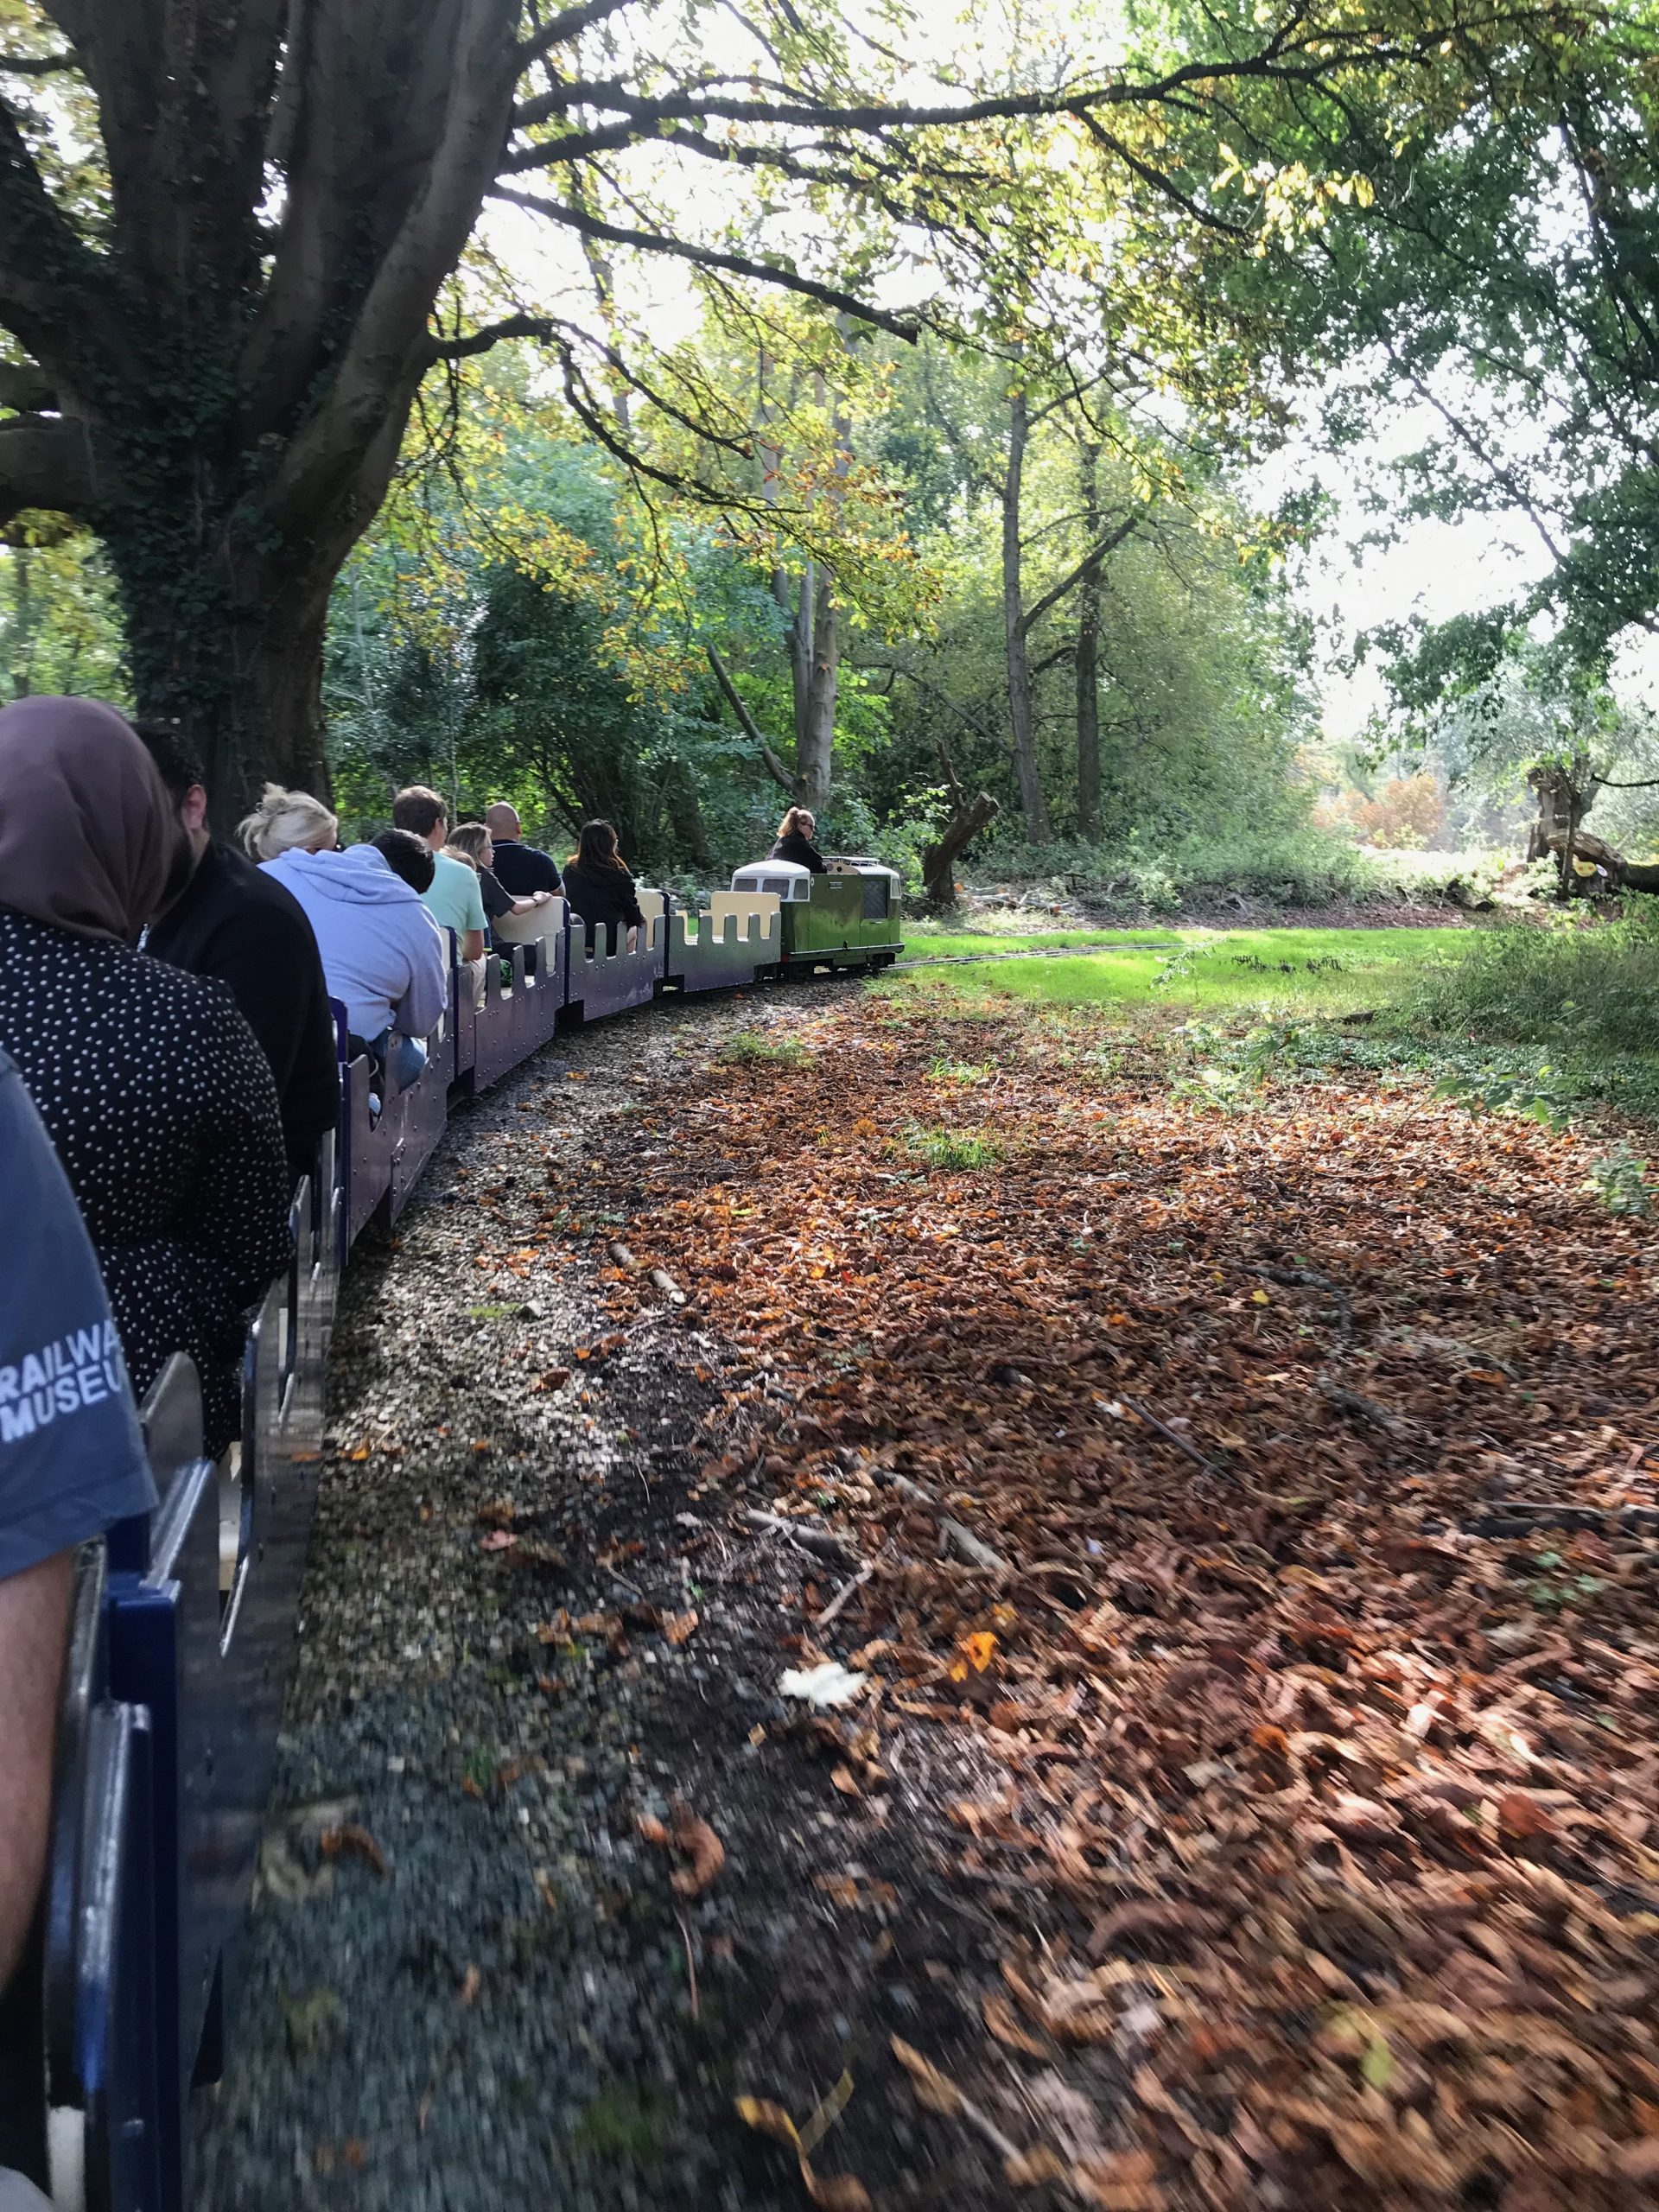
A view from the train along teh tracks seeing the train ahead go round a bend.

After a walk along the neighbouring Grand Union Canal we headed back to the station and were able to get on a training pretty much straight away. The Conway Castle was the diesel running whilst we were there and did a fine job taking us around. From my last visit, it was lovely to see several little gnomes and other animals in the woods on our route and the youngest particularly liked all the smiley faces on tree stumps that we went past. For the adults seeing the engine sheds and another diesel (that I’ve since learnt came from the Wells Harbour Railways that we used to visit quite a bit as my in-laws live that way) was a highlight.

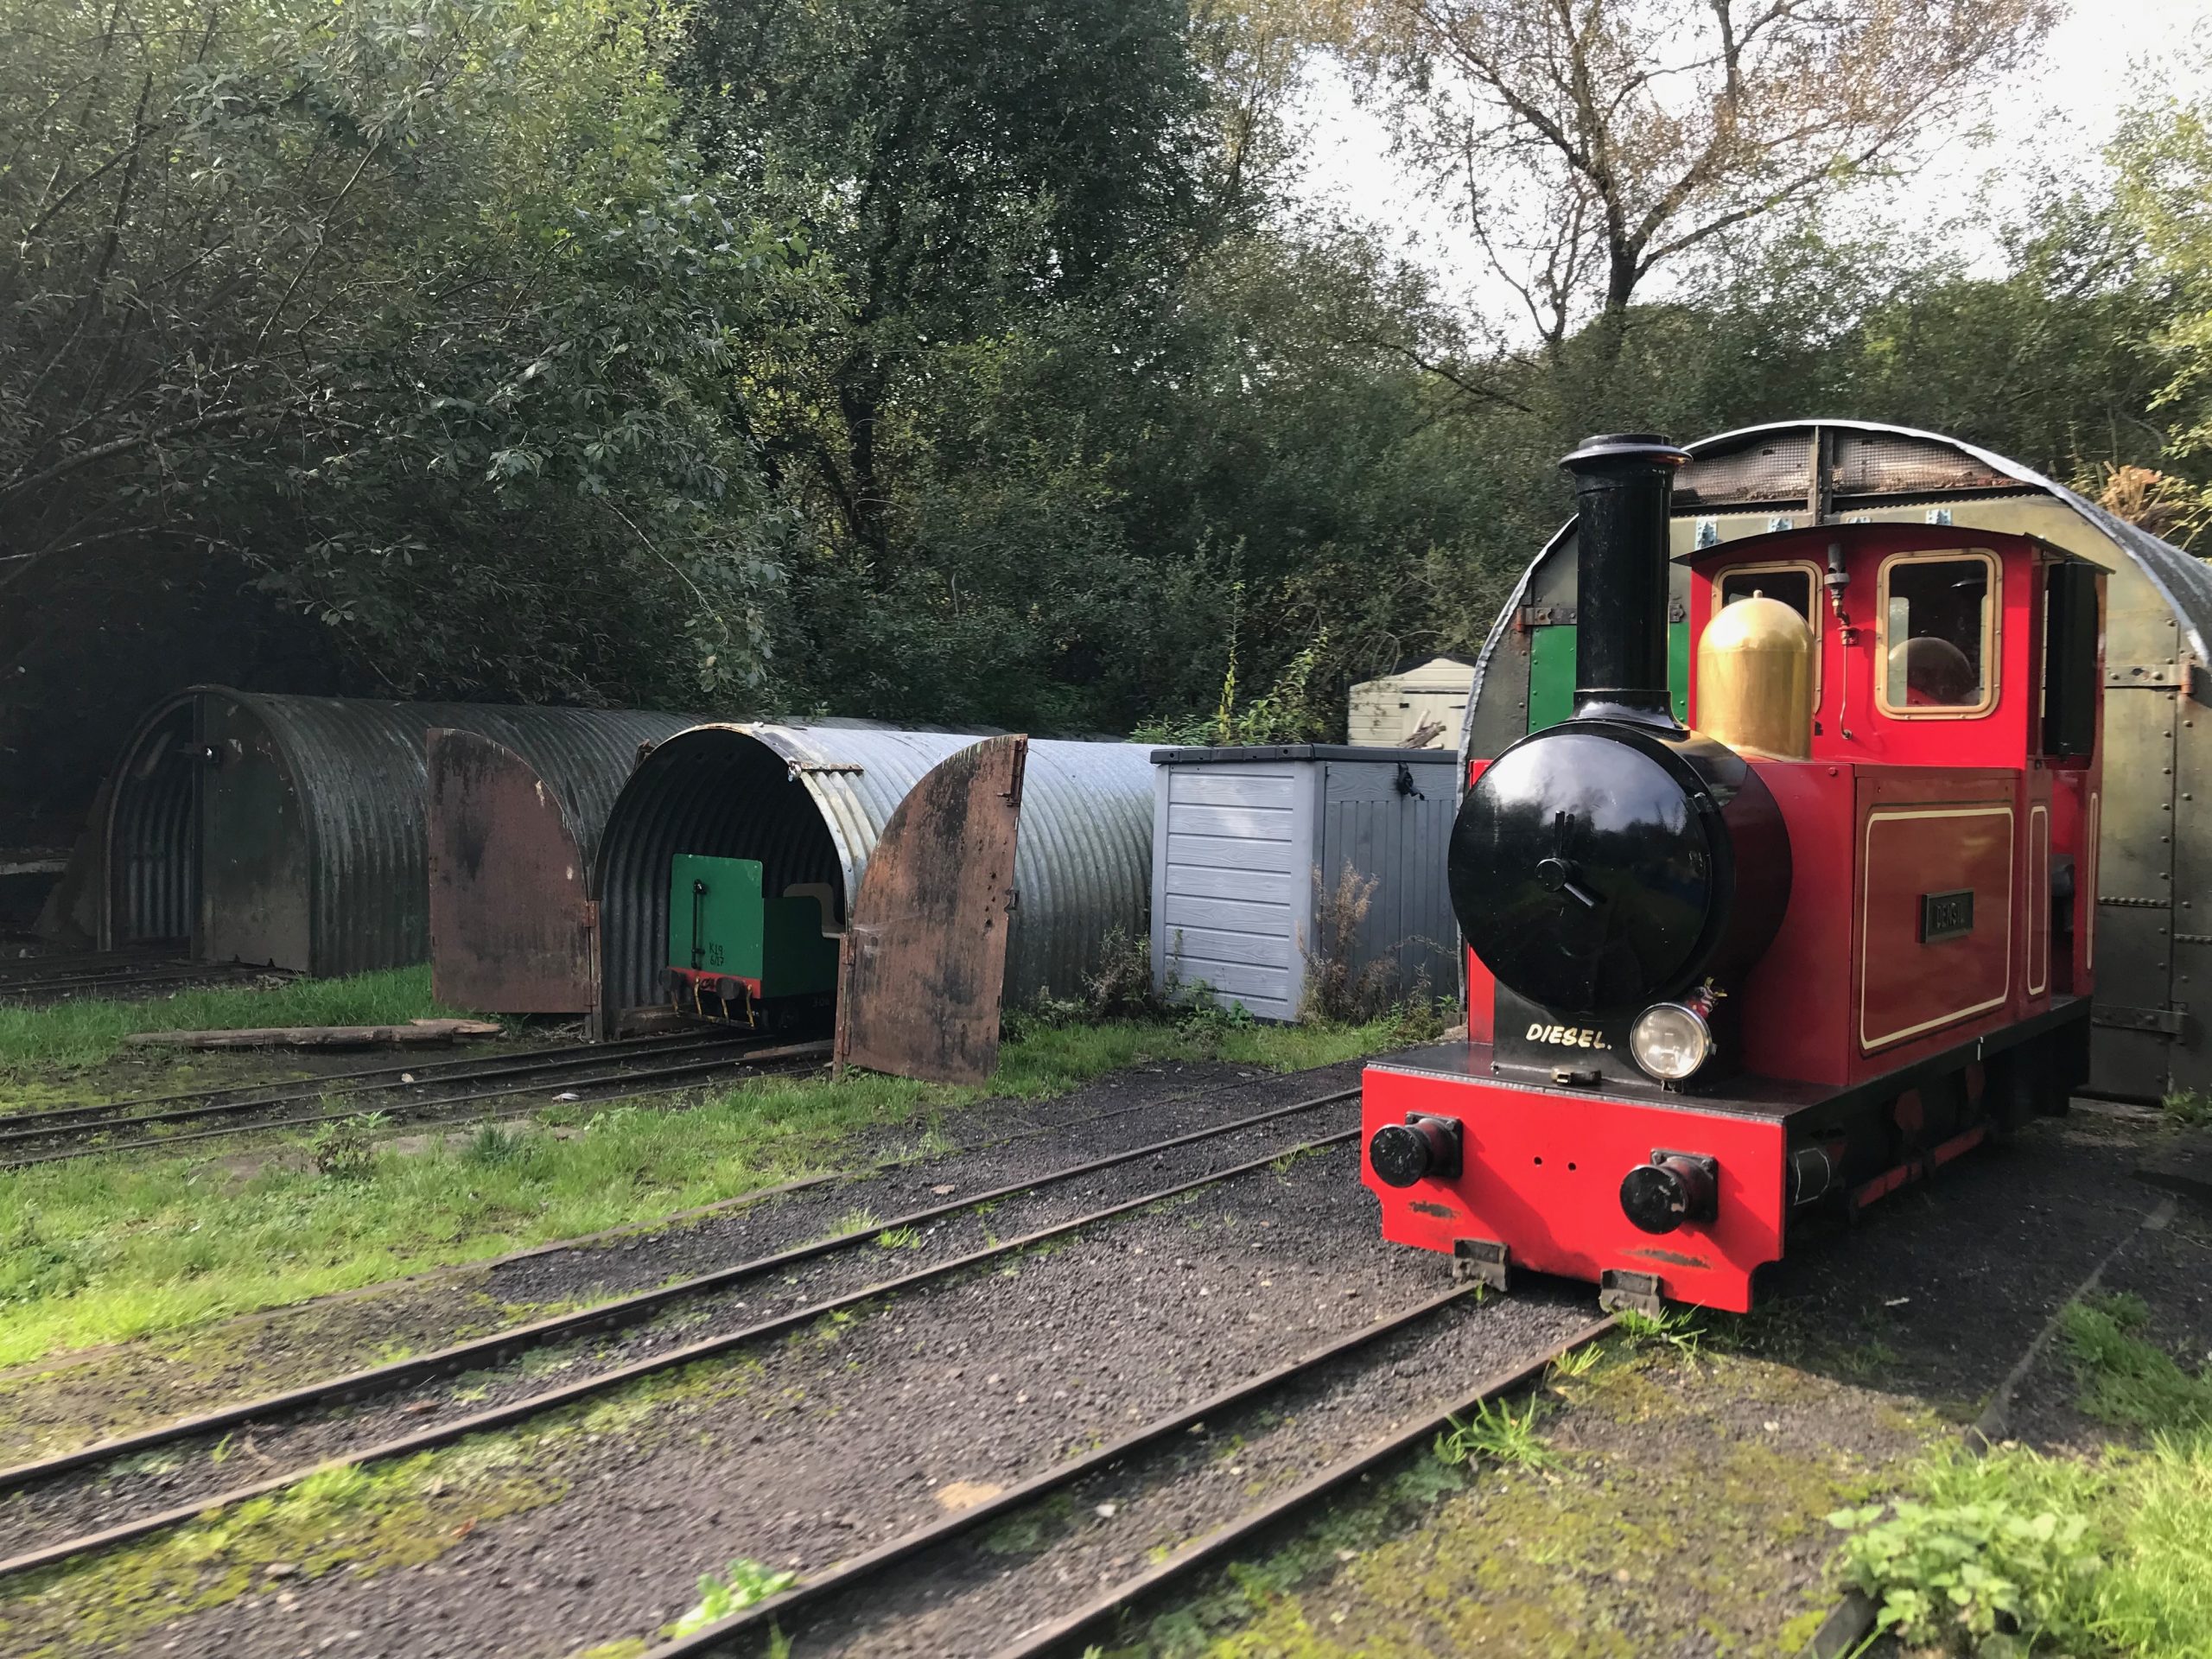
Engine sheds and Densil, a Diesel engine

I genuinely wish more parks had miniature railways like this, as they’re always a highlight for the whole family. I was delighted to pick up a little leaflet at the station too – a fantastic list from Britain’s Great Little Railways of places for us to visit in the future!

Filed Under: Miniature Railways

The Postal Museum and Mail Rail

August 11, 2023 by Penny Leave a Comment

London’s Postal Museum opened at its current Clerkenwell site in July 2017 and tells the story of the the postal system in the UK. One of the main attractions at the site is a 1km section of the Mail Rail underground train network that visitors can ride on. The museum prides itself in being an attraction for the whole family and it is packed with interactive exhibits that allow children to get very hands on. In addition there is an onsite role play area for children under the age of 8 called Sorted!

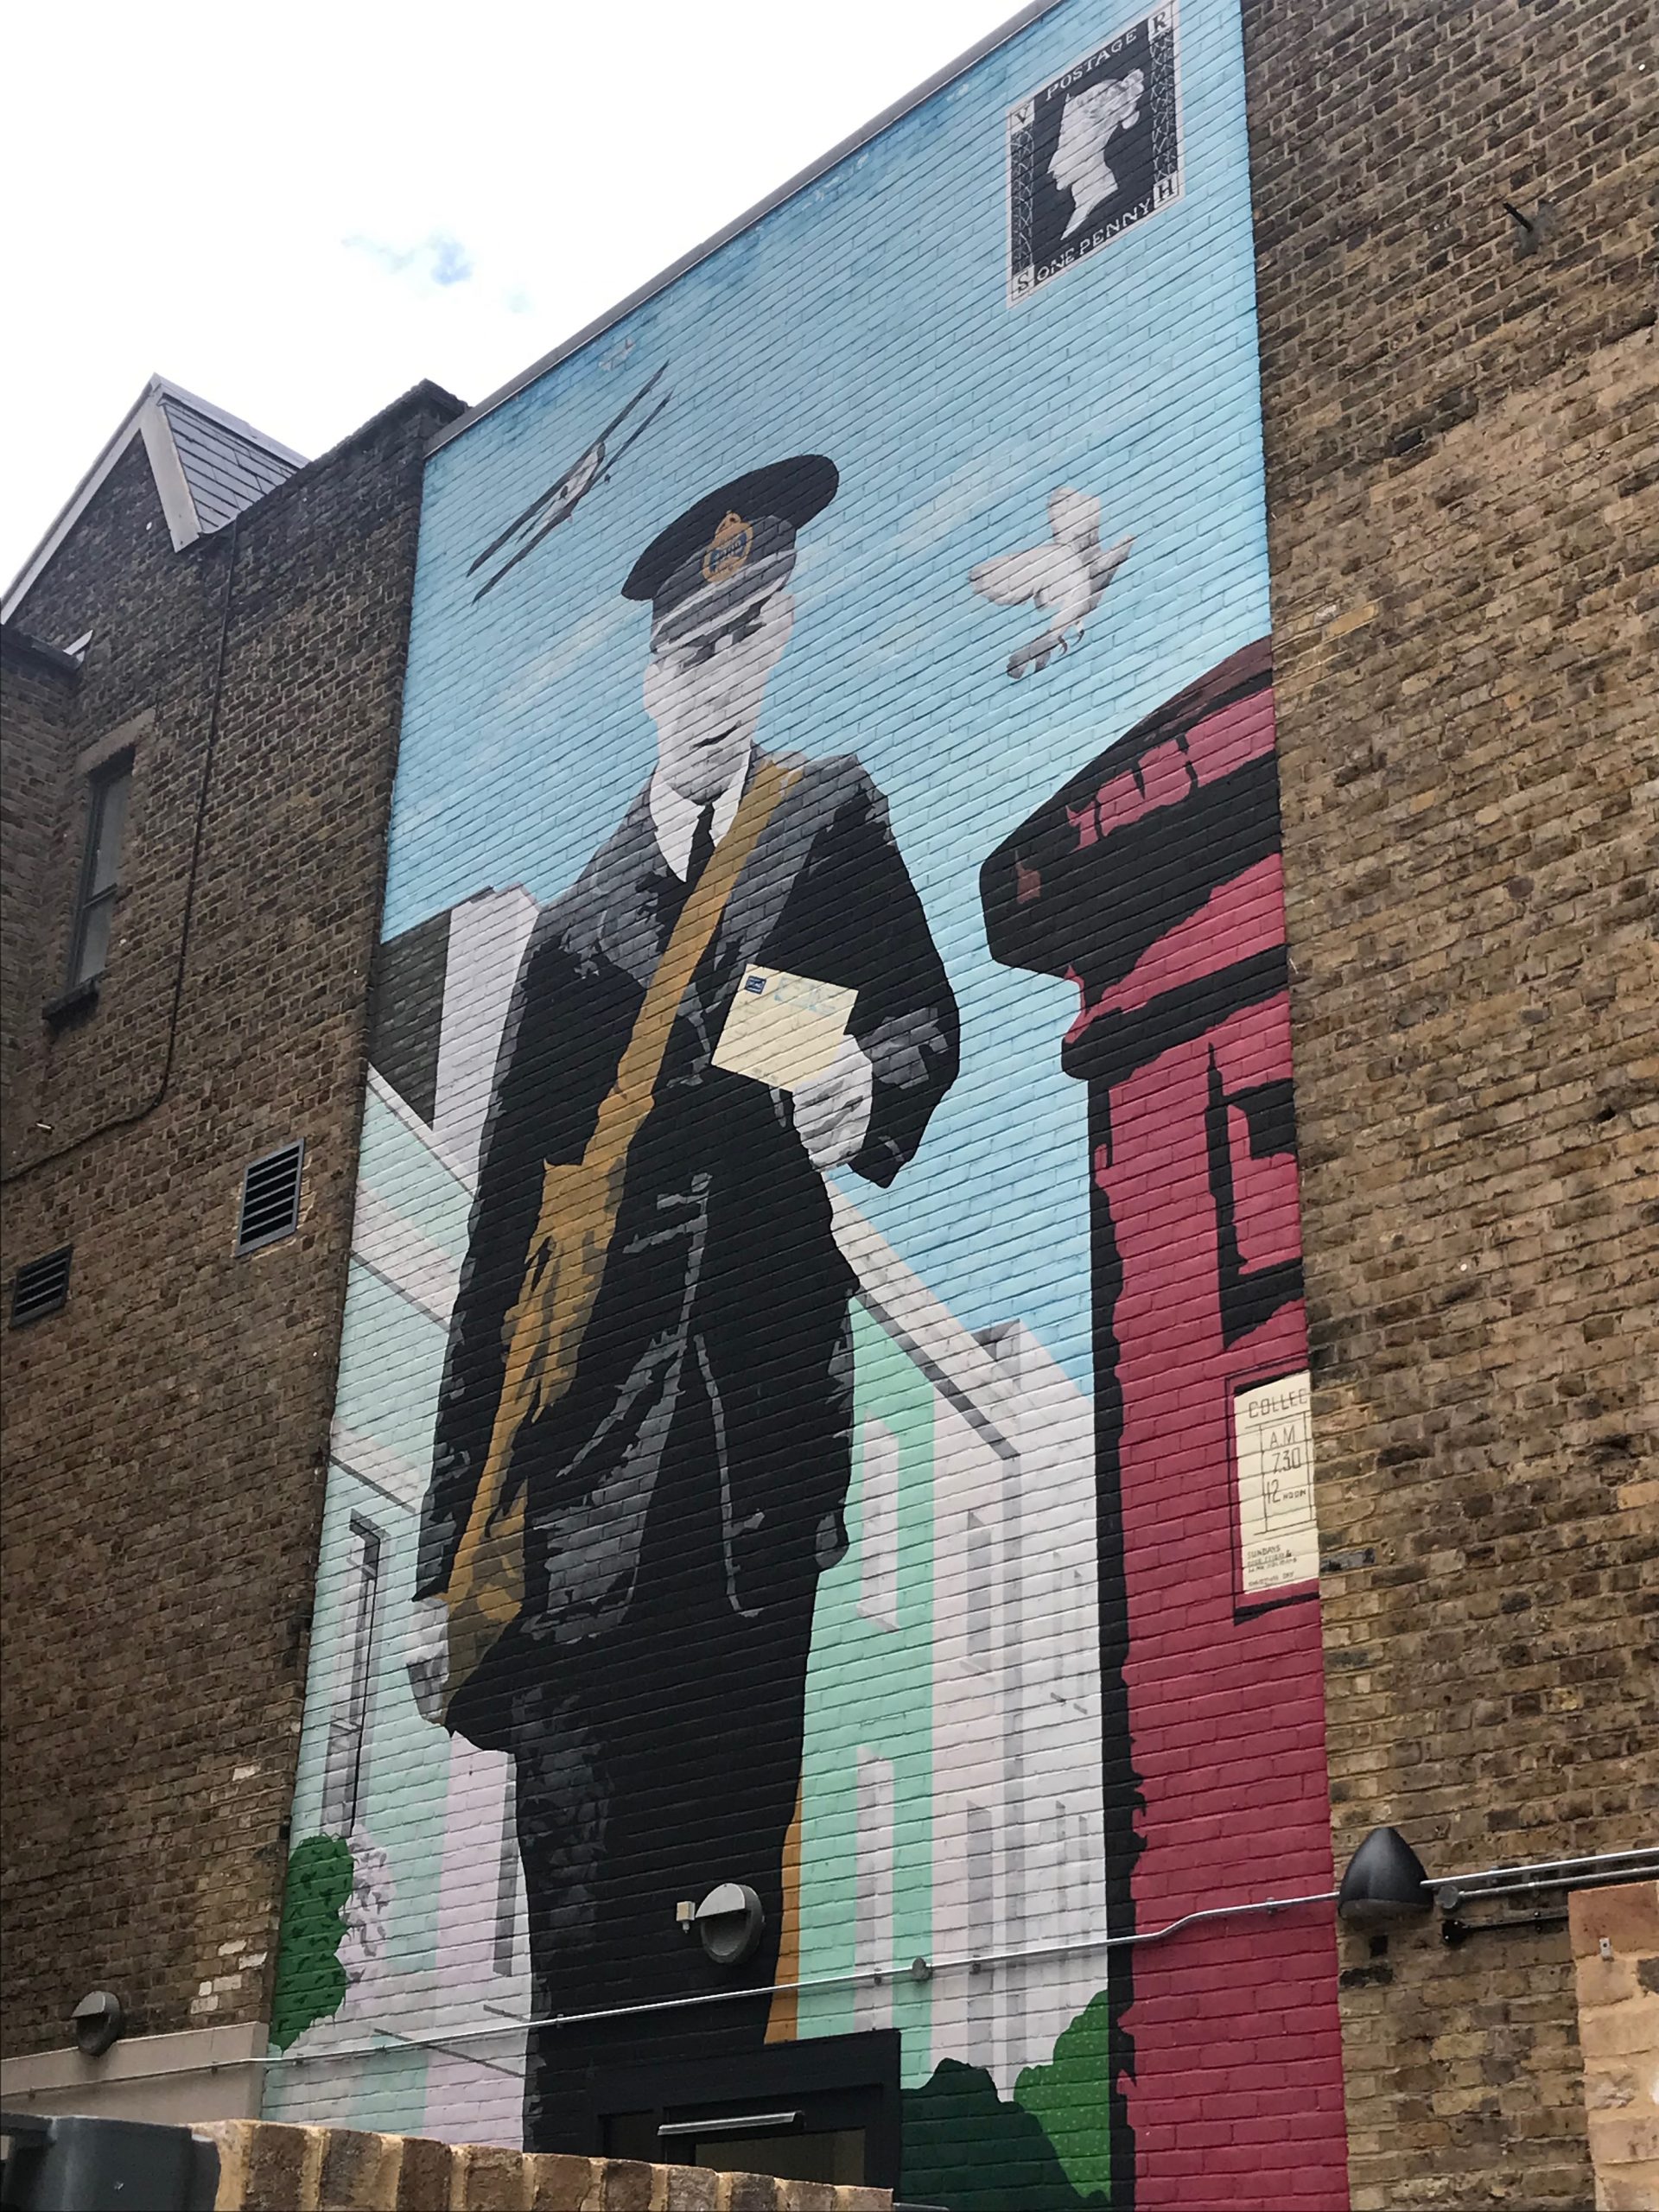
An image painted onto the side of a brick building showing an old fashioned Postman holding a letter which it looks like he is about to place into a post box. You can see a bi-plane flying in the sky in the picture and in the top right hand corner is a Penny Black Postage Stamp.

What’s at the Postal Museum?

Visits to the Postal Museum can broken down into three different sections.

Firstly there is the old underground rail system used by Royal Mail for transporting mail across central London; Mail Rail. Museum visitors can ride on the Mail Rail trains – converted to carry passengers instead of mail sacks – and during the 15 minute journey learn about the history of Mail Rail and why it was such a valuable system. Because of the way tickets work, Mail Rail is the first part of the museum that most visitors go to. You book a timed slot for riding on Mail Rail and this is what you book your museum tickets around.

In the same building as Mail Rail is Sorted! – a hands on role play area for children under the age of 8.

The main part of the museum is diagonally across the road from the building containing Mail Rail. That makes it sound further than it is, as in reality the road in question is only a small, quiet road so it does only take about a minute to walk between the two sites. This is where you find all the main exhibits and the “museum” part of The Postal Museum.

How Postal Museum tickets work

When you buy a ticket to The Postal Museum it gets you a ride on the Mail Rail and also entry to the main museum site. Your ticket allows you to revisit the museum as many times as you like in 12 months, but you can only ride on the Mail Rail once, on the day your ticket is first valid.

You book a time slot for riding on the Mail Rail and you’re asked to arrive 10 minutes before your scheduled time.

To visit Sorted! you need to buy a separate ticket per child and you have to book a time slot. Sorted! is an additional charge, and it is possible to visit Sorted! without going to any other part of the museum. If you are also visiting the museum then you get your Sorted! ticket at a discounted price.

Mail Rail

Seen by many as the main attraction at The Postal Museum, Mail Rail is something not to be missed. A 2ft narrow gauge driverless underground system originally ran for 10.5km with 8 stations. This allowed mail to be moved around London far faster than doing so at street level. The railway ran from its inception in 1927 until it finally closed in 2003.

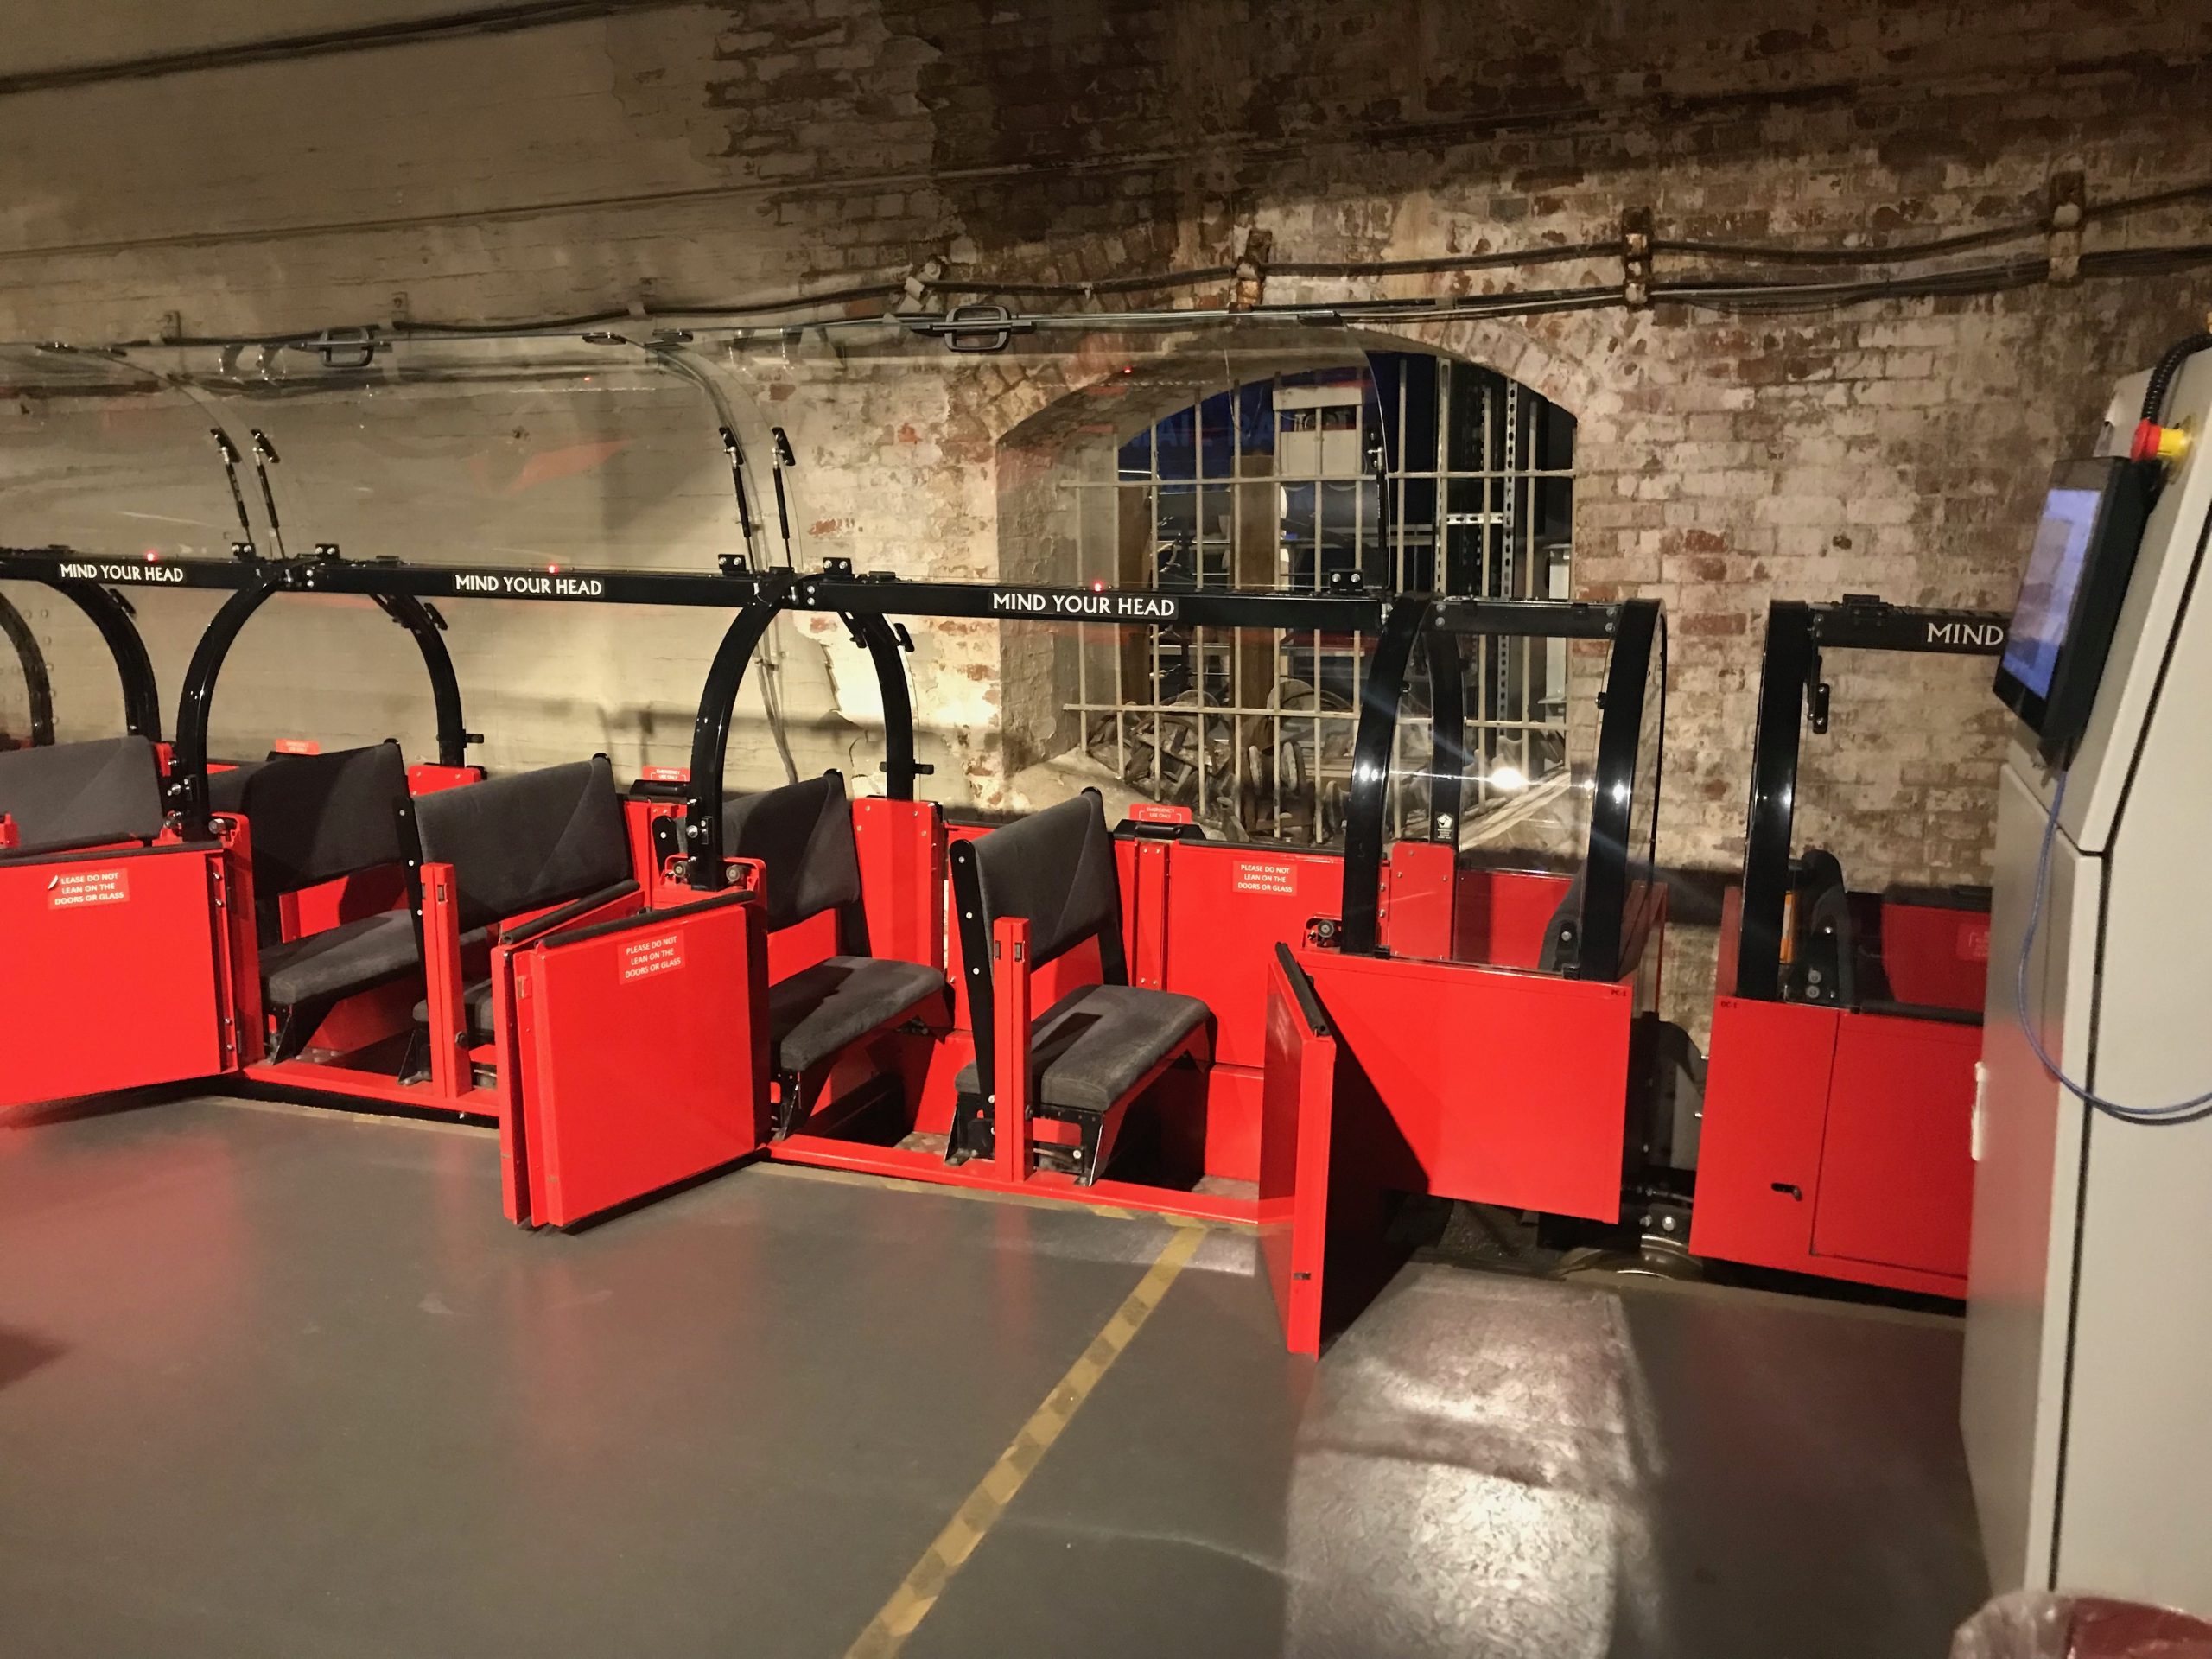
A view of the passenger carriages of the Mail Rail train.

When the original railway as mothballed, much of the original infrastructure and rolling stock was kept and that now enables visitors to be taken along a 1km section of the route in adapted versions of the trains that now carry passengers instead of mail bags, and have drivers at the front. During a 15 minute journey visitors are told the history of the line and in a couple of points the train stops to allow films to be projected on to the walls, showing what the railway used to be like, and explaining the role it played in carrying mail across the capital.

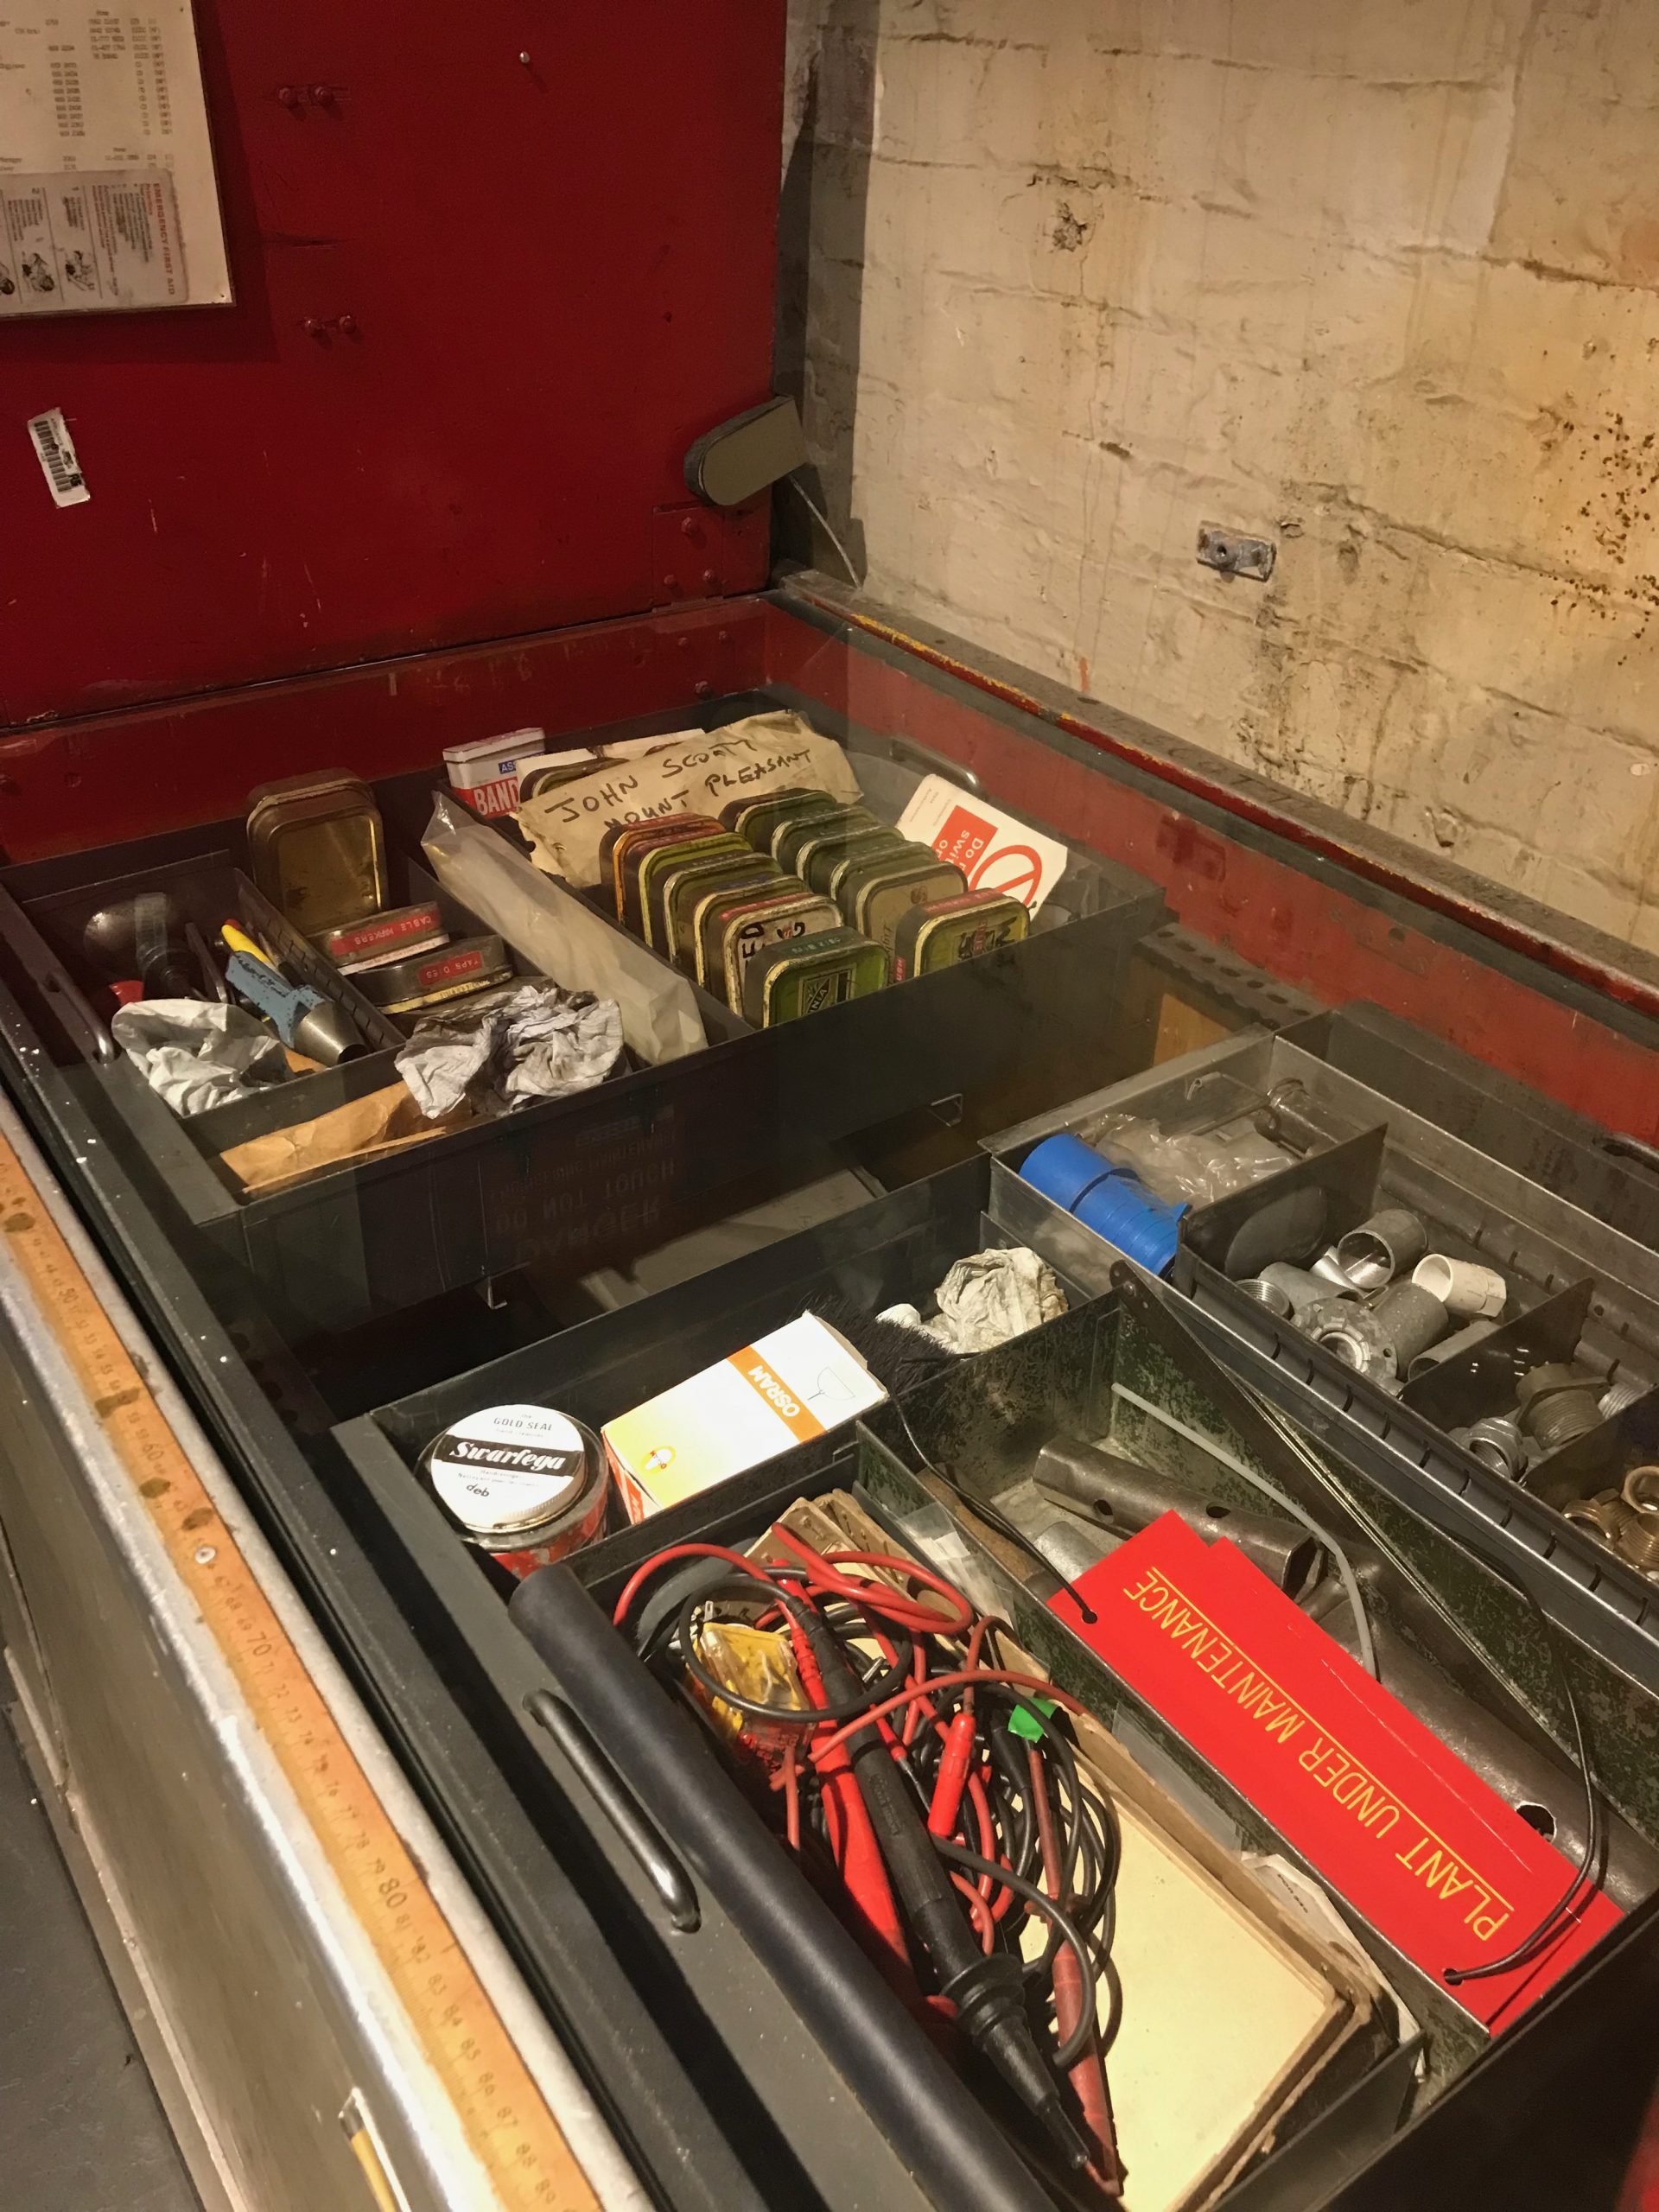
Once you’ve completed your ride on the train itself, there’s a lovely small exhibition space containing artefacts from the railway. It’s clear from the exhibits that people who work on the Mail Rail have been heavily involved in creating this exhibition, and it’s lovely to see things like a homemade engineer’s toolbox that one man created from an old decommissioned carriage. The labelled tobacco tins containing various small parts reminded me so much of my dad’s garage.

A picture of the top of an old Mail Rail carriage that was converted into an engineers trolly by someone who worked there. You can see an assortment of bits and bobs including a tin of swarfega, leads for a multimeter and an array of old tobacco tins

The whole experience is fascinating and a must do for anyone who loves something a bit geeky. The museum’s website provides some great details about the practicalities of riding the Mail Rail and accessibility information.

There is a gift shop located in the Mail Rail building.

The main Postal Museum

Once you’ve been on the Mail Rail you head to the main museum building across the road. This is where the main exhibits that make up the museum are. Although the total floor space isn’t huge, there is a wonderful collection of artefacts from the first letters and stamps, right through to the latest ones produced with King Charles III on them.

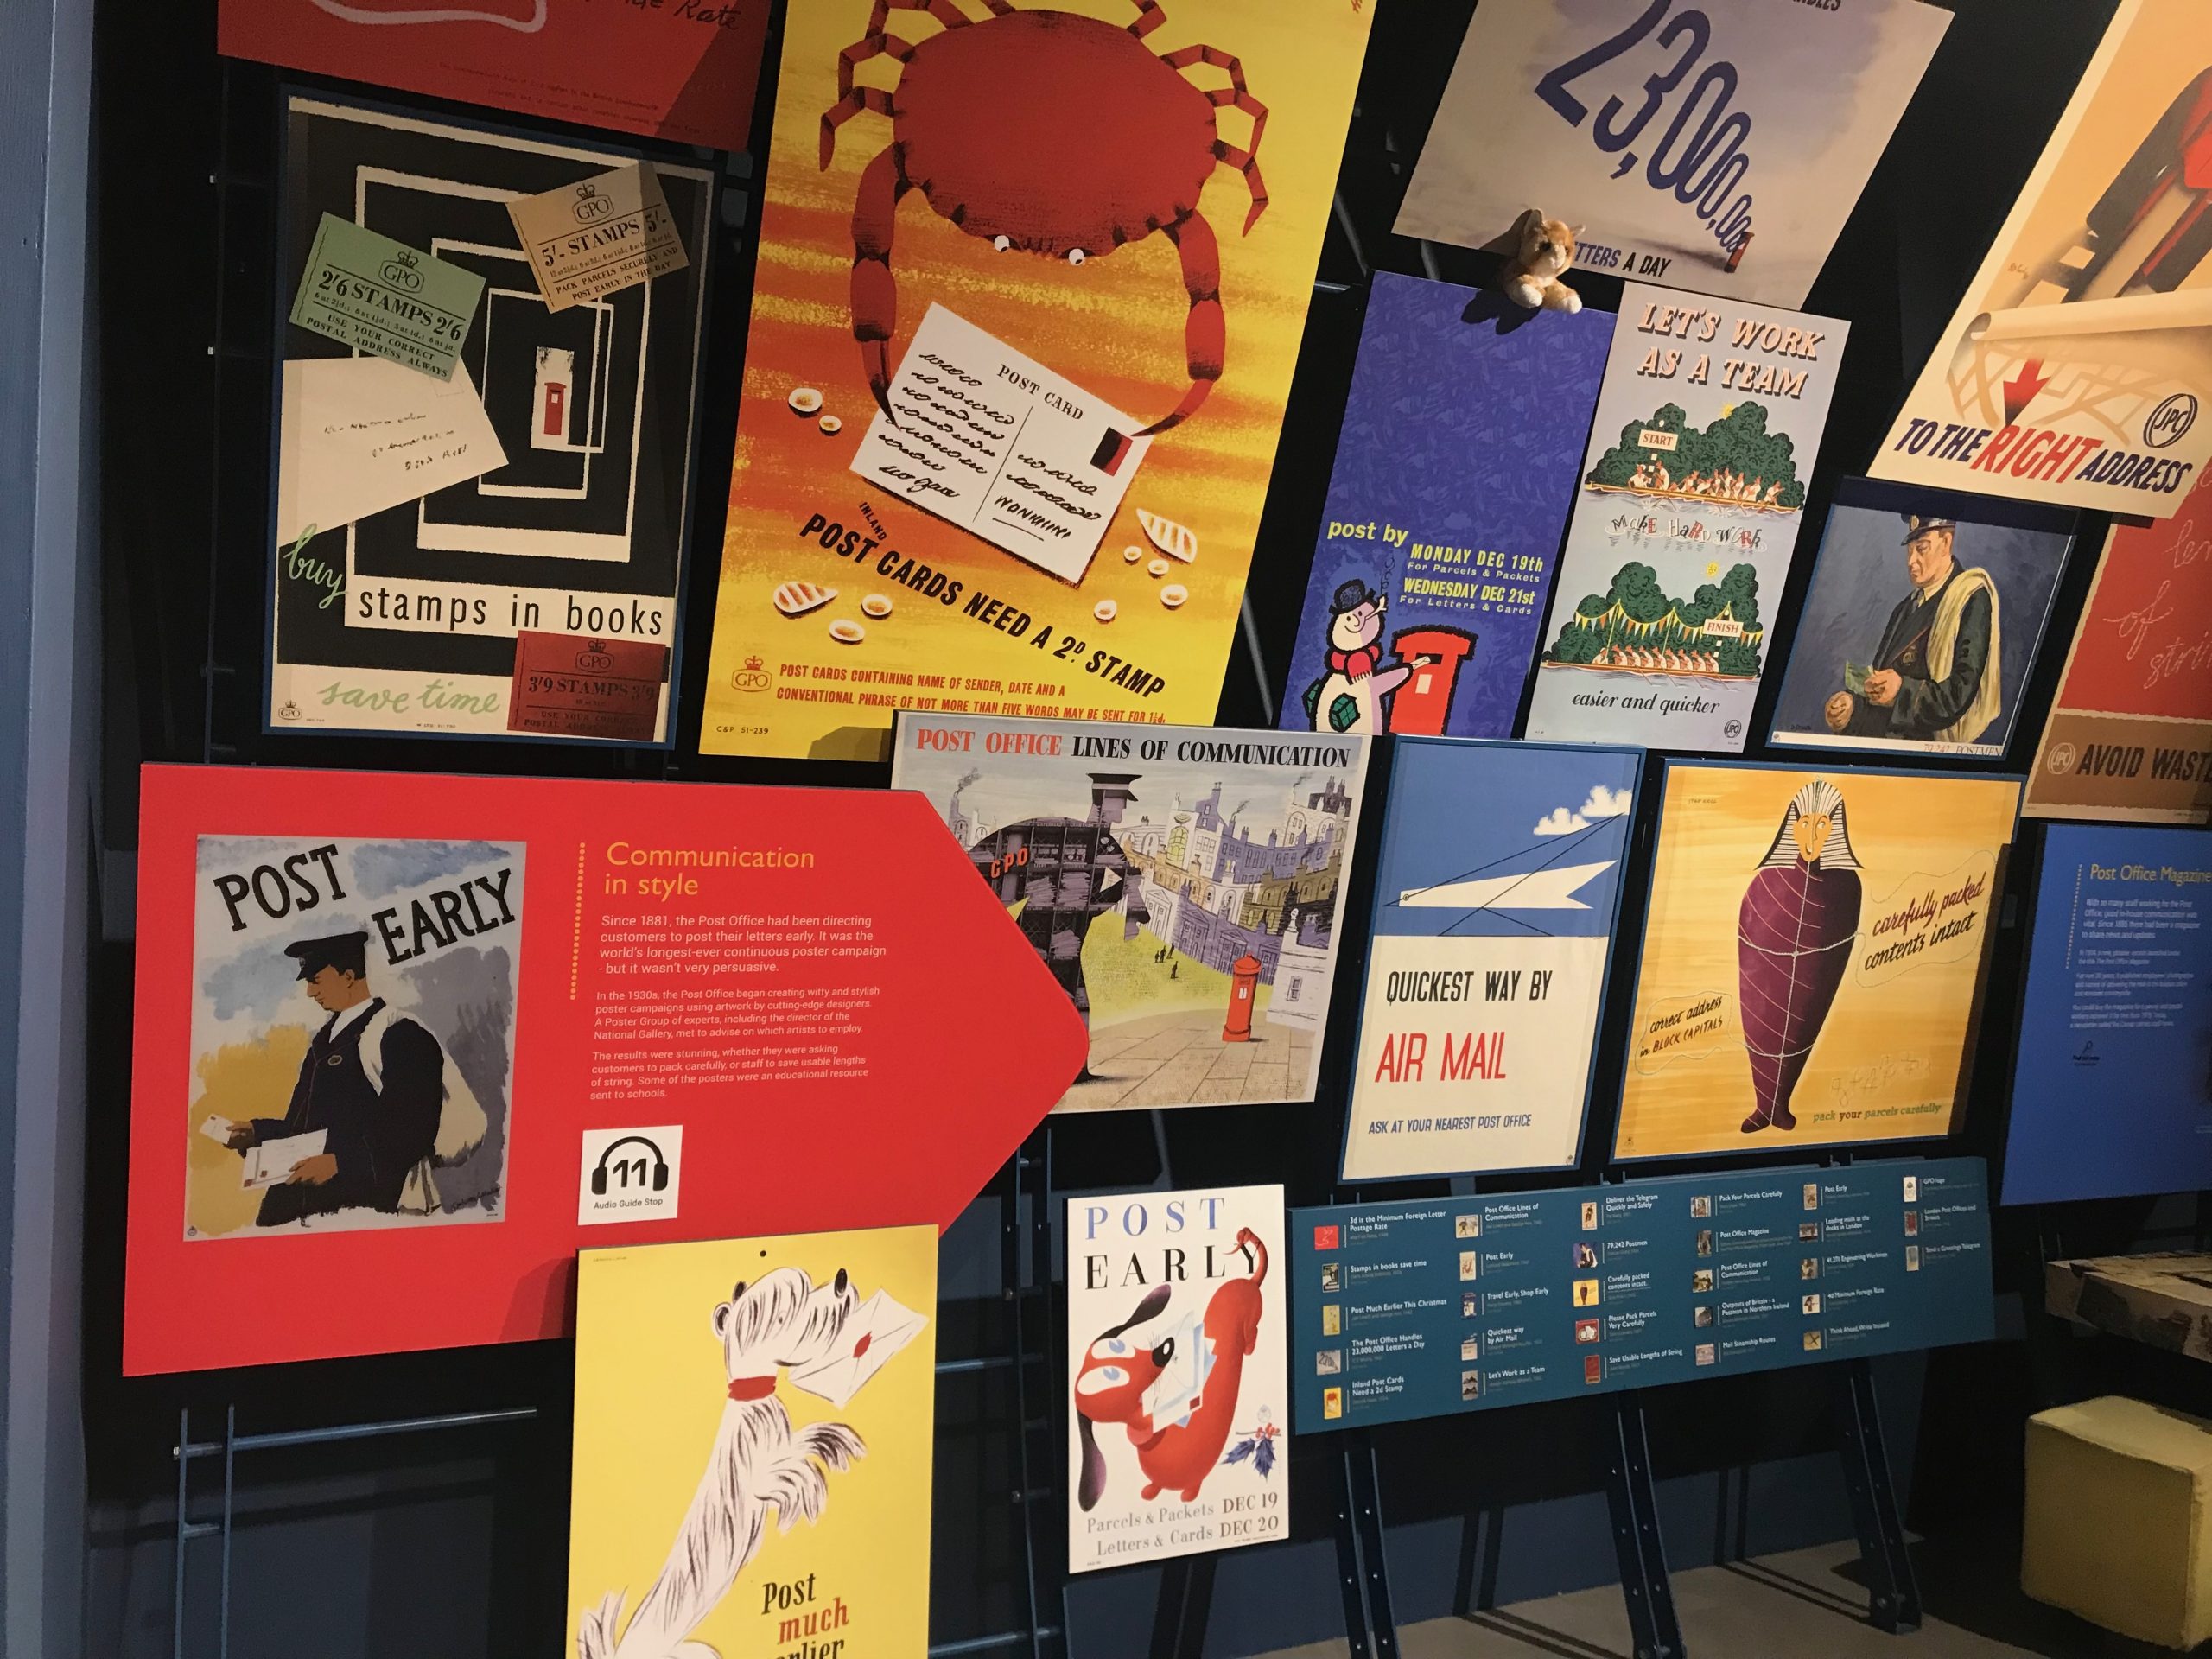
A display showing a variety of old Post Office and Royal Mail advertising posters at the Postal Museum.

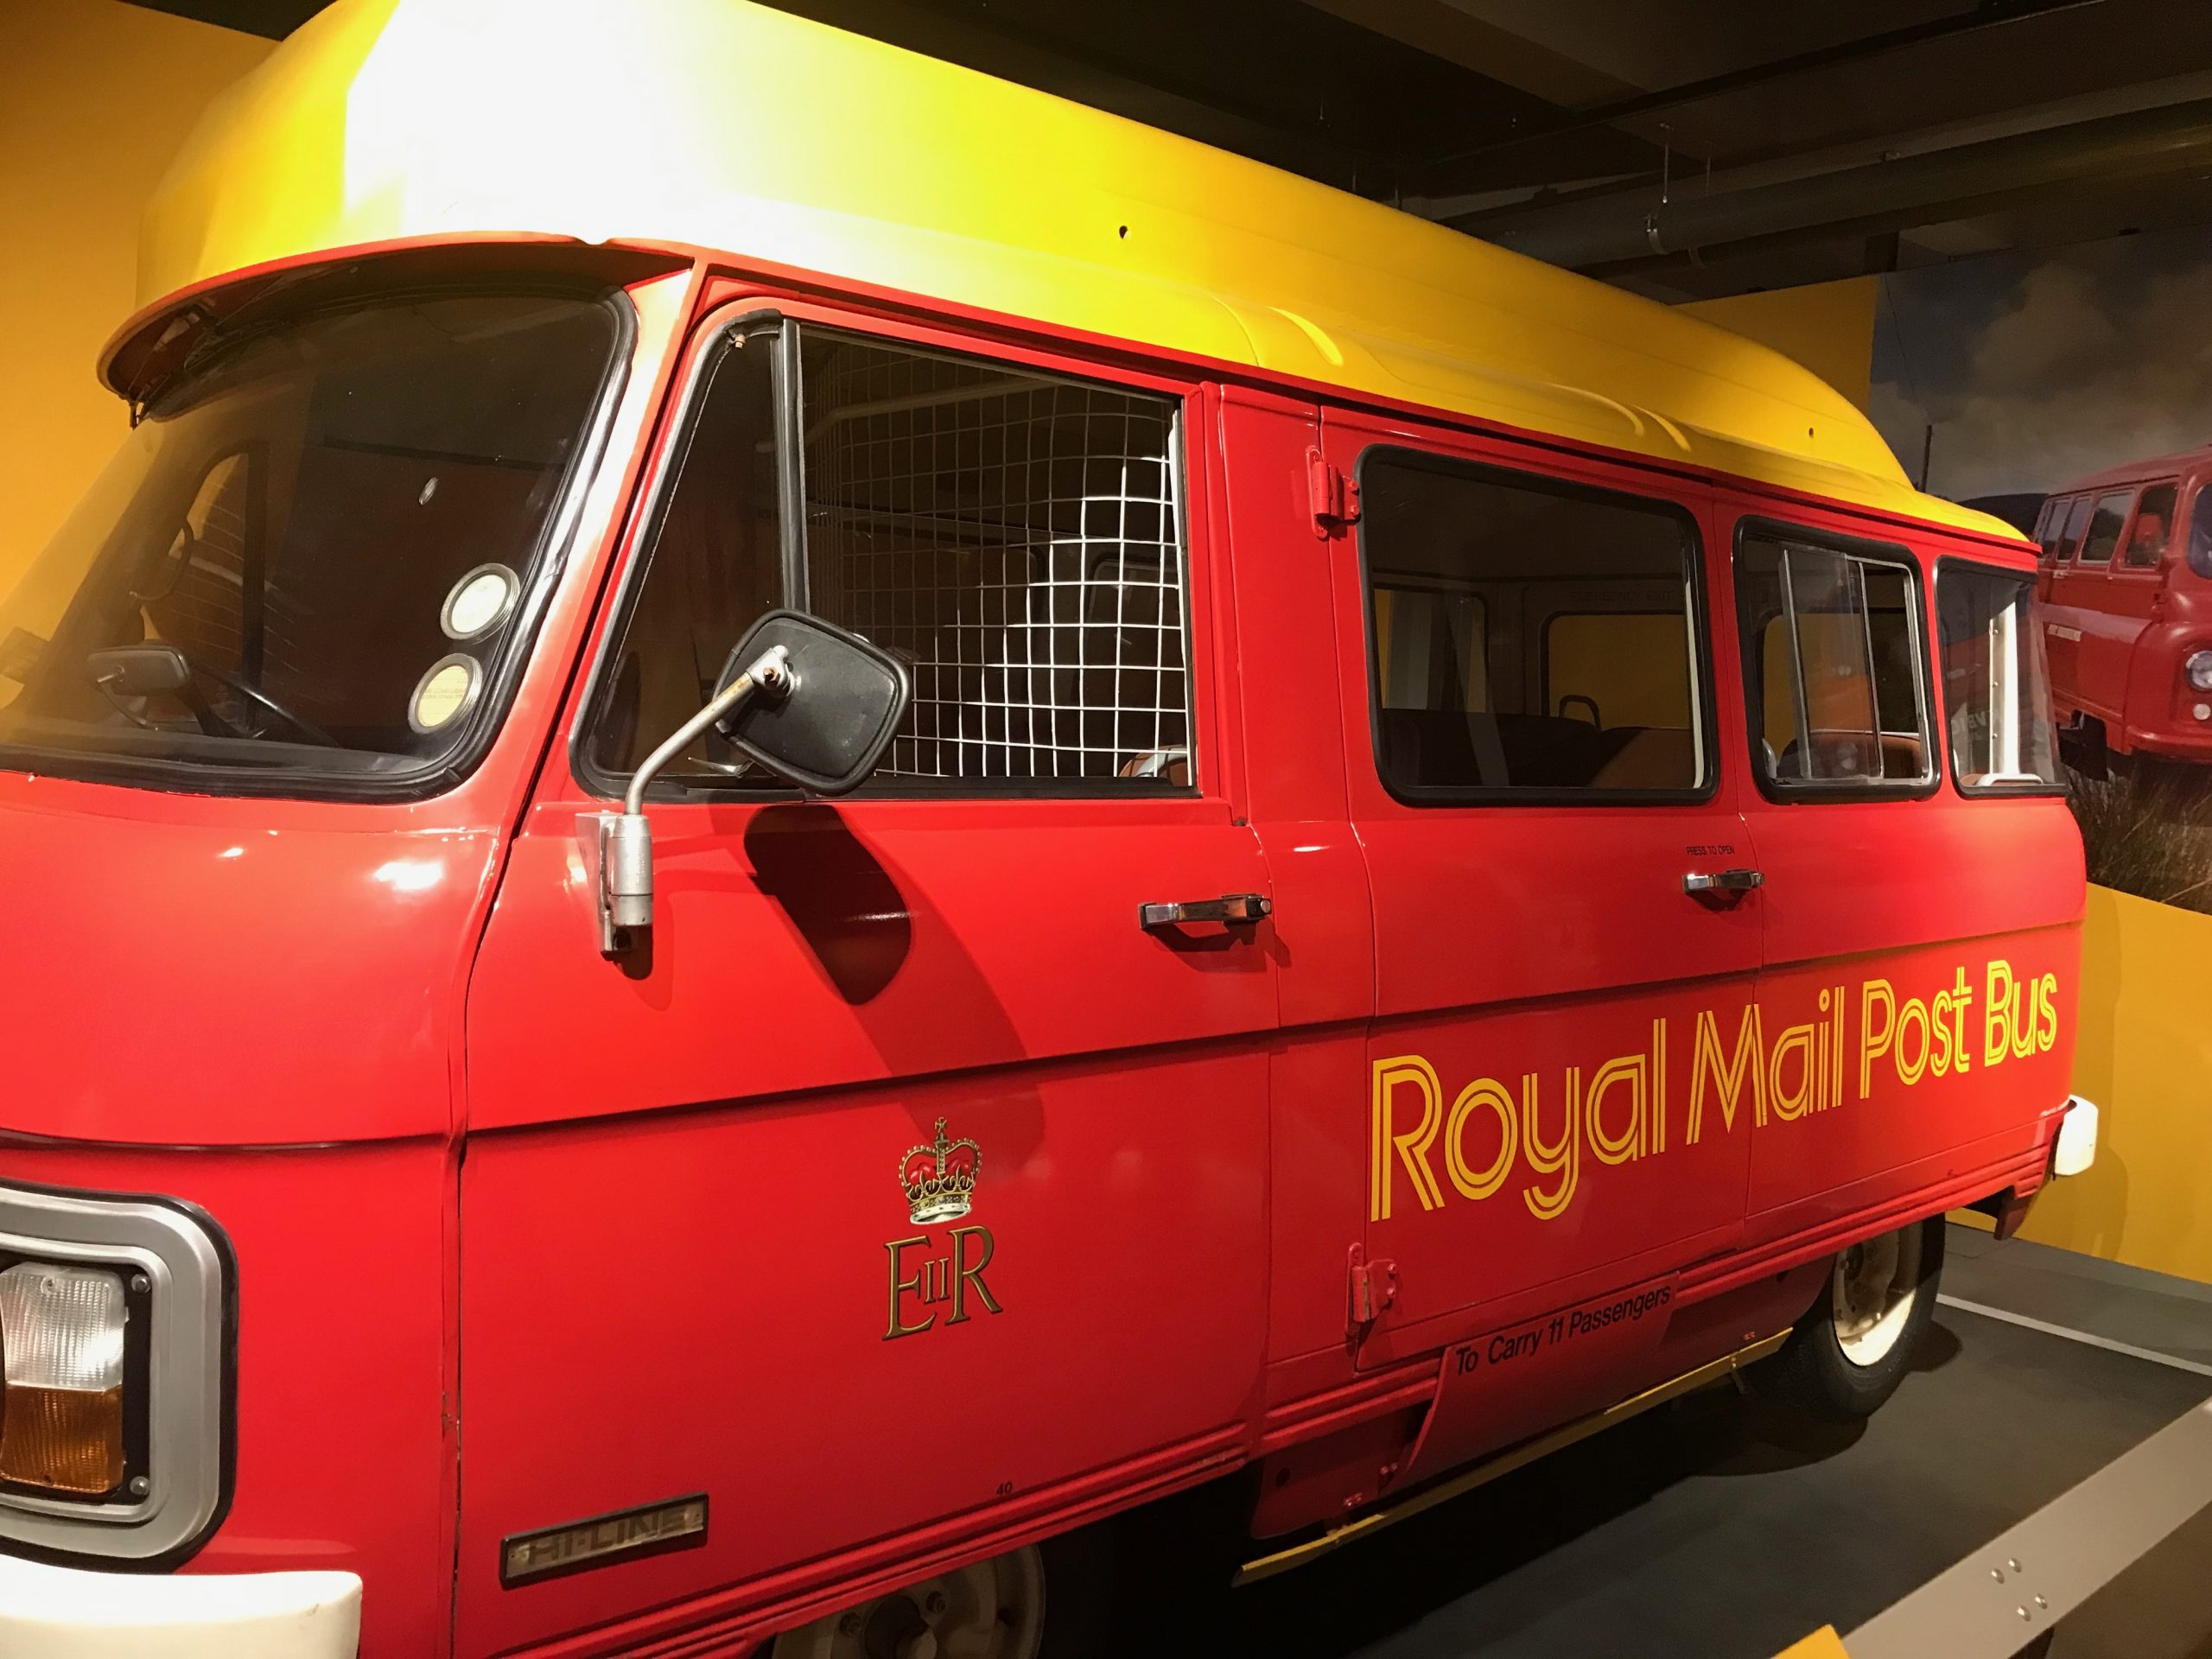
The history of the Postal system in the UK is fascinating and, even in these days of email and social media, it clearly comes across about what a crucial part of the infrastructure the postal system was. It made me feel a bit sad to realise just how much we’ve lost really. Seeing in particular the adorable little Post Bus really brought it home, as in a time when rural bus services have been cut more than ever before something like a Post Bus network would help so many.

A very cute and cheery looking red and yellow Royal Mail Post Bus.

For kids visiting the museum there was so much that was hands on for them to touch and play with, that it easily kept all three entertained in different ways. The activity book was a nice touch as it featured things that all ages could get involved in, whilst also being quite educational as well.

There is a small cafe in the foyer area of the museum along with a gift shop.

Sorted!

In addition to the main museum there is a role play area for children aged 8 and under located in the same building as the Mail Rail, called Sorted! You need to book a 45 minute slot for sorted and this can be done via the museum’s website. It is possible to either book just to go to Sorted! or to add a visit on to buying museum tickets. If you do the latter then it only costs a couple of pounds per child for your Sorted! visit.

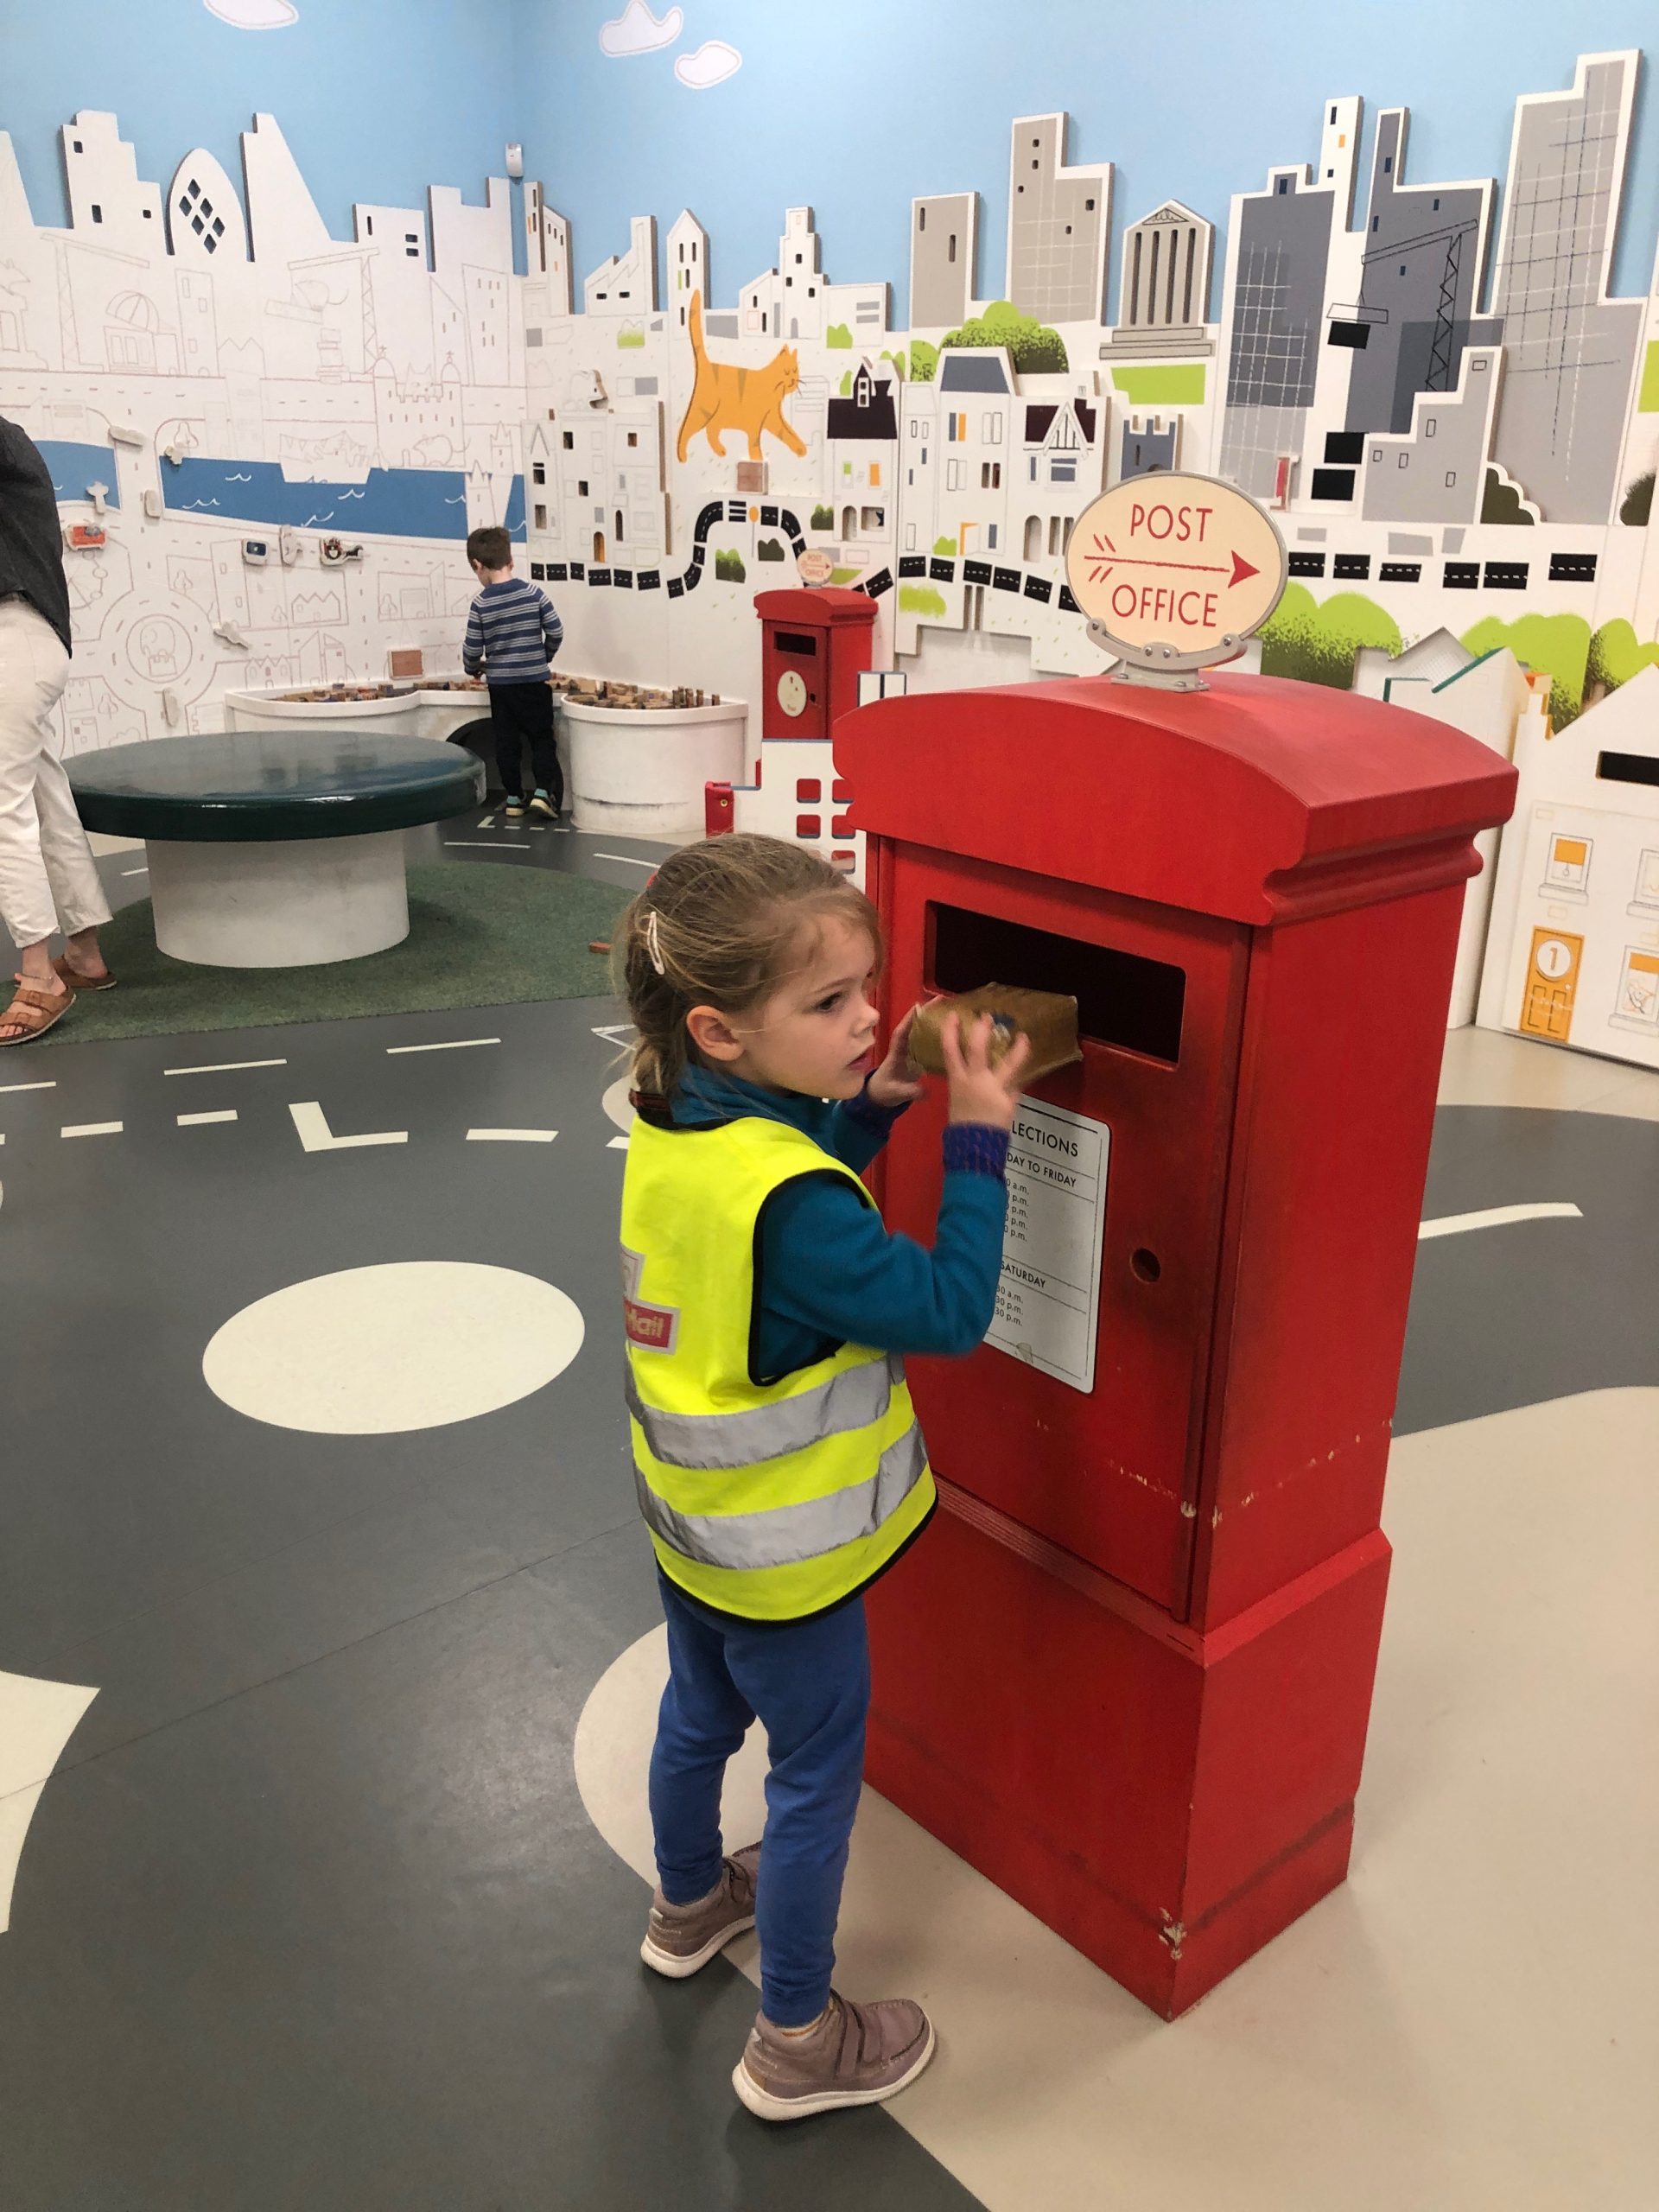
A 4 year old girl posts a parcel into a play post box at the Postal Museum's Sorted Role play area. The girl is wearing a Royal Mail high coz jacket in a child's size.

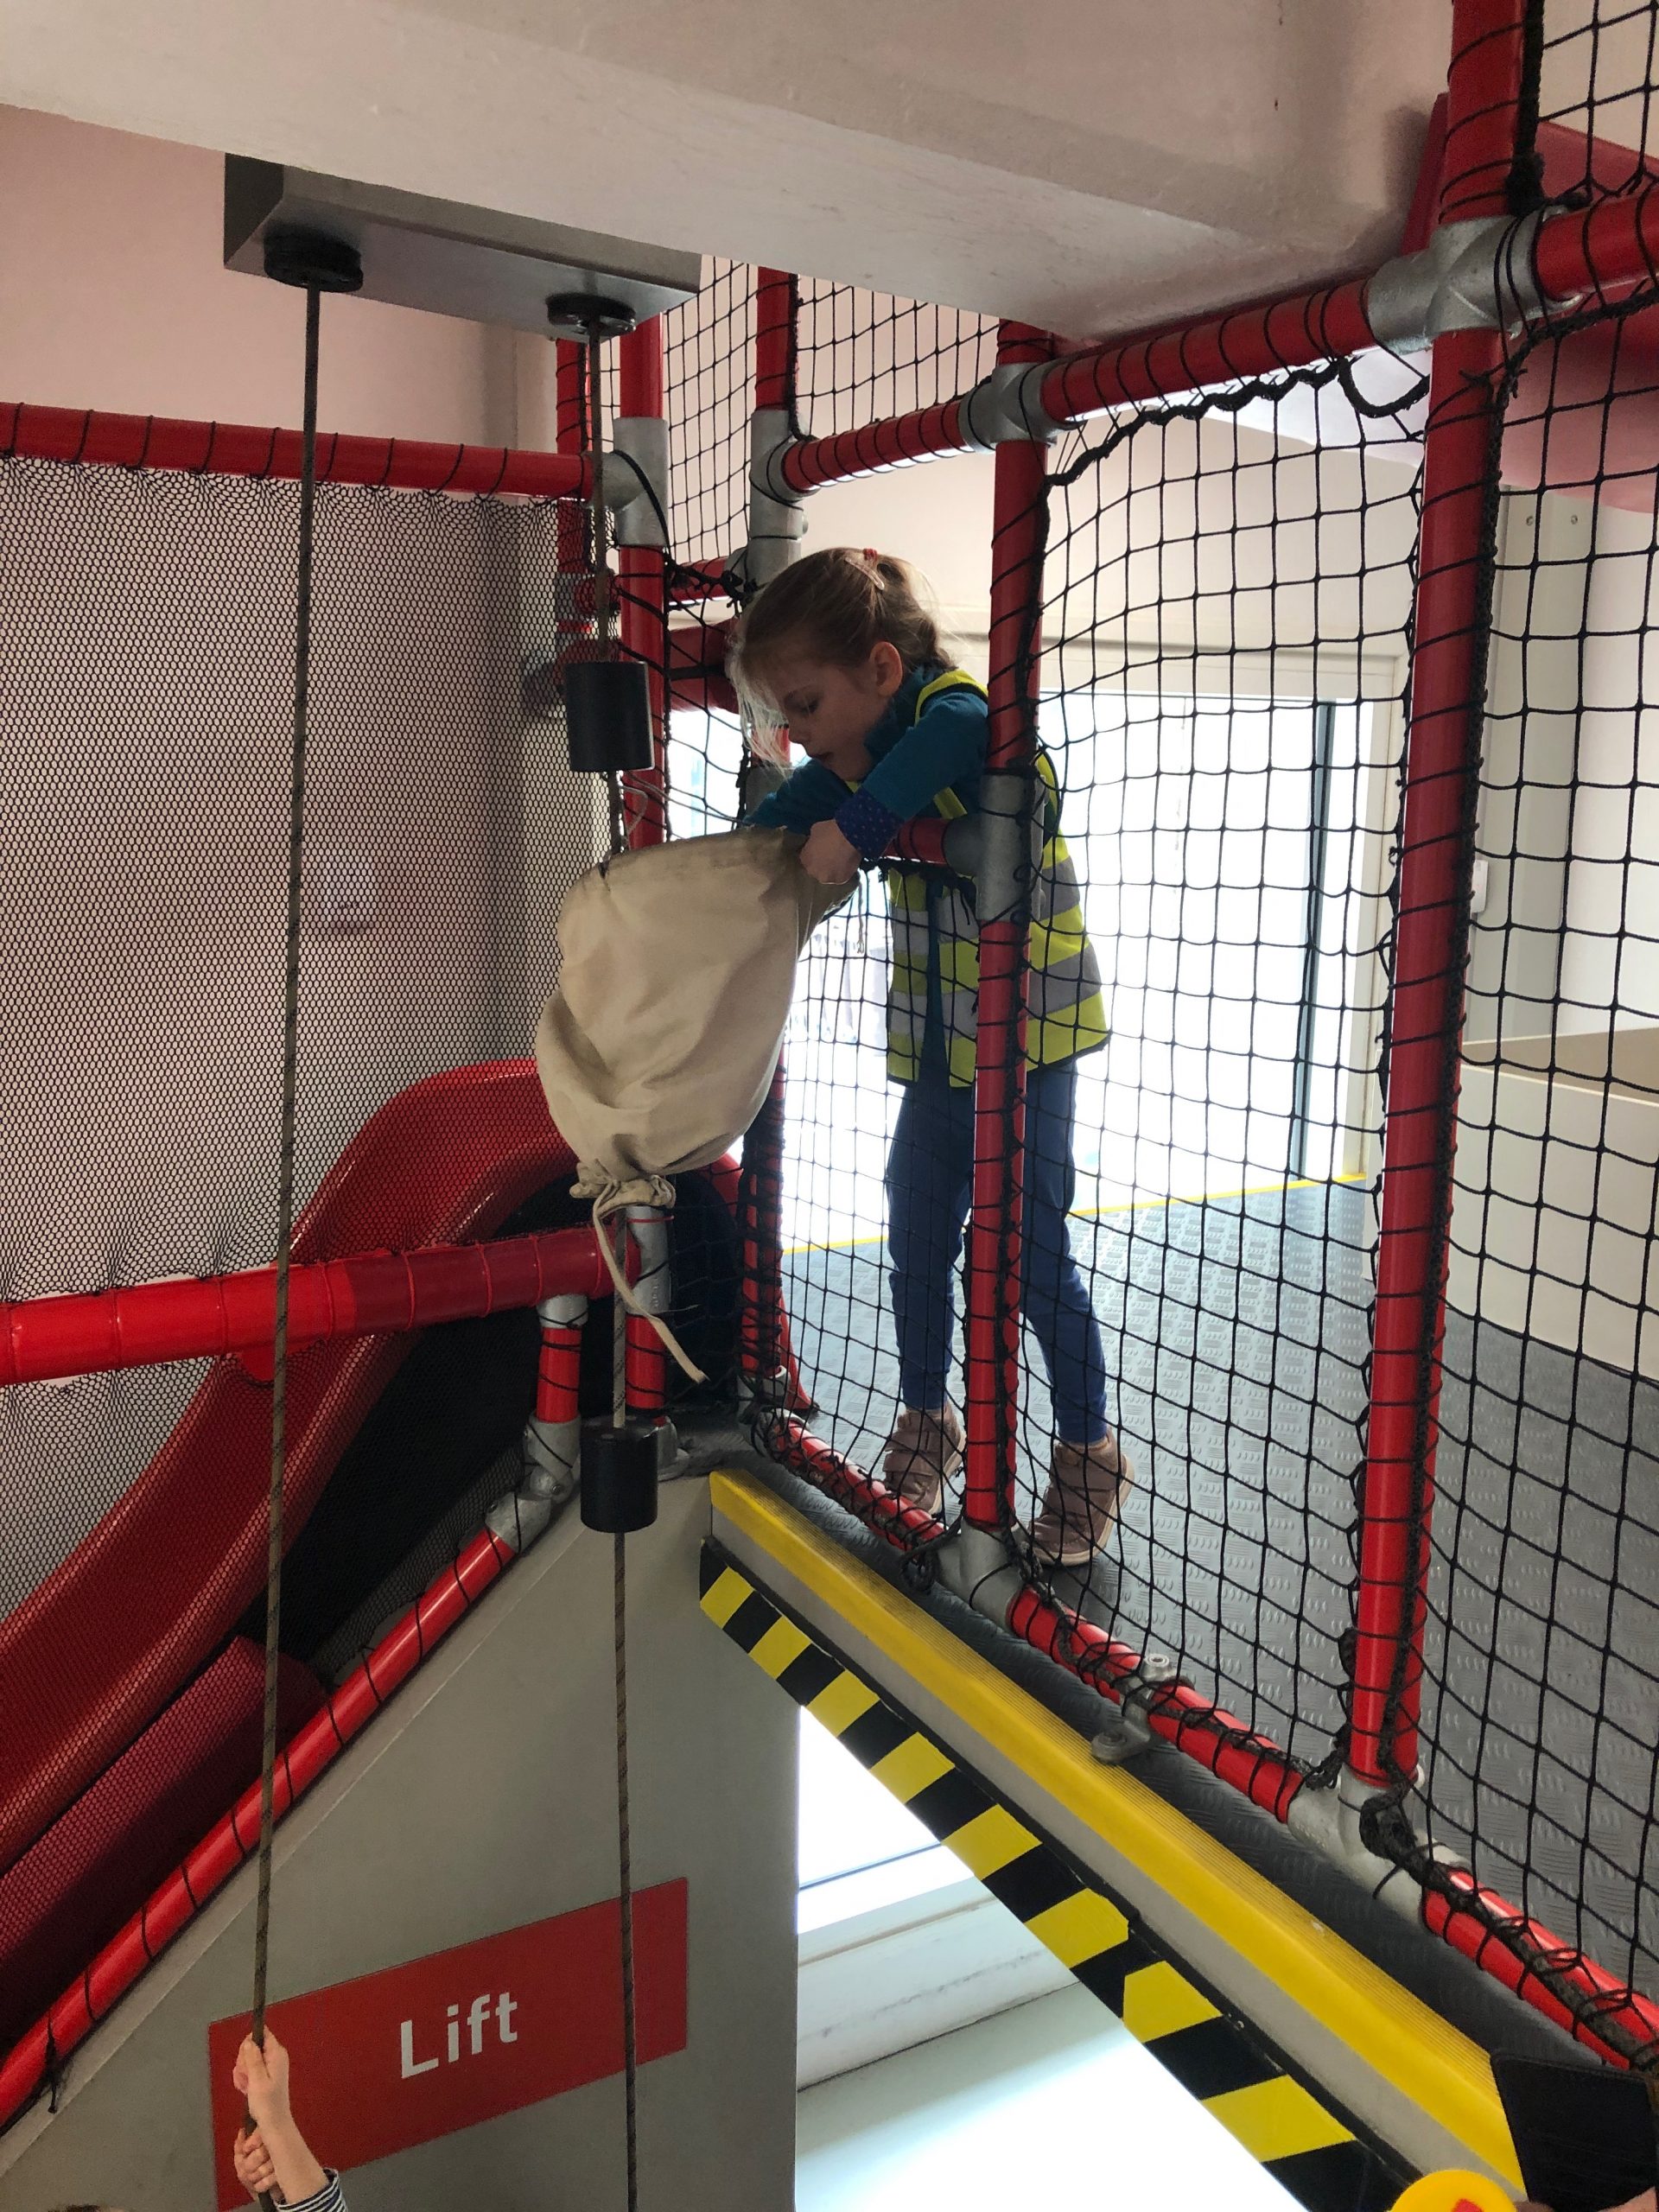
Sorted! gives children a huge number of role play opportunities, all around a postal theme. Our four year old thoroughly enjoyed it, in particular because she could dress for some of the roles.

A four year old girl wearing a child sized Royal Mail high-via jacket is hauling a play postal sack up after it has been raised to first floor level on a pulley system. Just next to where she is doing this you can see a red slide leading downstairs.

What we thought

We absolutely loved the Postal Museum. This was actually our second visit, but the first with children in tow. Things have changed a bit in the years since we first came, but actually coming again with kids made us realise just how child friendly it is. There was so much for all three kids to interact with that they all had great fun. The pneumatic tubes were a huge hit – not just for our kids, but all the ones we saw playing with them. The children also enjoyed quite a few of the other interactive exhibits, as well as being interested in quite a lot of what they saw there.

A blonde four year old girl smiling at the camera whilst wearing a vintage style GPO uniform of coat and hat, remade in a child's size.

The kids activity booklet that they were given when they arrived was also really well put together. Some things that were easy enough for the four year old to do without much assistance, but other bits that the 13 year old also enjoyed trying to find as we went around.

How to find The Postal Museum

The Postal Museum isn’t right next to any tube stops, but please don’t let that put you off at all. We travelled to Farringdon station (Circle, Metropolitan, Hammersmith & City, National Rail and Elizabeth Line) and walked from there in less than 15 minutes. And that was with a 4 year old who doesn’t always necessarily walk in a straight line! Most of the streets you walk along are quite small and quiet, especially on a weekend.

For more detailed directions to get there try using the TfL Journey Planner and enter “The Postal Museum” as your destination. That way the planner will show you buses and walking instructions too.

Preparing kids to visit The Postal Museum

When we visited there was a fantastic activity pack for children which had them spotting things around the museum. This, and quite a few of the information panels for children around the museum, are all based around the character of The Jolly Postman. The sight of him, and a picture of kids’ other favourite postman, Postman Pat, just inside the entrance to the museum was enough to convince my four year old that this was a place that would interest her. If your little one isn’t familiar with The Jolly Postman before your visit then it may well be worth introducing them.

On their website the museum have done a huge amount of work with Ambitious about Autism to produce a series of resources to help support autistic and neurodiverse visitors to the museum. This includes visual stories and pre-visit films. At the museum itself we saw a basket of ear defenders available near the queue for the Rail Mail and they also have sensory bags available to borrow, along with lanyards which can help staff identify visitors that may require additional support.

Want to read more?

Why not take a look at other museums we have visited, or see what else we’ve enjoyed doing in London.

Filed Under: London, Museums, Train Travel

  • Page 1
  • Page 2
  • Page 3
  • Page 4
  • Next Page »

Primary Sidebar

Google Ads

Categories

  • Destinations
    • Europe
      • Channel Islands
        • Guernsey
      • Denmark
      • France
      • Germany
      • Sweden
      • The Netherlands
      • United Kingdom
        • England
          • Bedfordshire
          • Buckinghamshire
          • Devon
          • Essex
          • Gloucestershire
          • Hertfordshire
            • St Albans
          • London
          • Norfolk
          • North Yorkshire
            • Scarborough
            • Whitby
          • Oxfordshire
            • Oxford
        • Isle of Wight
        • Scotland
          • Edinburgh
    • Islands
  • Family Days Out
  • General Travel Writing
  • Local Things To Do
  • Museums
  • National Trsut
  • National Trust
  • Transport
    • Air Travel
    • Land Travel
      • Train Travel
        • Funiculars
        • Heritage Railways
        • Miniature Railways
    • Sea Travel
  • Travel Tips
    • Accommodation
    • Driving
  • Tube Stop Baby

Copyright © 2026 · Genesis Sample on Genesis Framework · WordPress · Log in